PRO: Inventory Management - Working with Discounts and Promotions
![]() Updated
Updated
Working with Discounts and Promotions
The Discount and Promotion tab allows users to create custom discounts for an array of products that can easily be applied to various accounts and/or account groups.
Follow these steps to create new Discounts and Promotions.
- Navigate to Inventory Management > Discounts & Promotions.
- Click the “Add New” button.
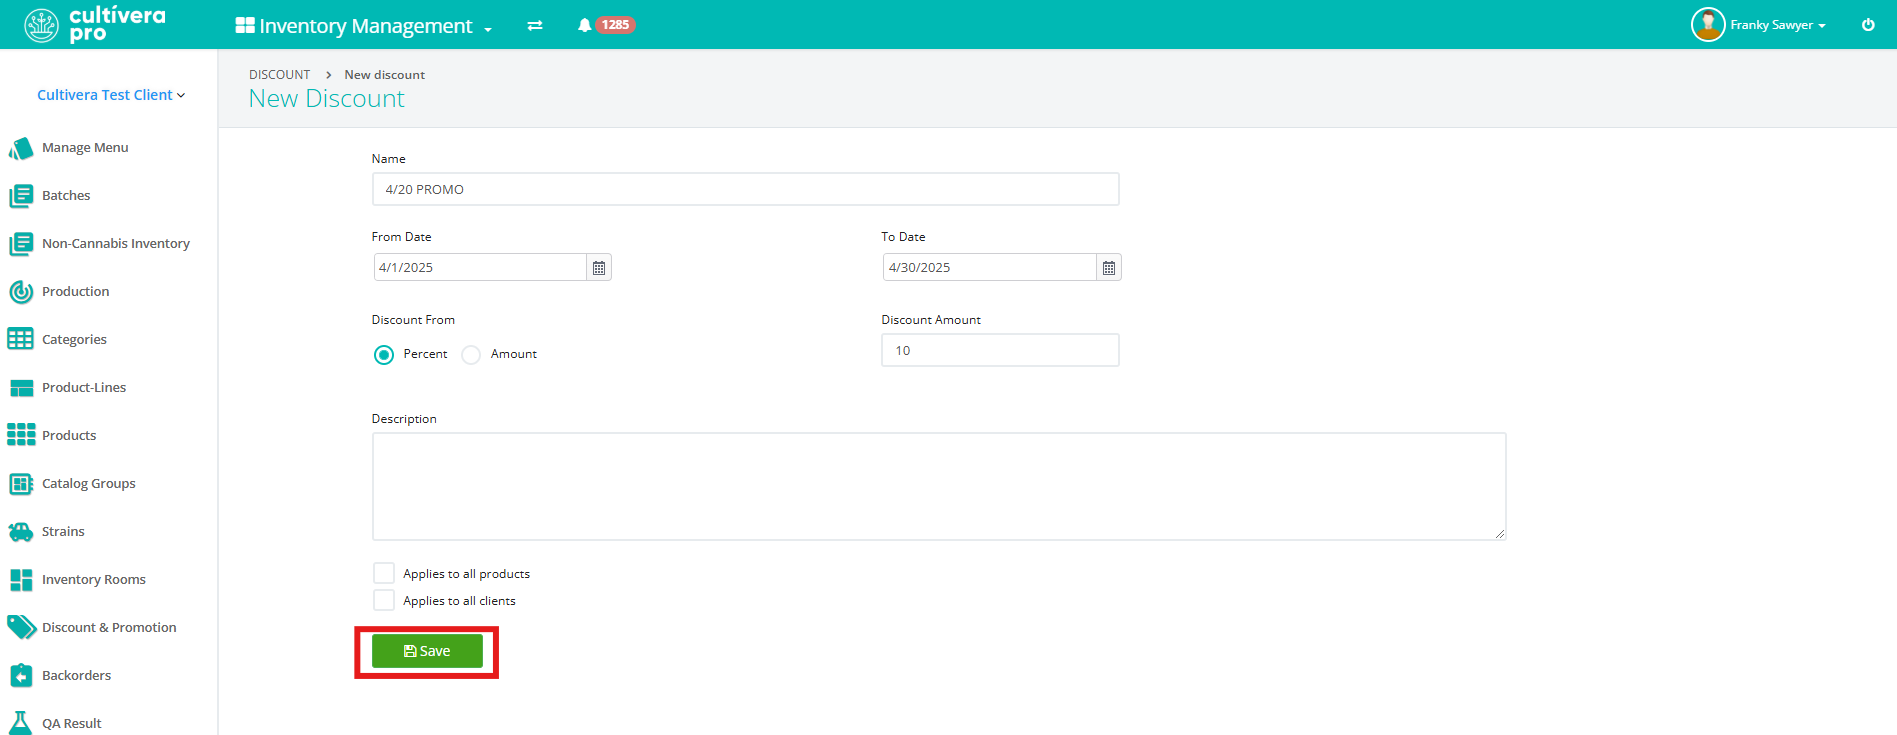
- Enter a name for the discount and use the calendar buttons to specify a date range for the discount to remain active.
- Under “Discount From”, indicate if the discount is a percentage or dollar amount, and type the amount into the “Discount Amount” field.
- Enter a description of the discount in the “Description” field (this step is optional).
- Select whether to apply the discount to all products and/or all clients.
Leaving both the "Applies to all products" and "Applies to all clients" boxes unchecked will offer the greatest degree of flexibility in that you will be able to specify the products to be discounted as well as the clients that will receive the discount.
If you check only the "Applies to all products" box, you won't be able to specify which products receive the discount (since all products will be discounted) but you will still be able to select which clients receive the discount. This workflow can be used to set up special pricing designated for particular producers, processors, and/or retailers.
If you check only the "Applies to all clients" box, you won't be able to specify which clients receive the discount (since this option applies the discount/promotion to all clients) but you will be able to specify which products are being discounted. This workflow can be used if you're having a sale on specific products.
If you check both the "Applies to all products" and "Applies to all clients" boxes, you won't be able to specify which products and clients receive the discount as this workflow applies the discount to all products and all clients. This workflow can be used for short term promotions (i.e. 4/20 blowout sale, etc.).
- Click “Save”.
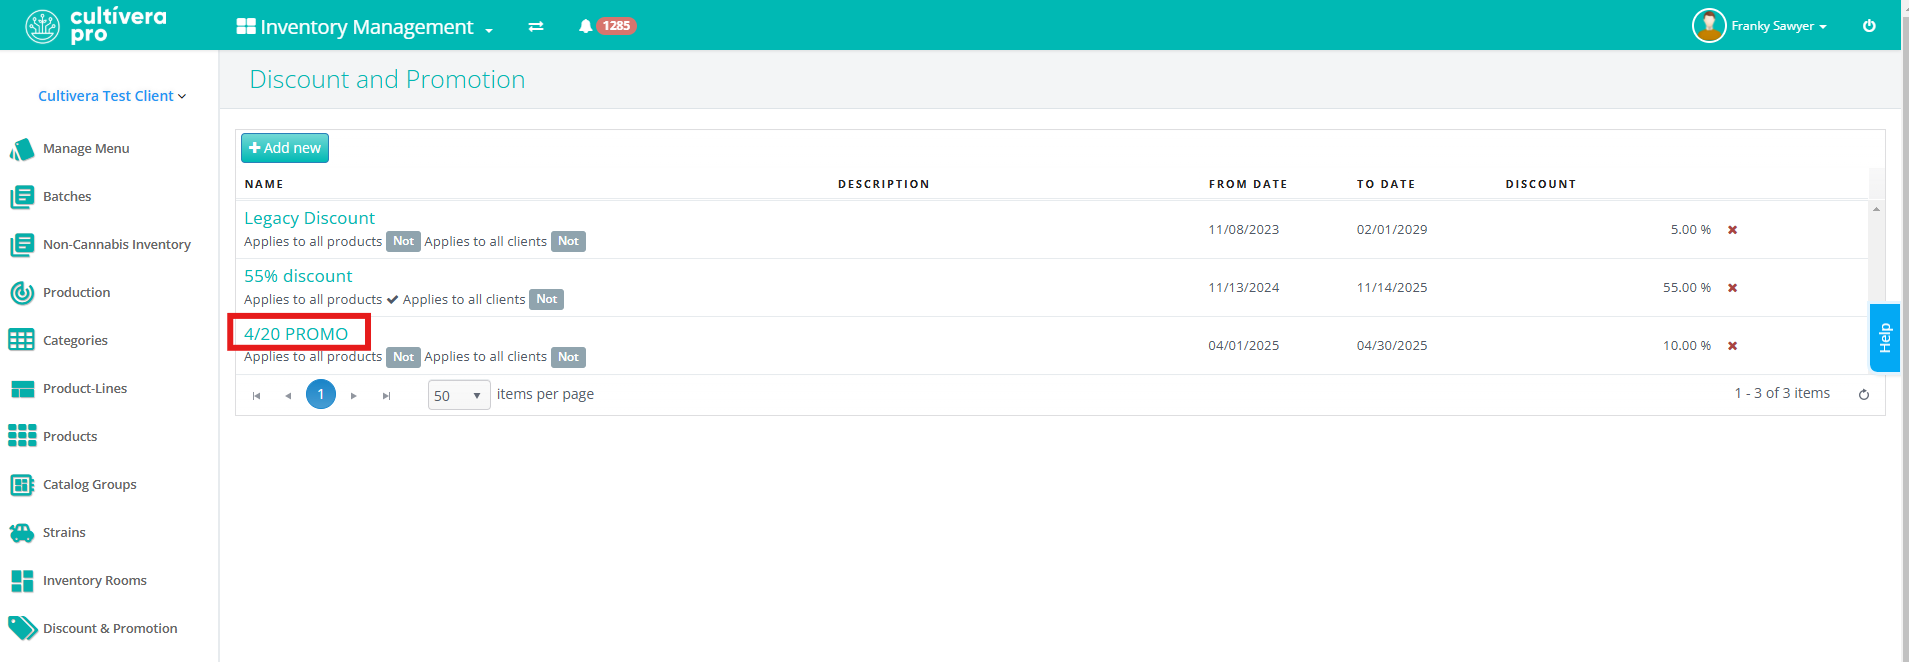
Saving the discount/promotion takes you back to the main "Discount and Promotion" screen.
- From here, click on the discount you just created to select the products and/or clients to receive the discount.
- Based on the selections made in step 5, you will have the option(s) to add clients, groups, products, and/or sub-product-lines to the discount.
Note: In this example, we left both boxes unchecked in step 5 - this way all options are available for us to setup the discount/promotion. You can click into each field (Client, Group, Products, Sub-Products) to add specific Products, Clients, etc to the Discount & Promotion.