POS - CRM: Check-In Customer and Check In Queue
![]() Updated
Updated
POS Back Office: CRM - Check-In Customer
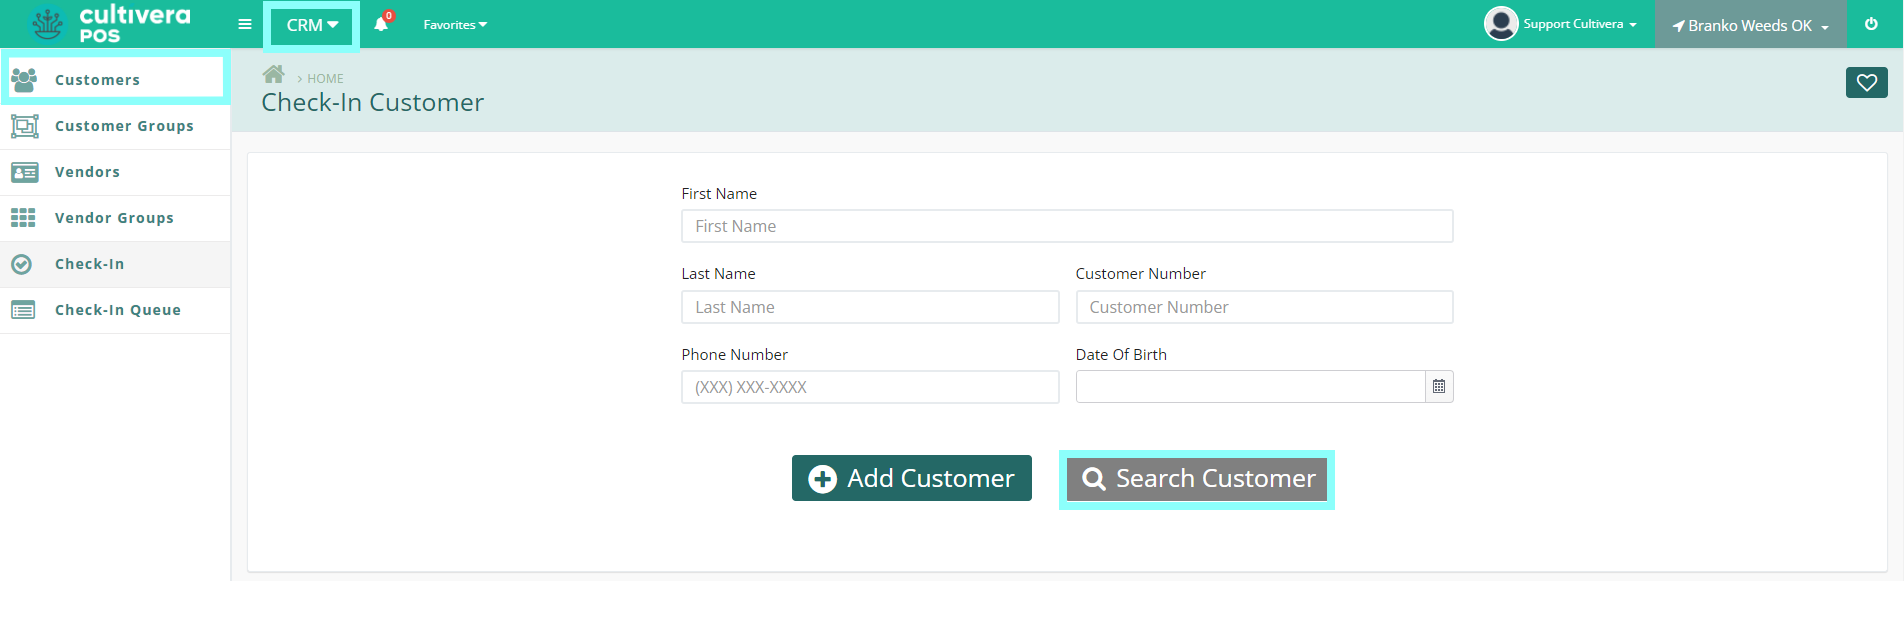
The Customer Check-In allows you to queue customers as they check in to your dispensary. You can search for and add customers here while queueing them to be served by order of arrival.
- Navigate to CRM > Check-In. From here, you can input the details of the customer you wish to search for, then select "Search Customer".
- If the customer is already in your system, you'll be taken to their Customer Details page. From here, you can queue the customer by clicking the "Check-In" button.
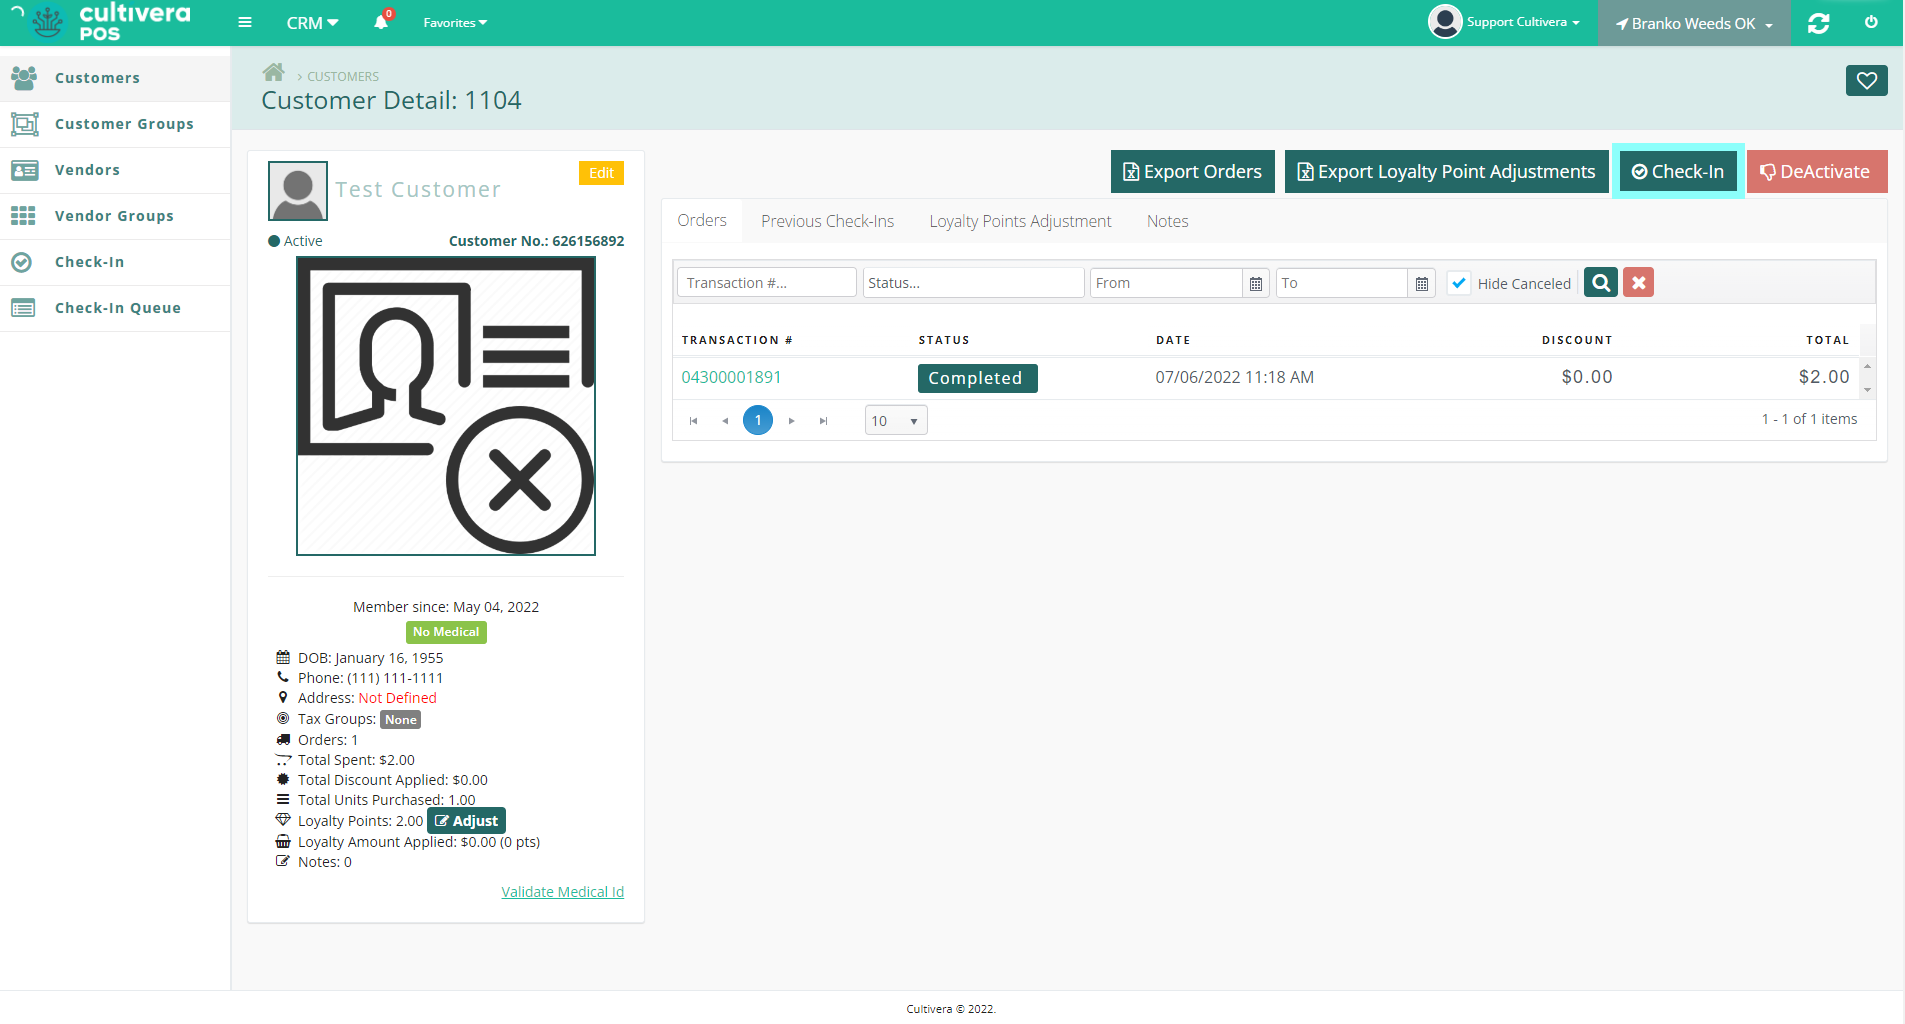
If no customer exists in your system, it will leave you on the page with the details still entered.
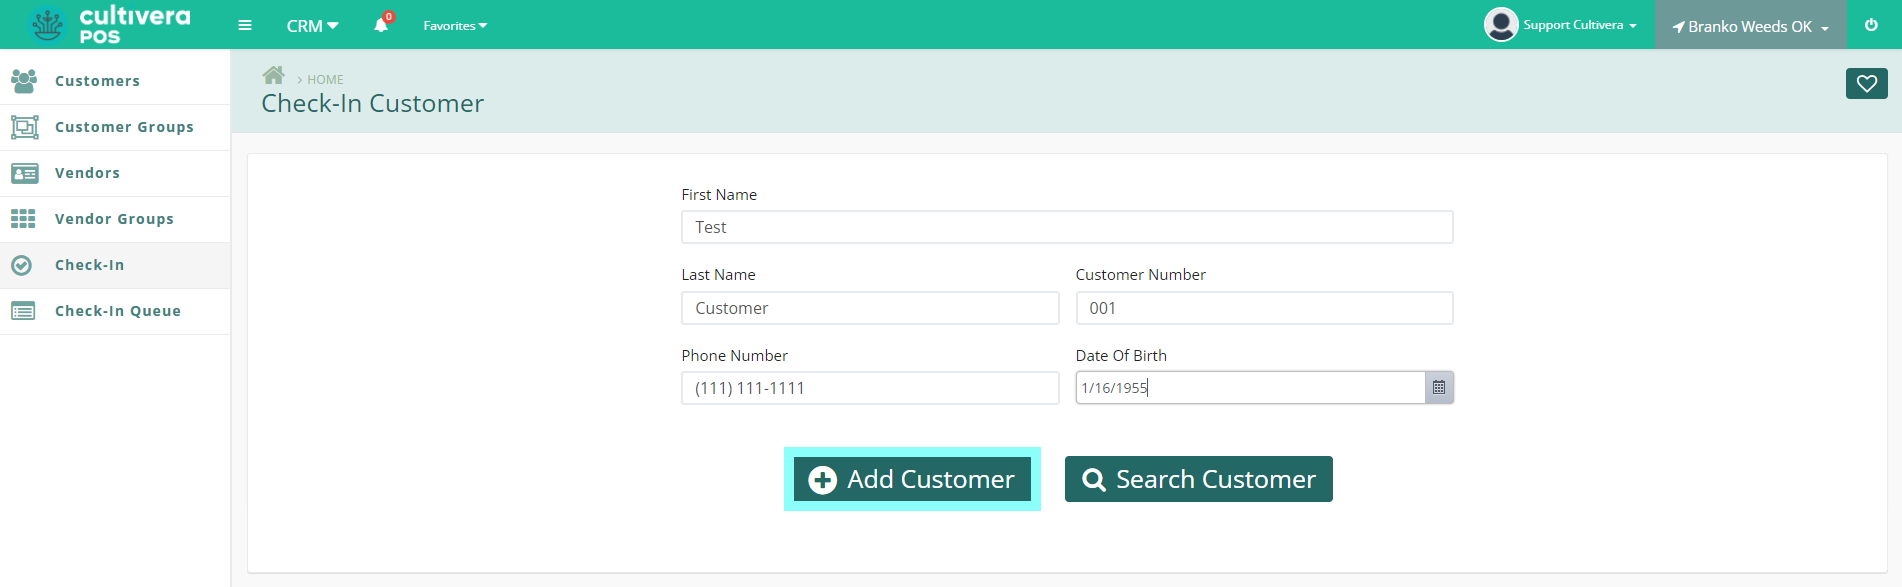
- To add a new customer, select "Add Customer" to create a new customer profile.
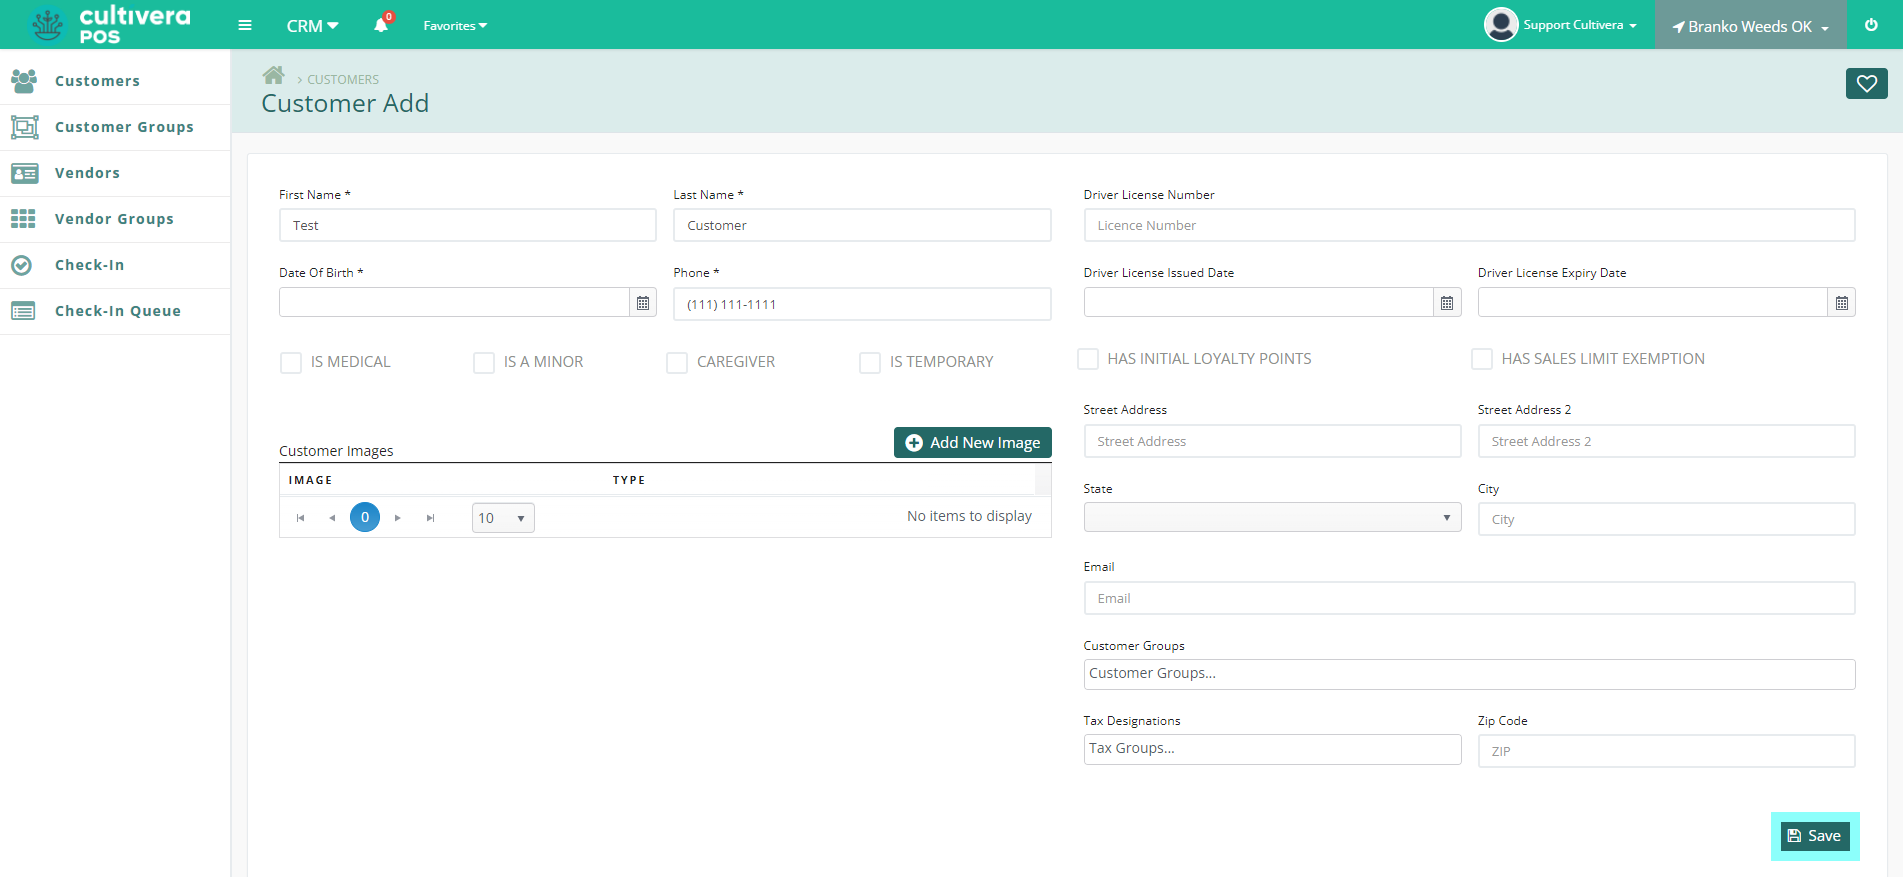
- Enter the customer details and click the "Save" button. Required fields will be indicated with an asterisk (*).
If multiple customers contain the same details you're searching for, you'll be prompted to select one.
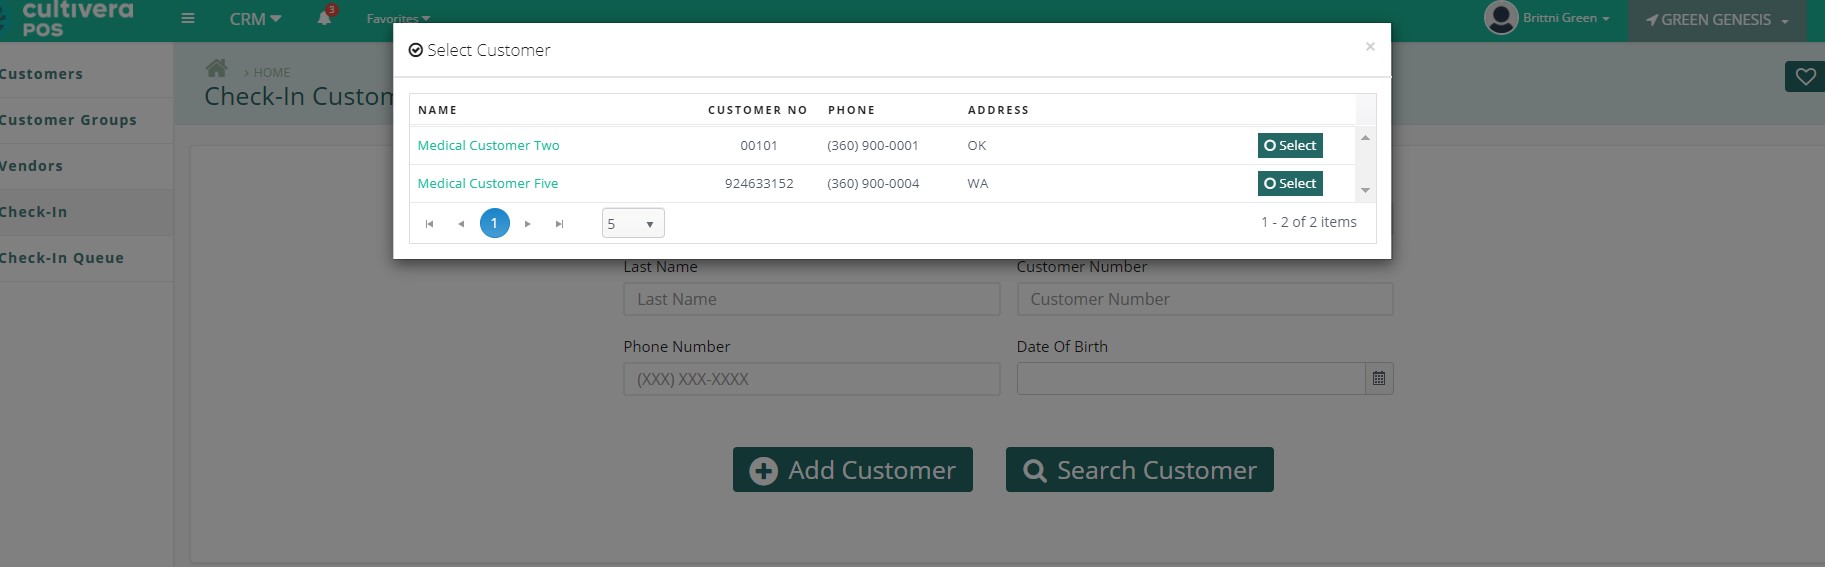
- Once selected, you'll be brought to the Customer Details page where you can click the "Check-in" button.

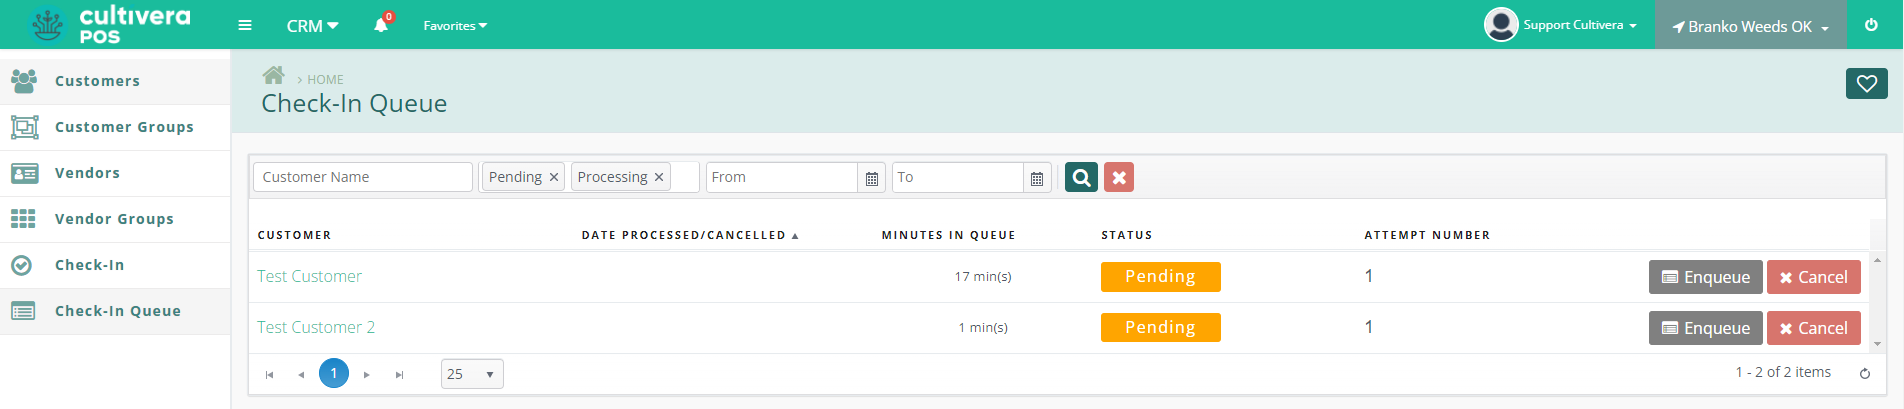
- After the customer has been checked in, navigate to CRM > Check In Queue. Here, you'll see all customers currently Enqueue with the date and time they checked in.
The default search filters are for Processing and Pending orders, but you can search for previous orders here by clearing the search filters or selecting the Order Status.
- If a customer has been loaded into the cart, their status will change to "Processing" and the Terminal User will be displayed.
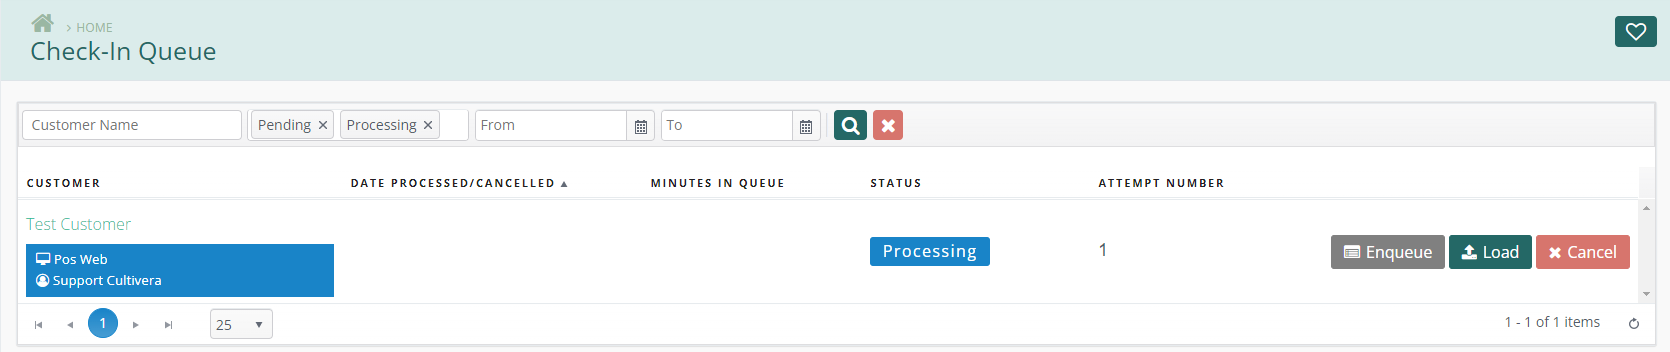
- If someone has missed their call to be served, you can select "Enqueue" to re-queue them in line.
The maximum amount of times a customer can be enqueued can be set under Administration > Admin > Check-In.