PRO (WA): Creating And Processing A Non-Cannabis Order
![]() Updated
Updated
This article reviews the steps of processing a non-cannabis order in Cultivera Pro.
Keep in mind these workflows pertain to managing and selling non-cannabis inventory in PRO and on the Marketplace. Non-Cannabis Inventory in Cultivera does not track the Cost of Goods Sold.
Processing a Non-Cannabis Order in Cultivera
Users in Washington should follow these steps to create and process a Non-Cannabis Order from start to finish in Cultivera PRO.
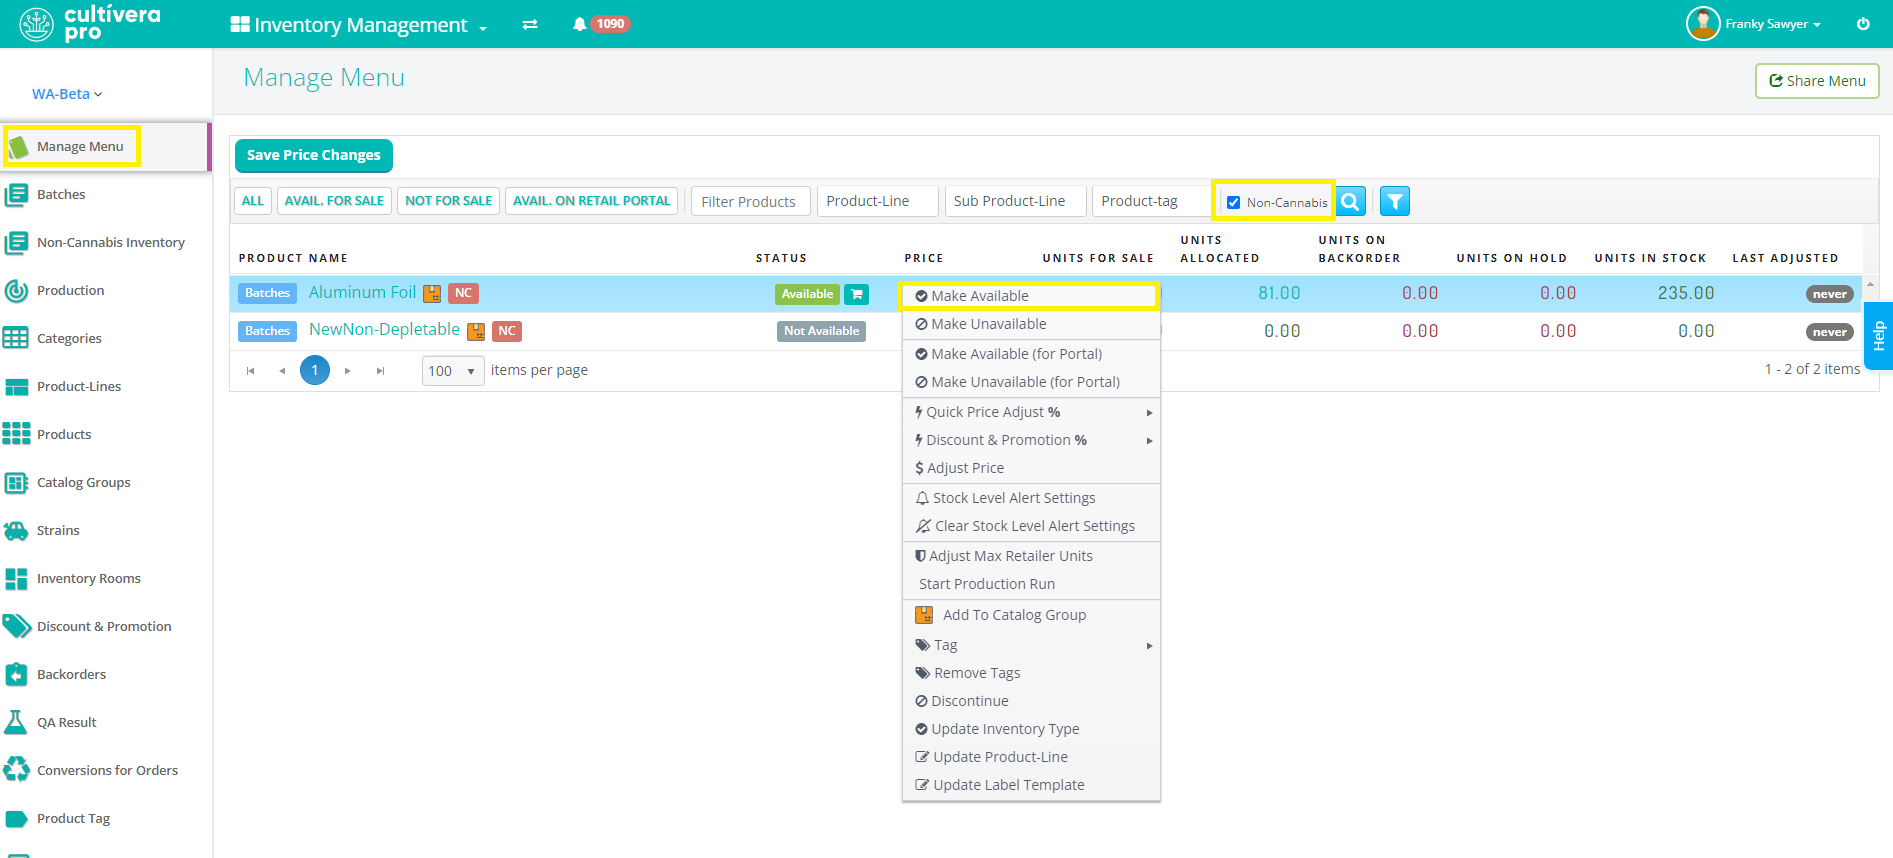
- Confirm the Non-Cannabis Product intended for sale is "Available" in Inventory Management > Manage Menu > Non-Cannabis.
You can right-click on the Non-Cannabis Product (or highlight multiple non-cannabis products then right-click) to “Make Available”.
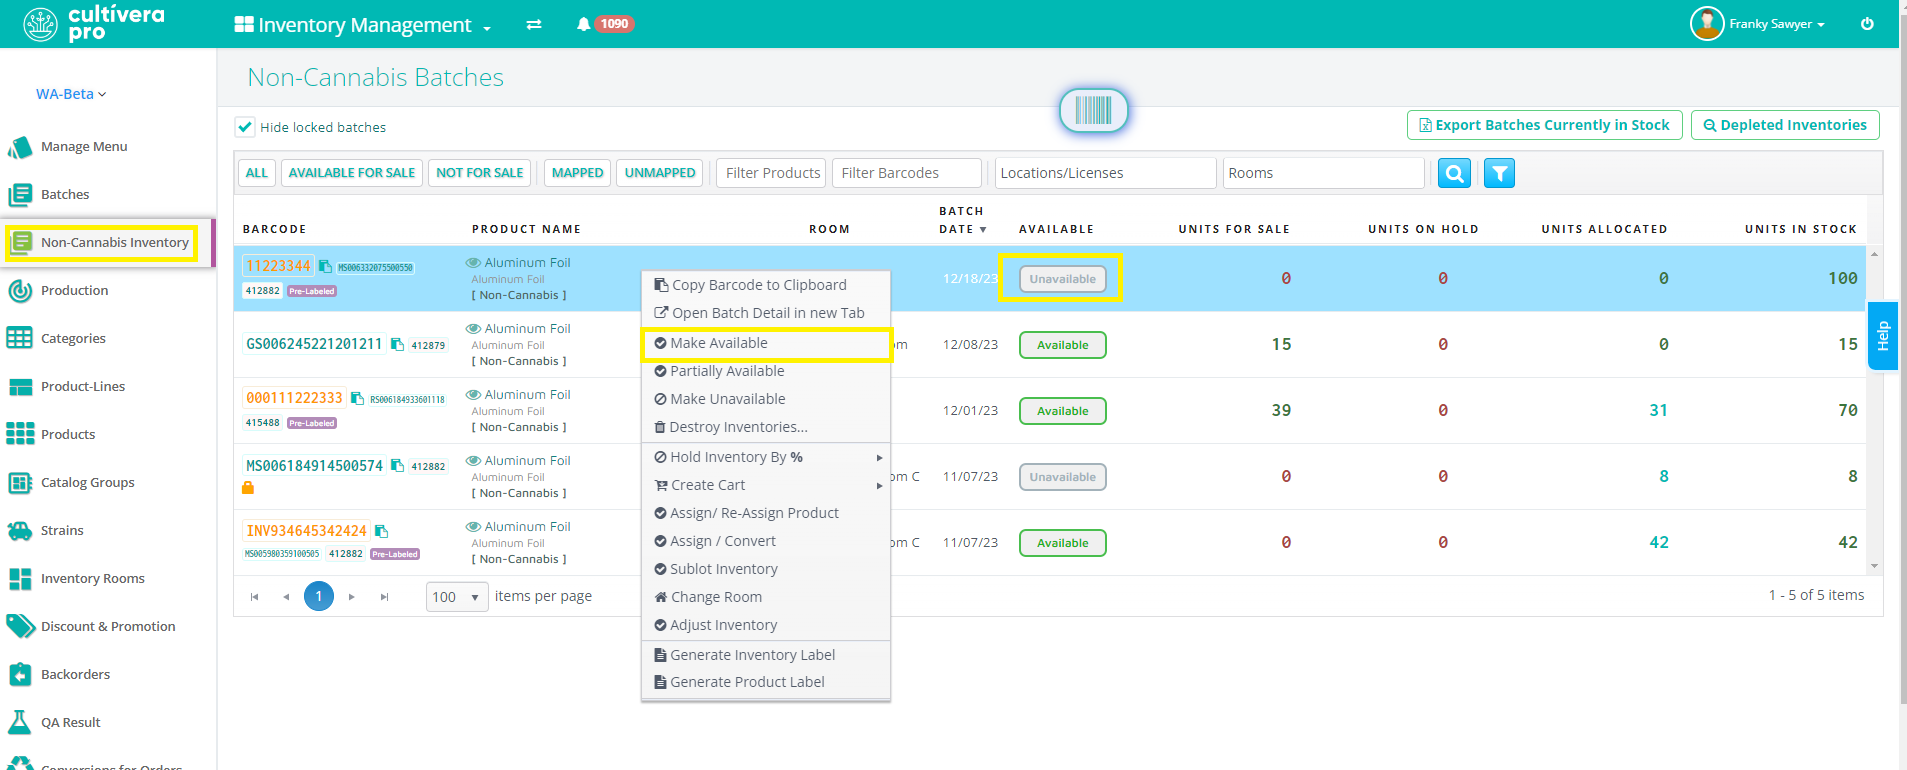
- Confirm the Non-Cannabis Batch you would like to allocate to the order is marked "Available" in Inventory Management > Non-Cannabis Inventory.
You can right-click on any Batch to “Make Available”.
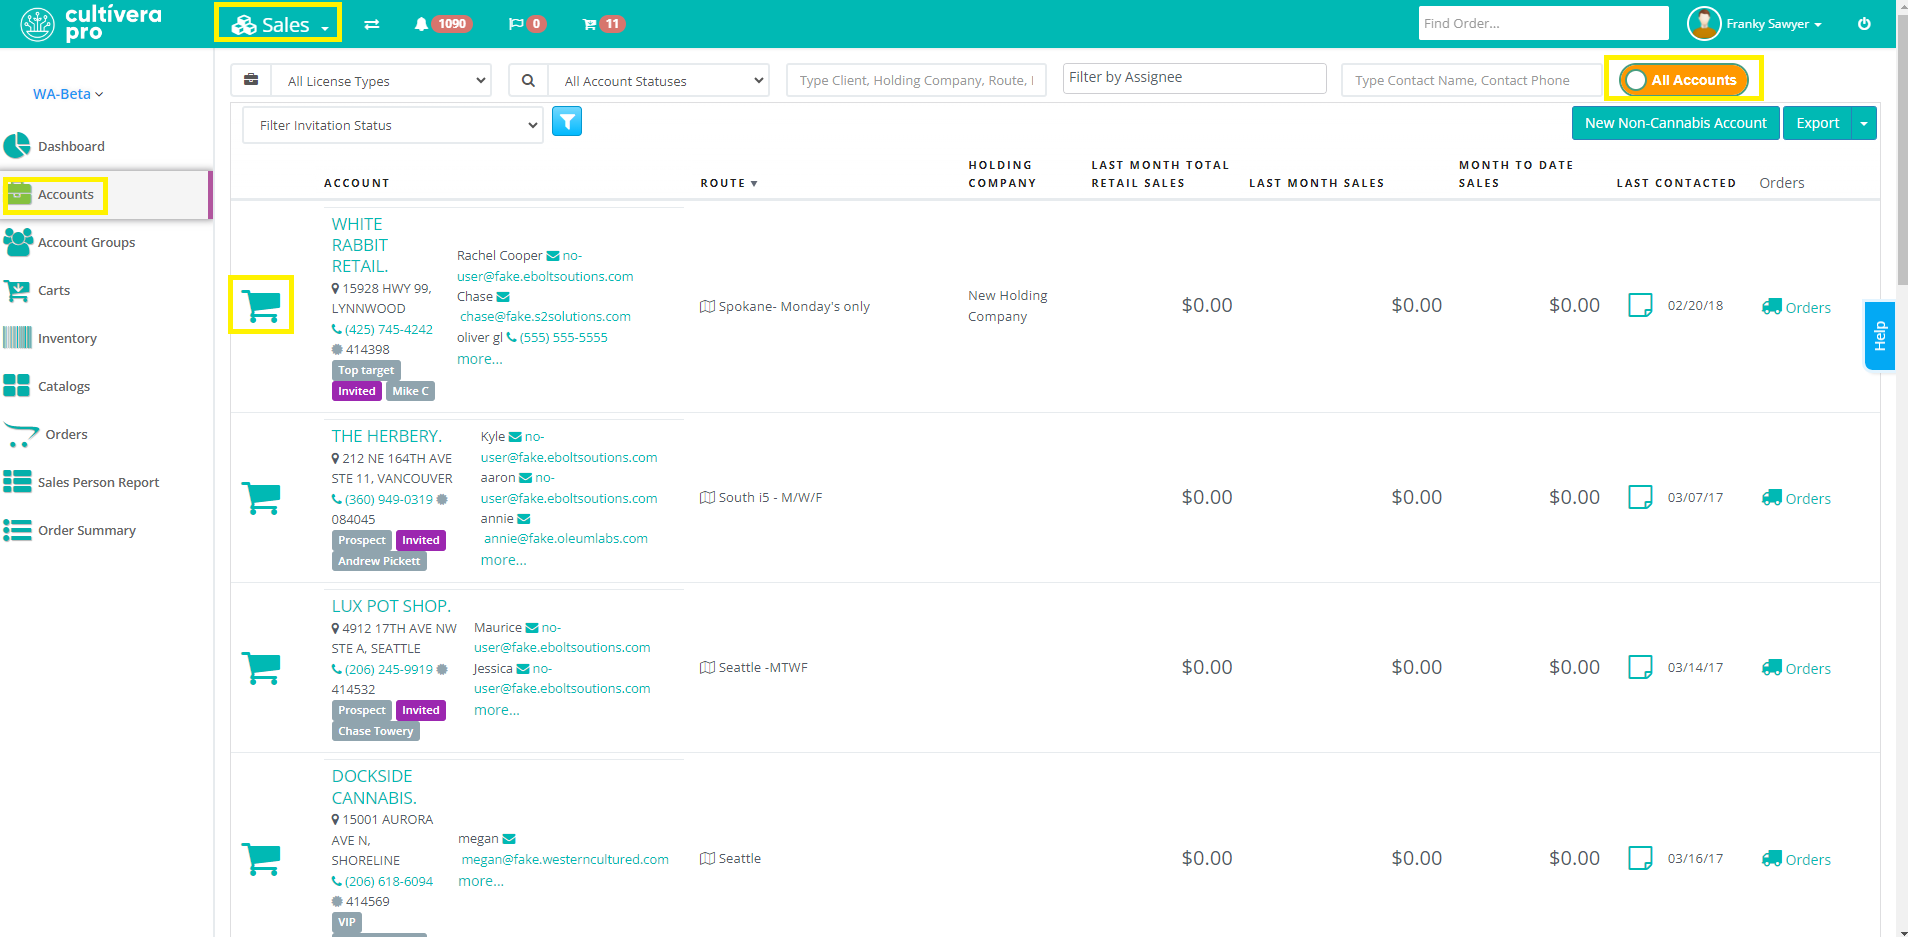
- Navigate to Sales > Accounts and toggle to "All Accounts" then filter for the company name or license number intended for the transfer. Then Select the shopping cart icon to "Start New Cart".
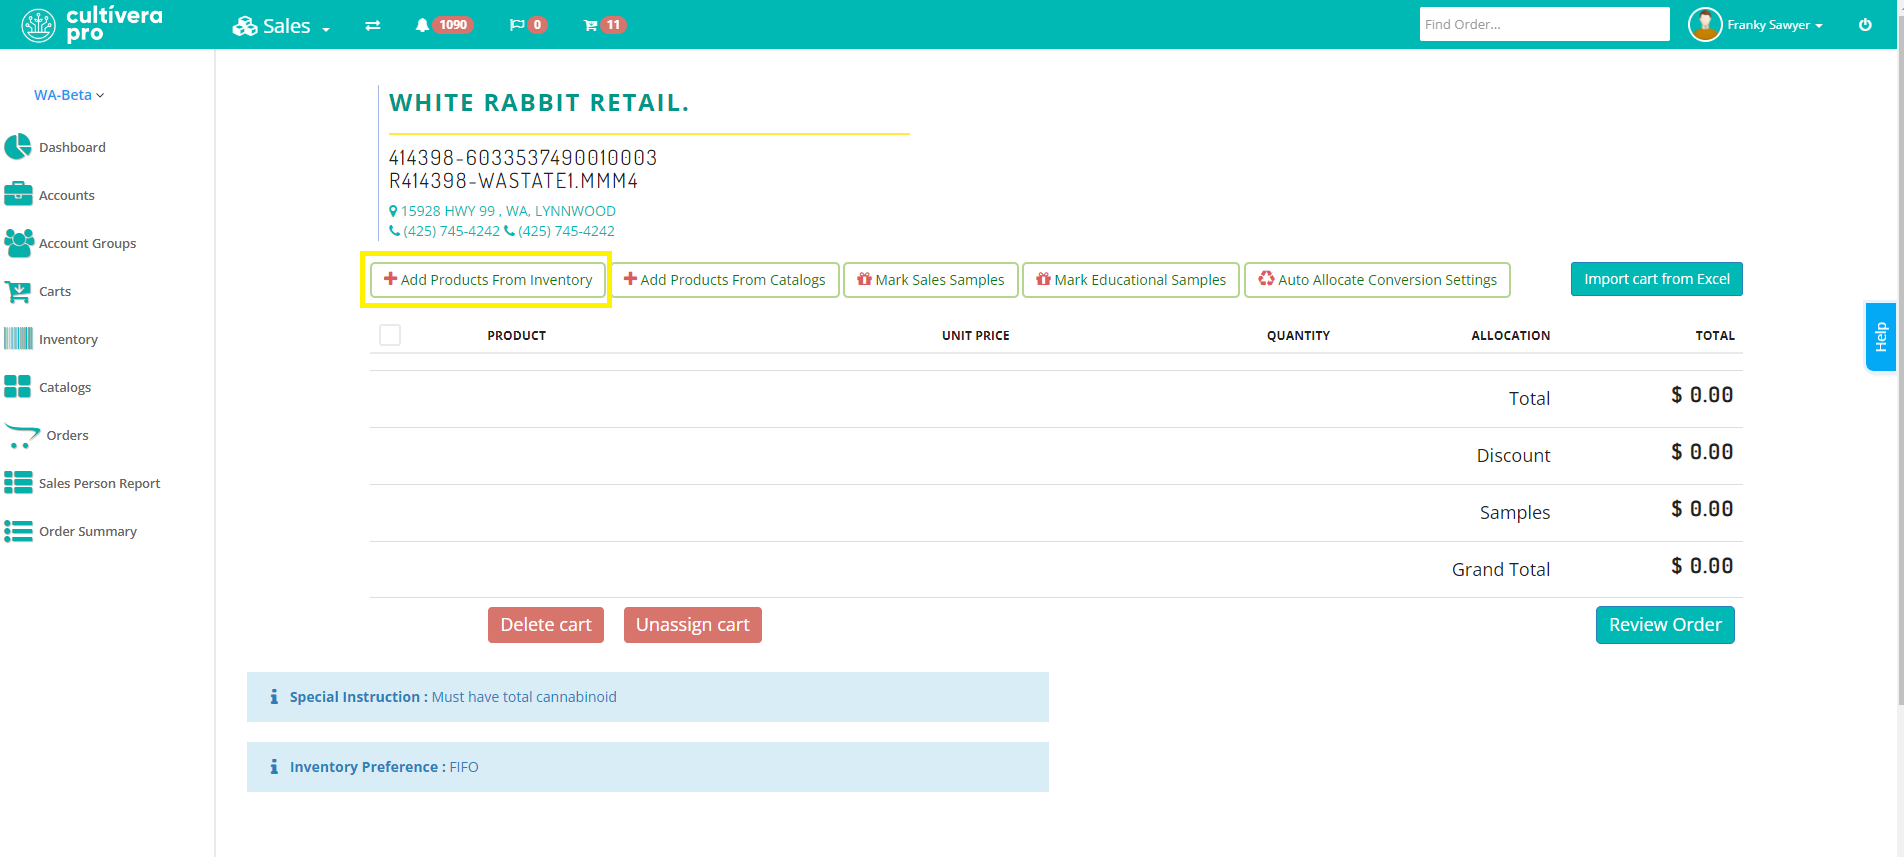
- Once the new cart has been created, select "Add Products From Inventory":
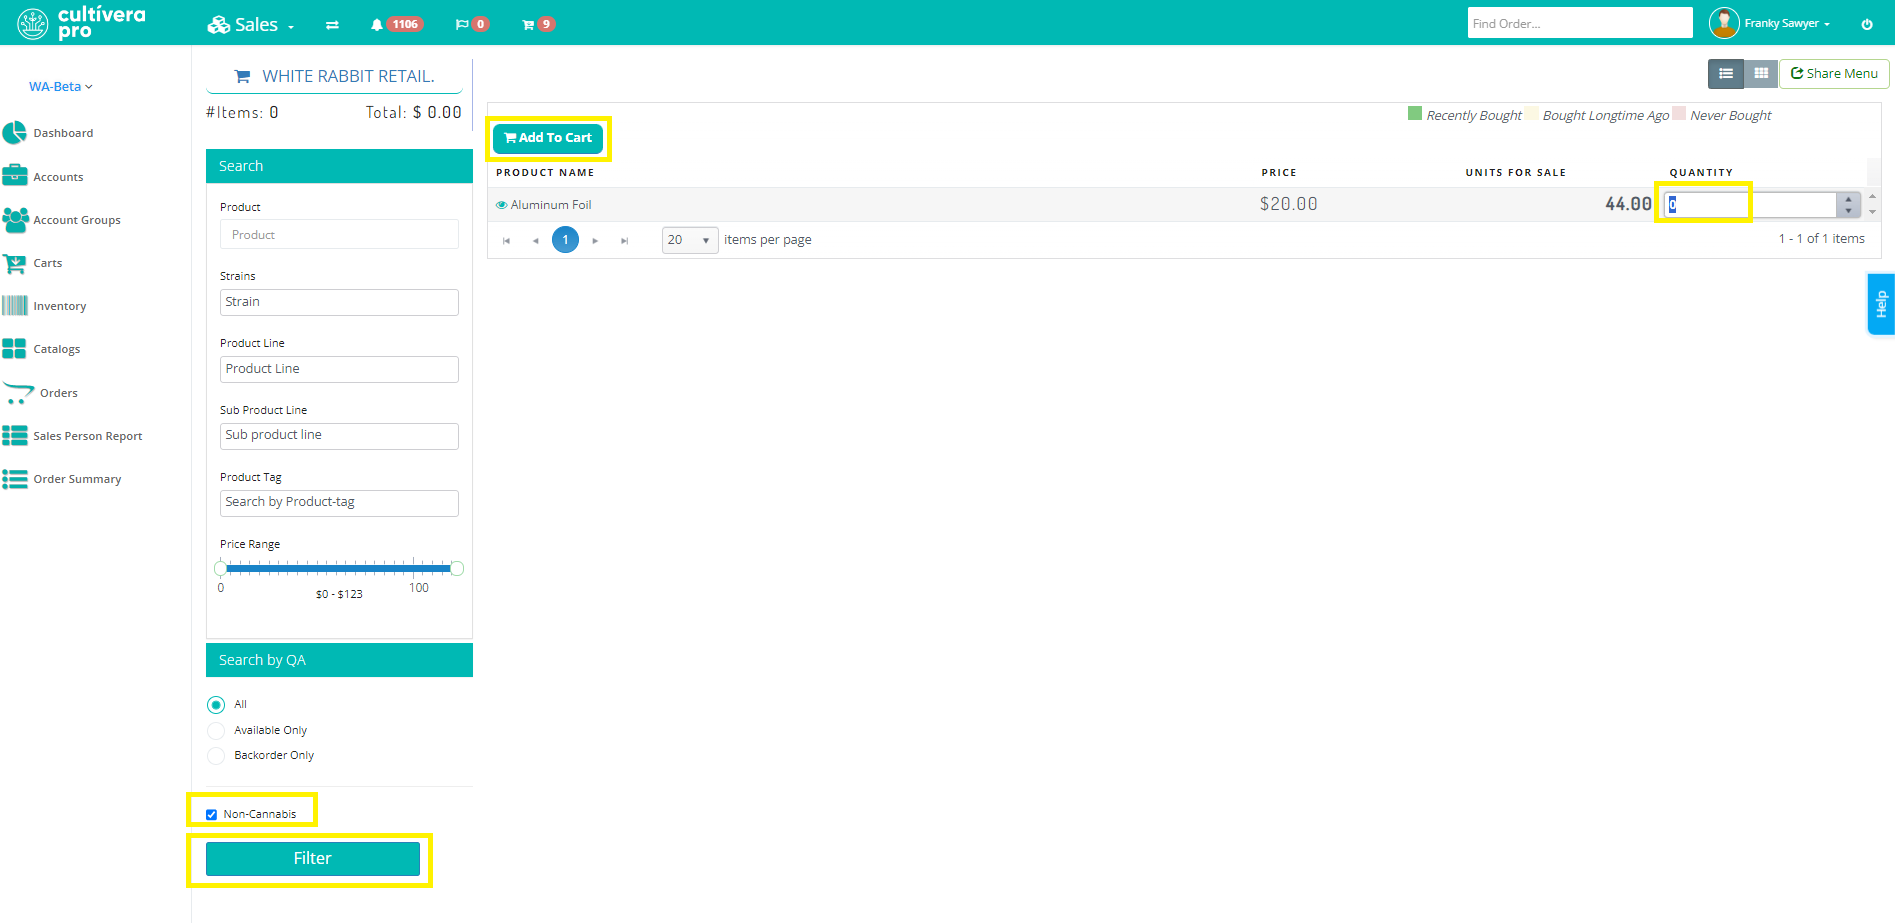
- You will be redirected to the Sales > Inventory screen where you can select the "Non-Cannabis" checkbox > Filter > and begin adding items to the cart. You will need to click directly into the "Quantity" field to add the units needed, then click the Add To Cart button:
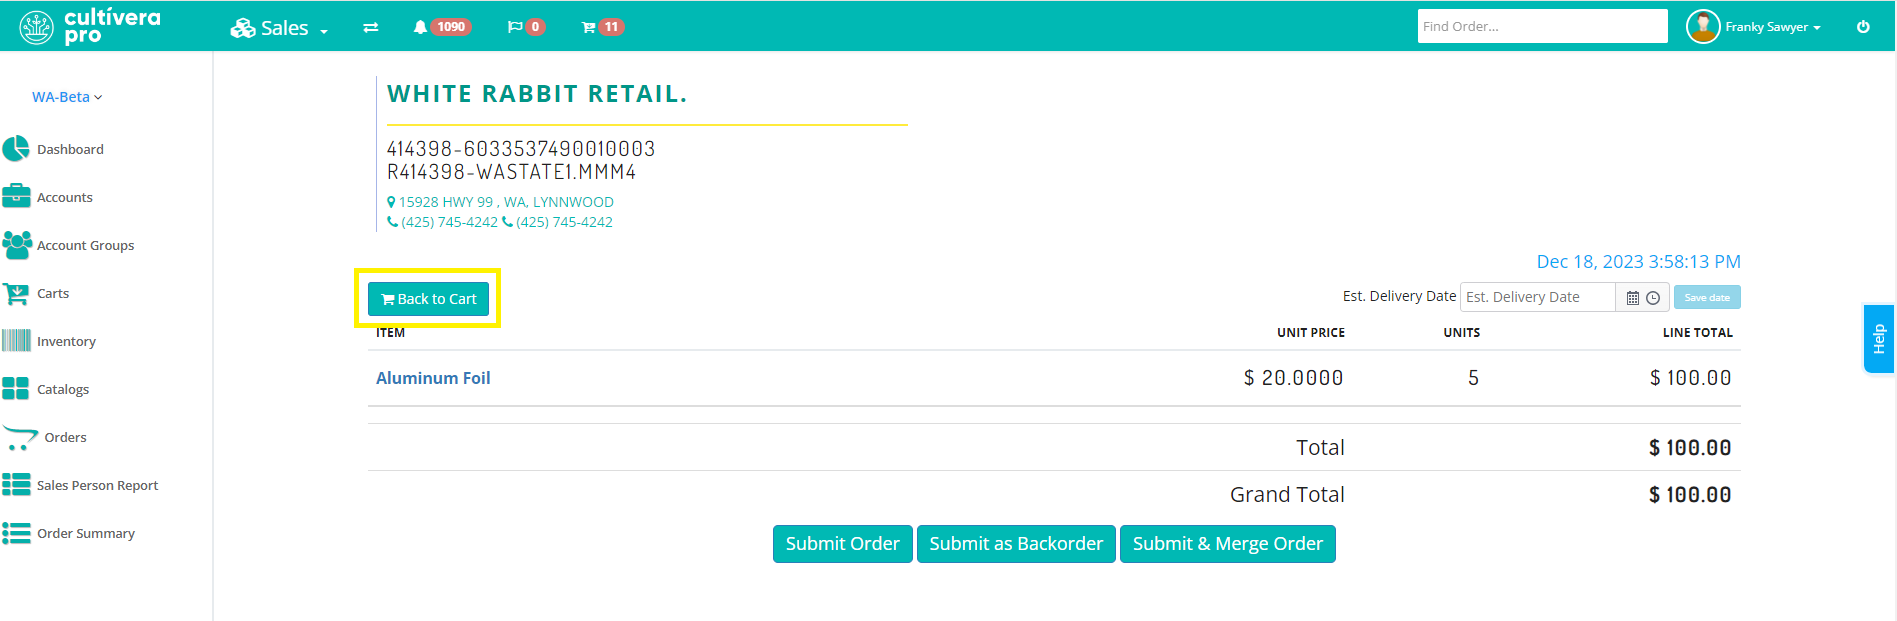
- Once all of the line items have been added to the Sales > Cart, select “Back to Cart”.
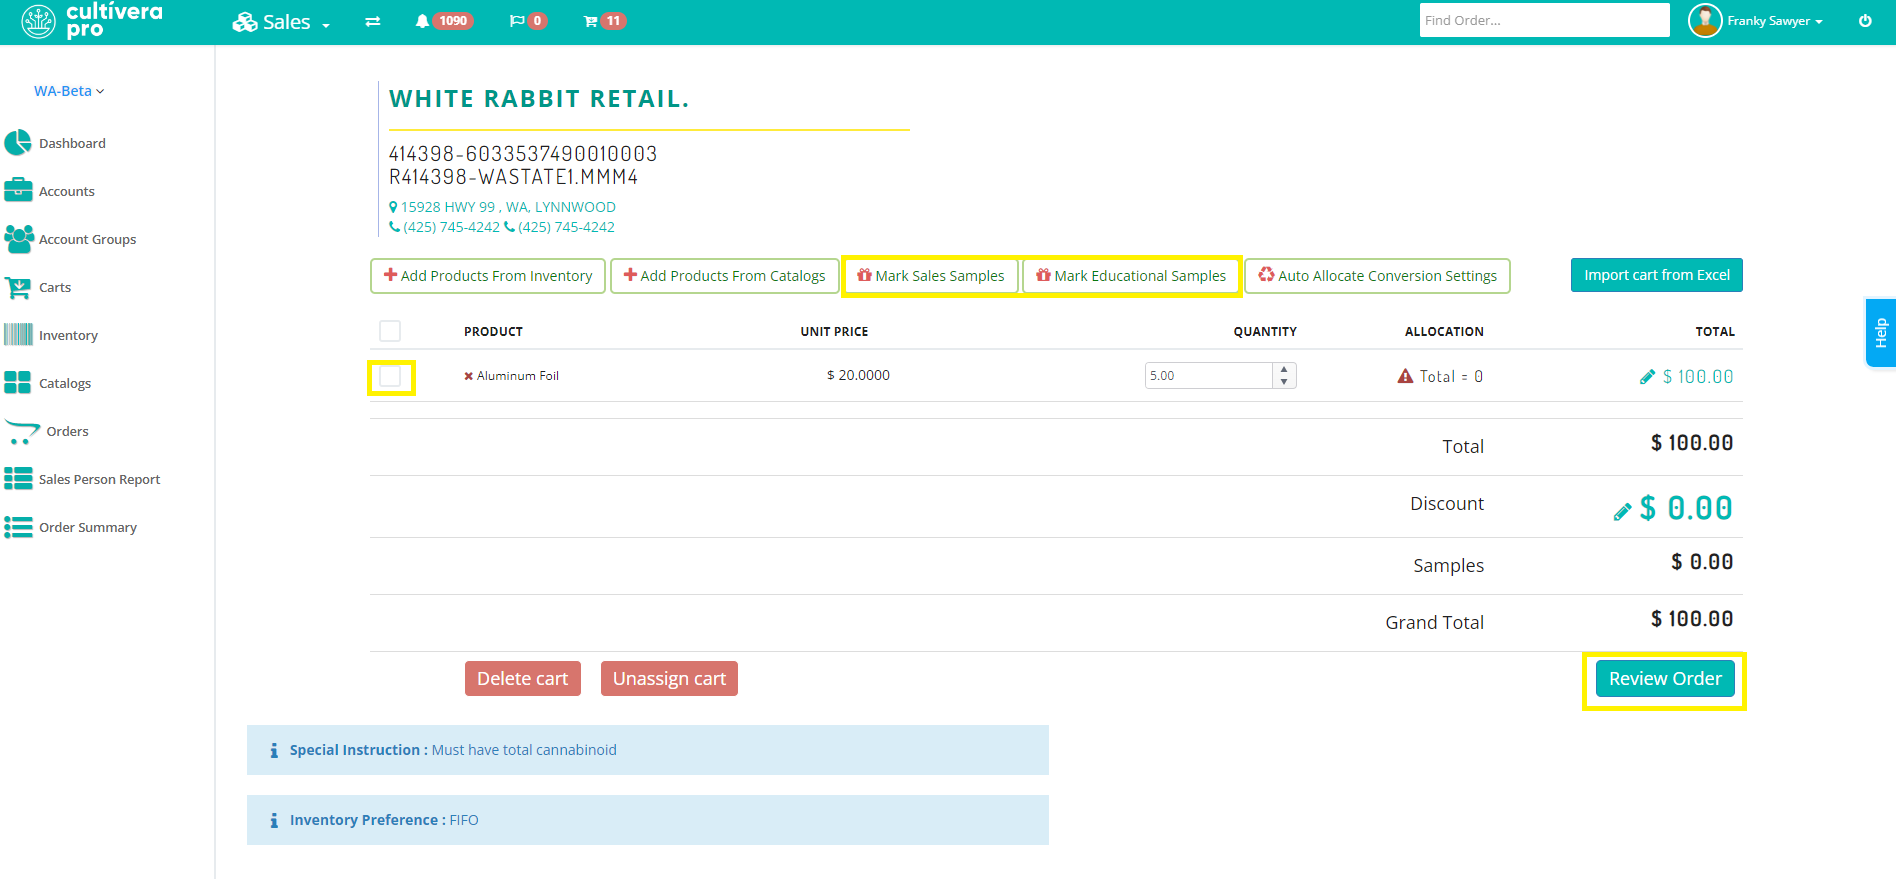
- You can select any "Sample" line items to mark as "Educational Samples" or "Sales Samples" before reviewing and submitting the Cart as an Order. Once all items have been added, select "Review Order":
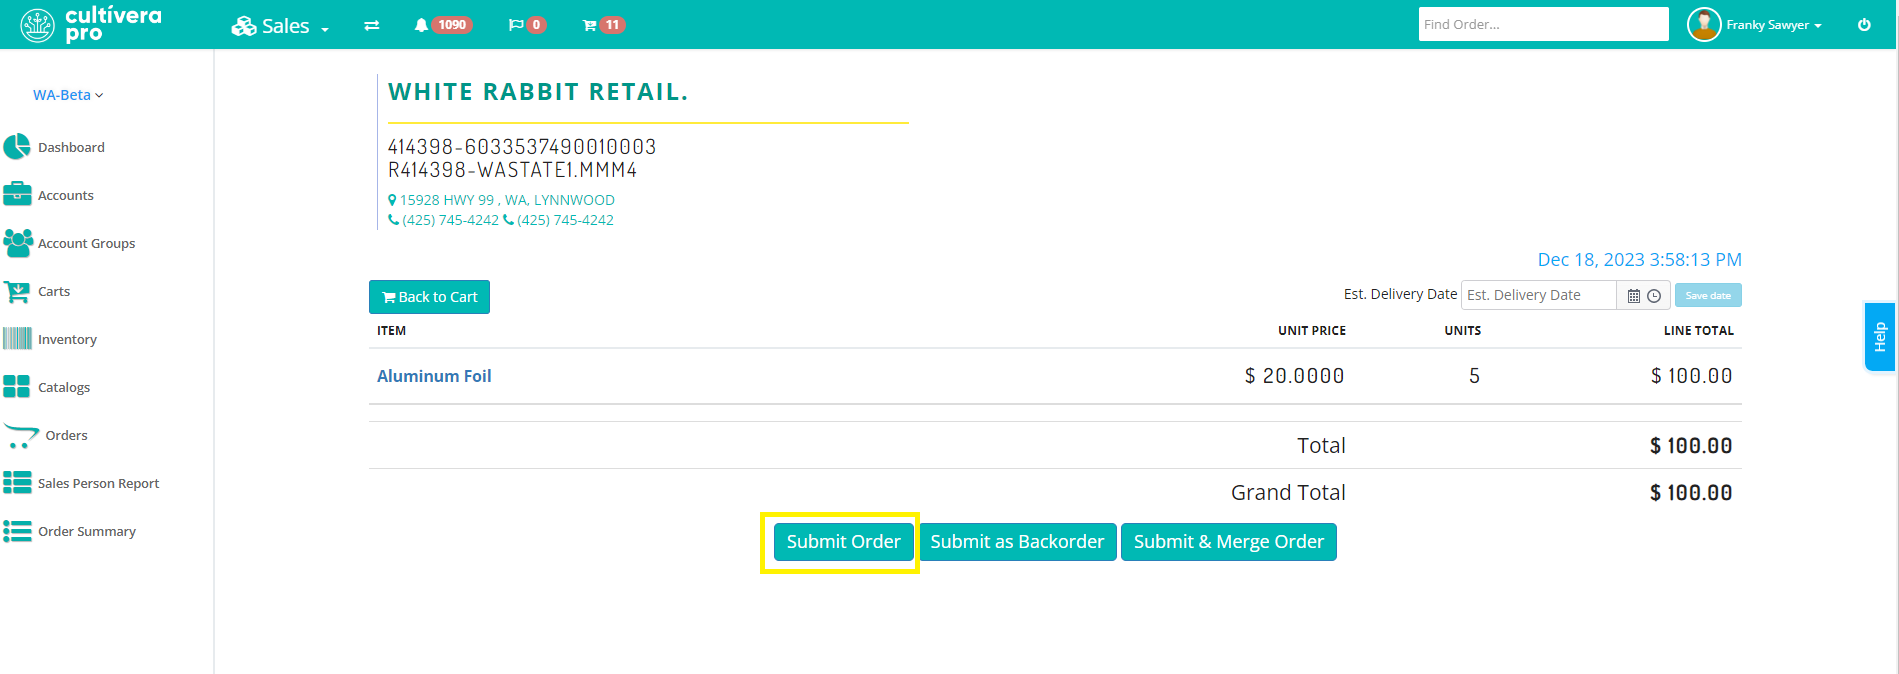
- Confirm the estimated delivery date and time, then select "Submit Order".
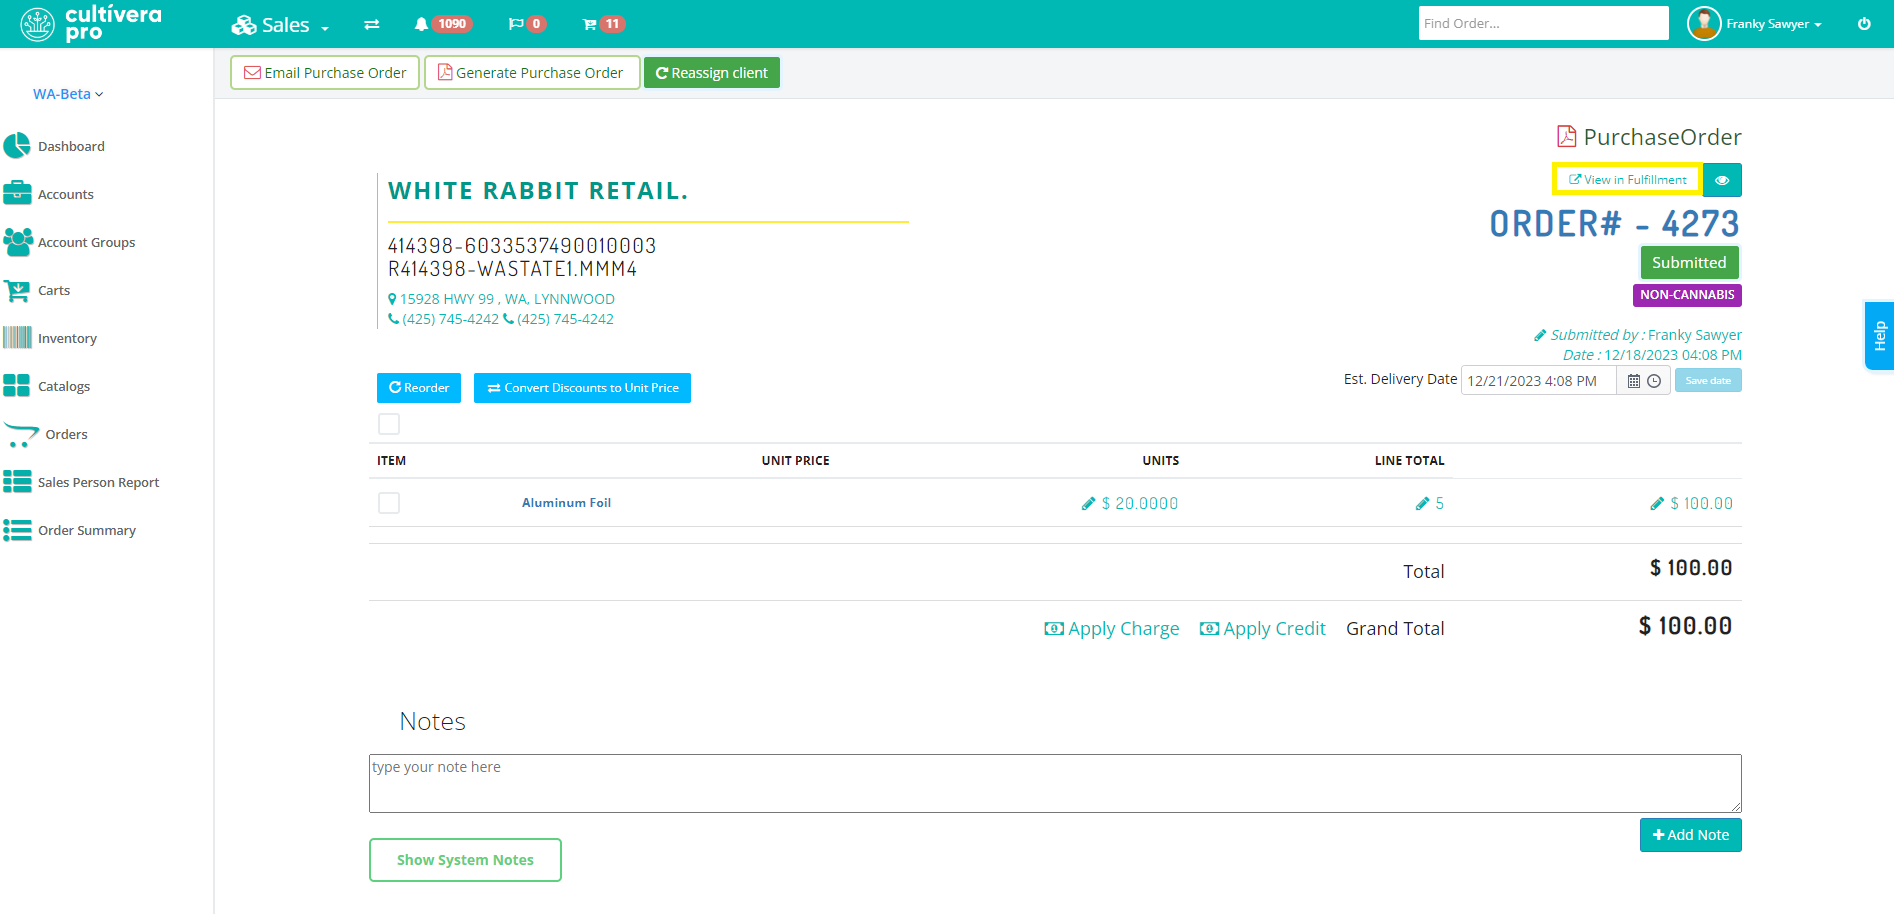
- Once the Order has been submitted, the Order Details page will allow you to make price or unit changes as needed by clicking the associated links (with the pencil icon). To move forward, click the "View in Fulfillment" link at the top right of the screen.
- On the Fulfillment Order Details page, you will see the "pre-packaged" non-cannabis inventory listed as "allocated". Select either "Sublot" or "Skip Sublot" to fully sublot the order.
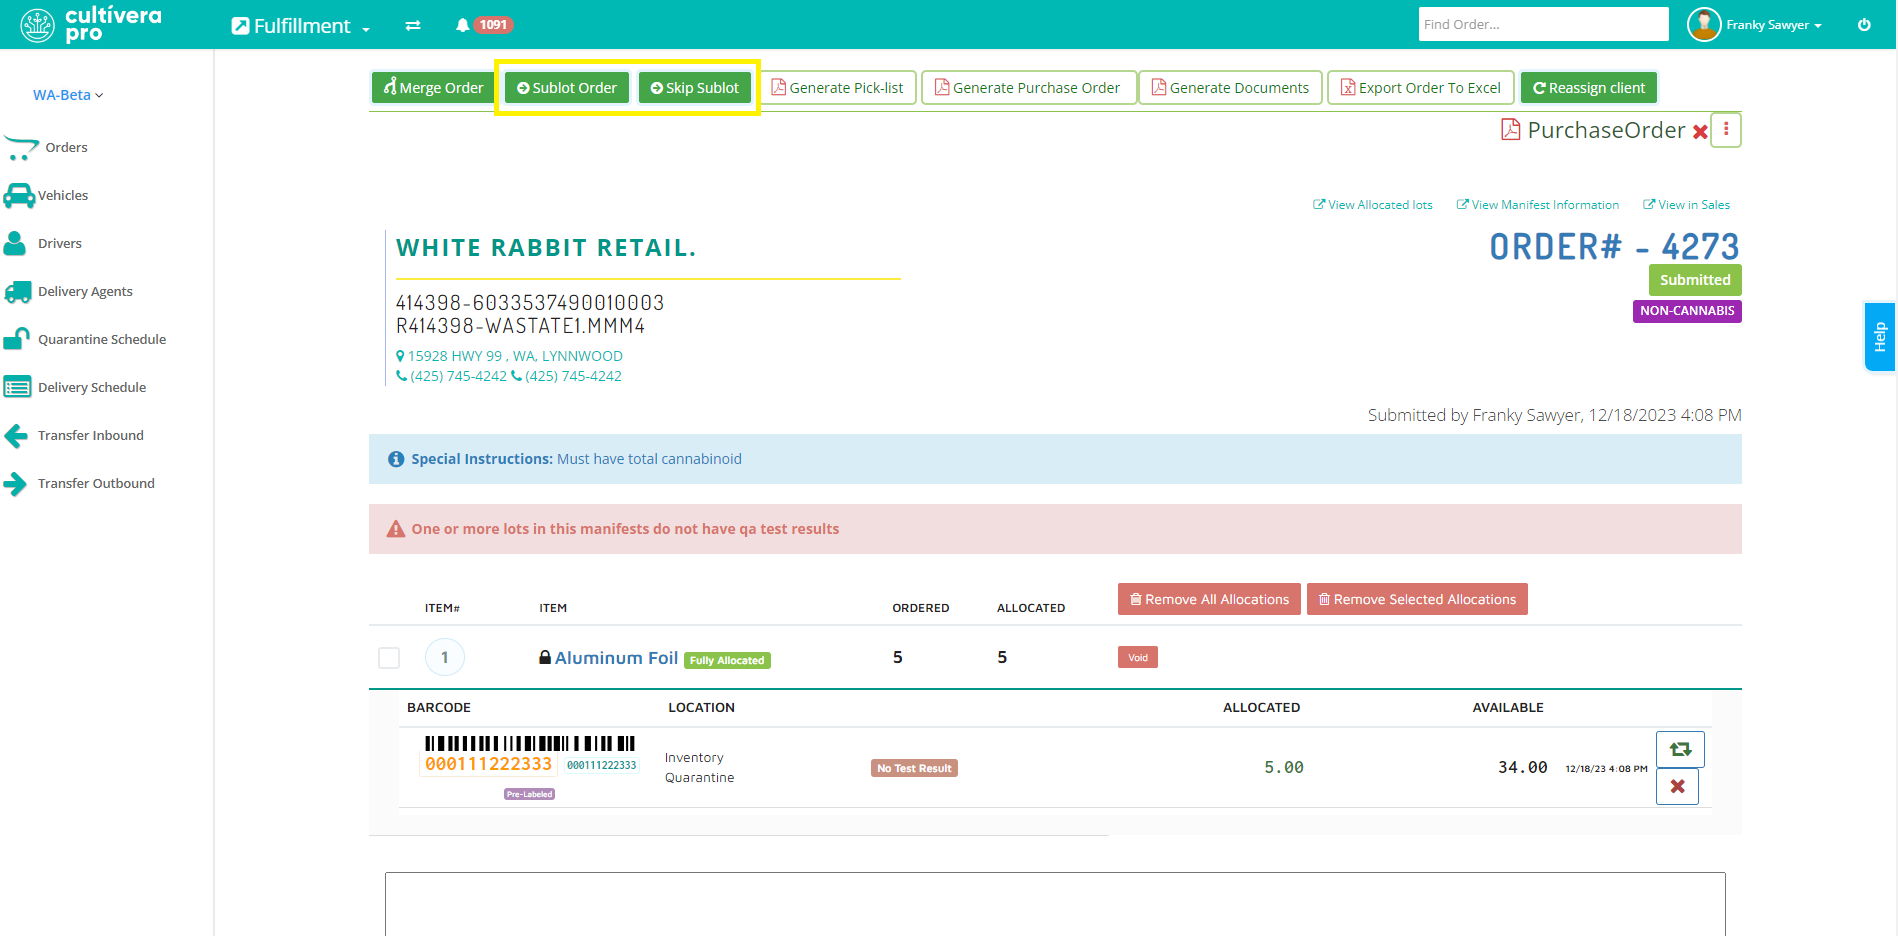
"Skip Sublot" - retains the allocated barcodes on the order
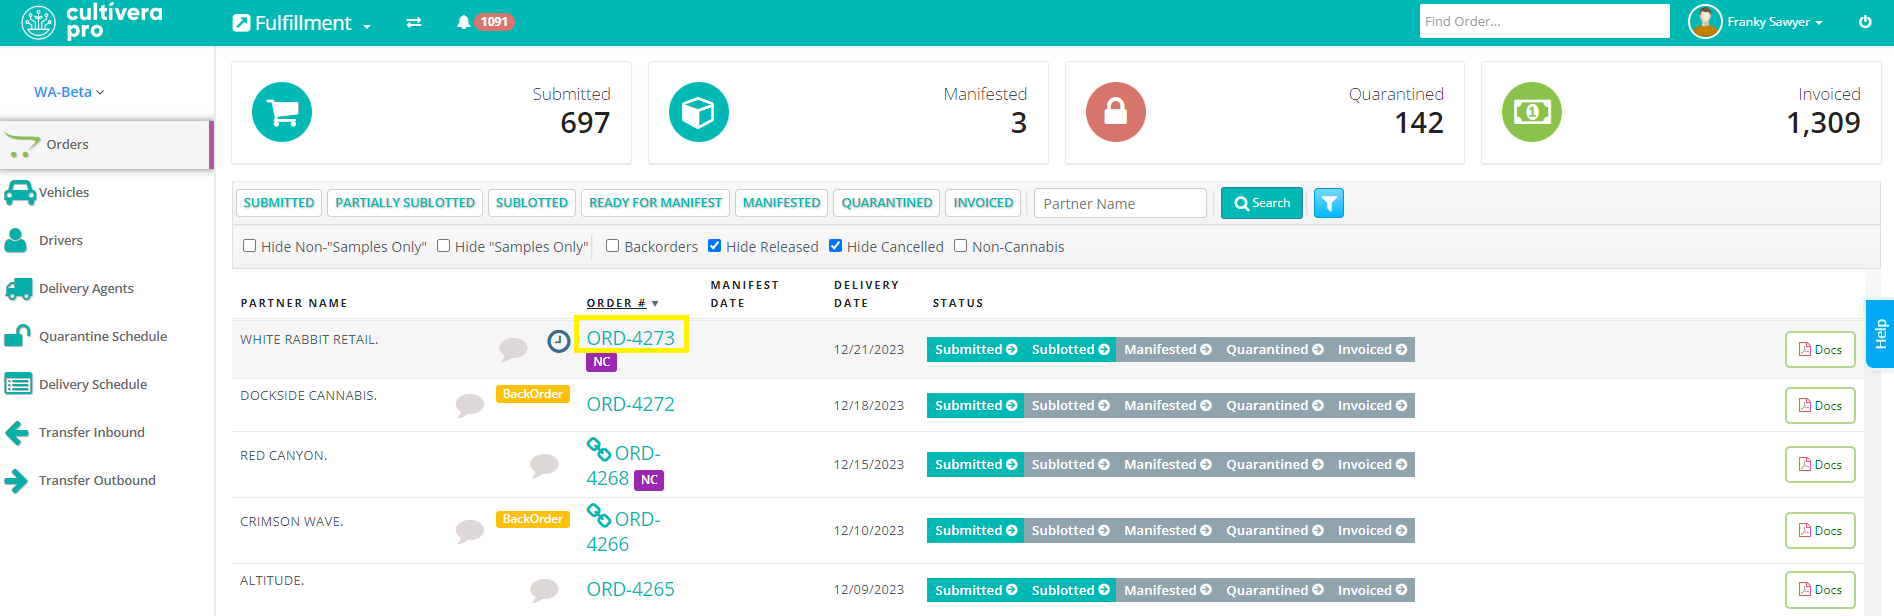
- After all line items on the order have been "Sublotted," you may navigate back to Fulfillment > Orders, where you can click on the Order # to go back to the view Order Details page.
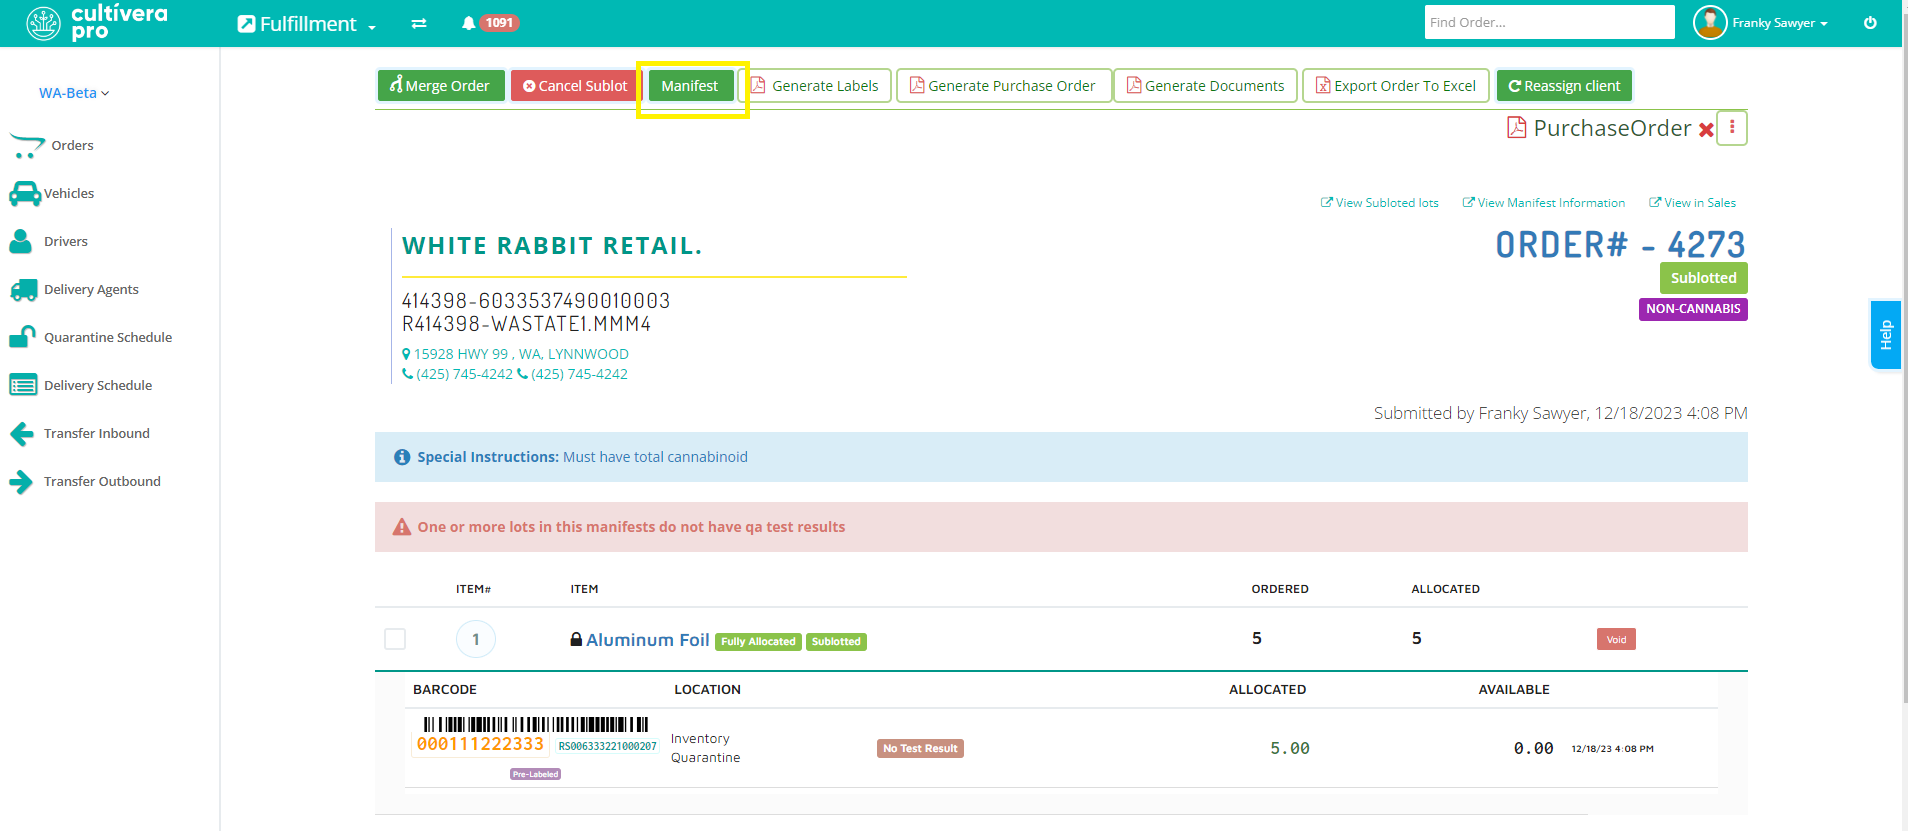
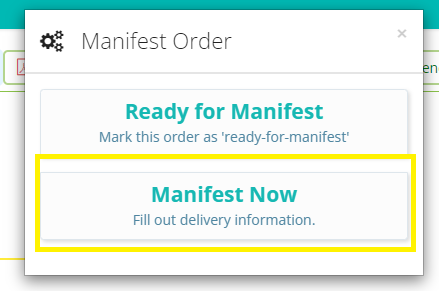
- From here, select Manifest > "Manifest Now" and enter the manifest information as needed. Then select "Save & Manifest".
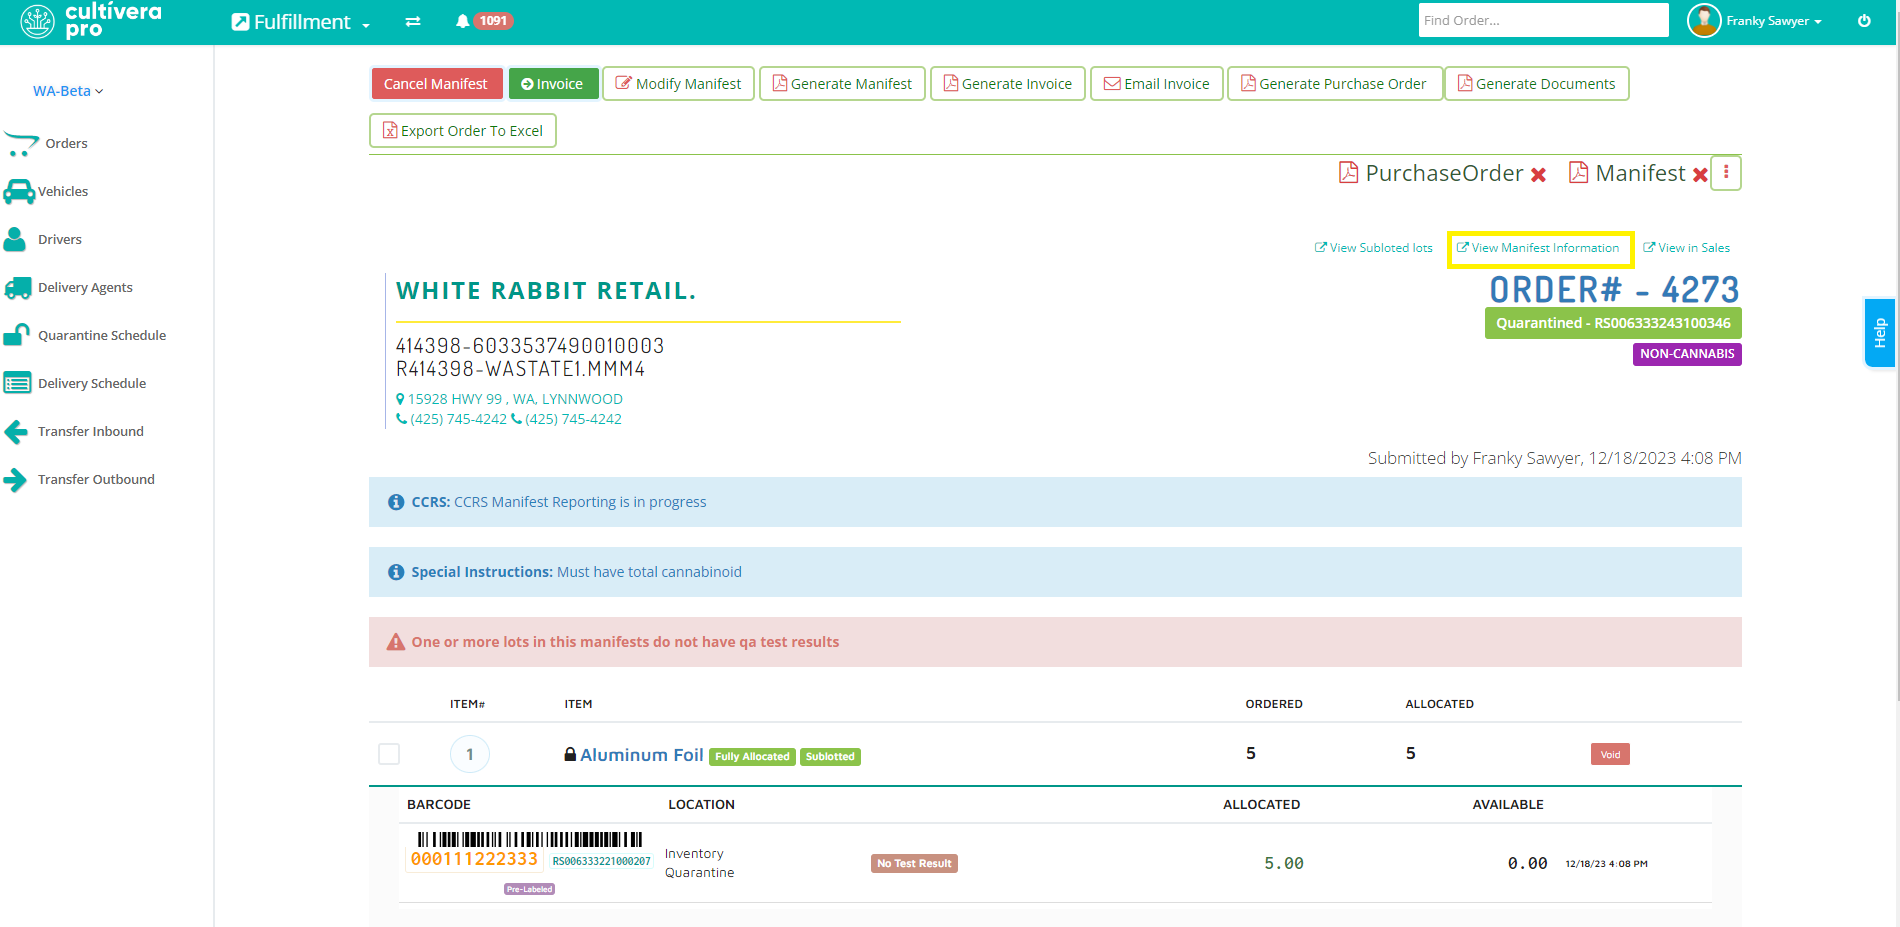
- Next, click on "View Manifest Information" (above the Order #) to generate the JSON link for the transfer, which can be emailed by selecting “Email WCIA Transfer Link”.
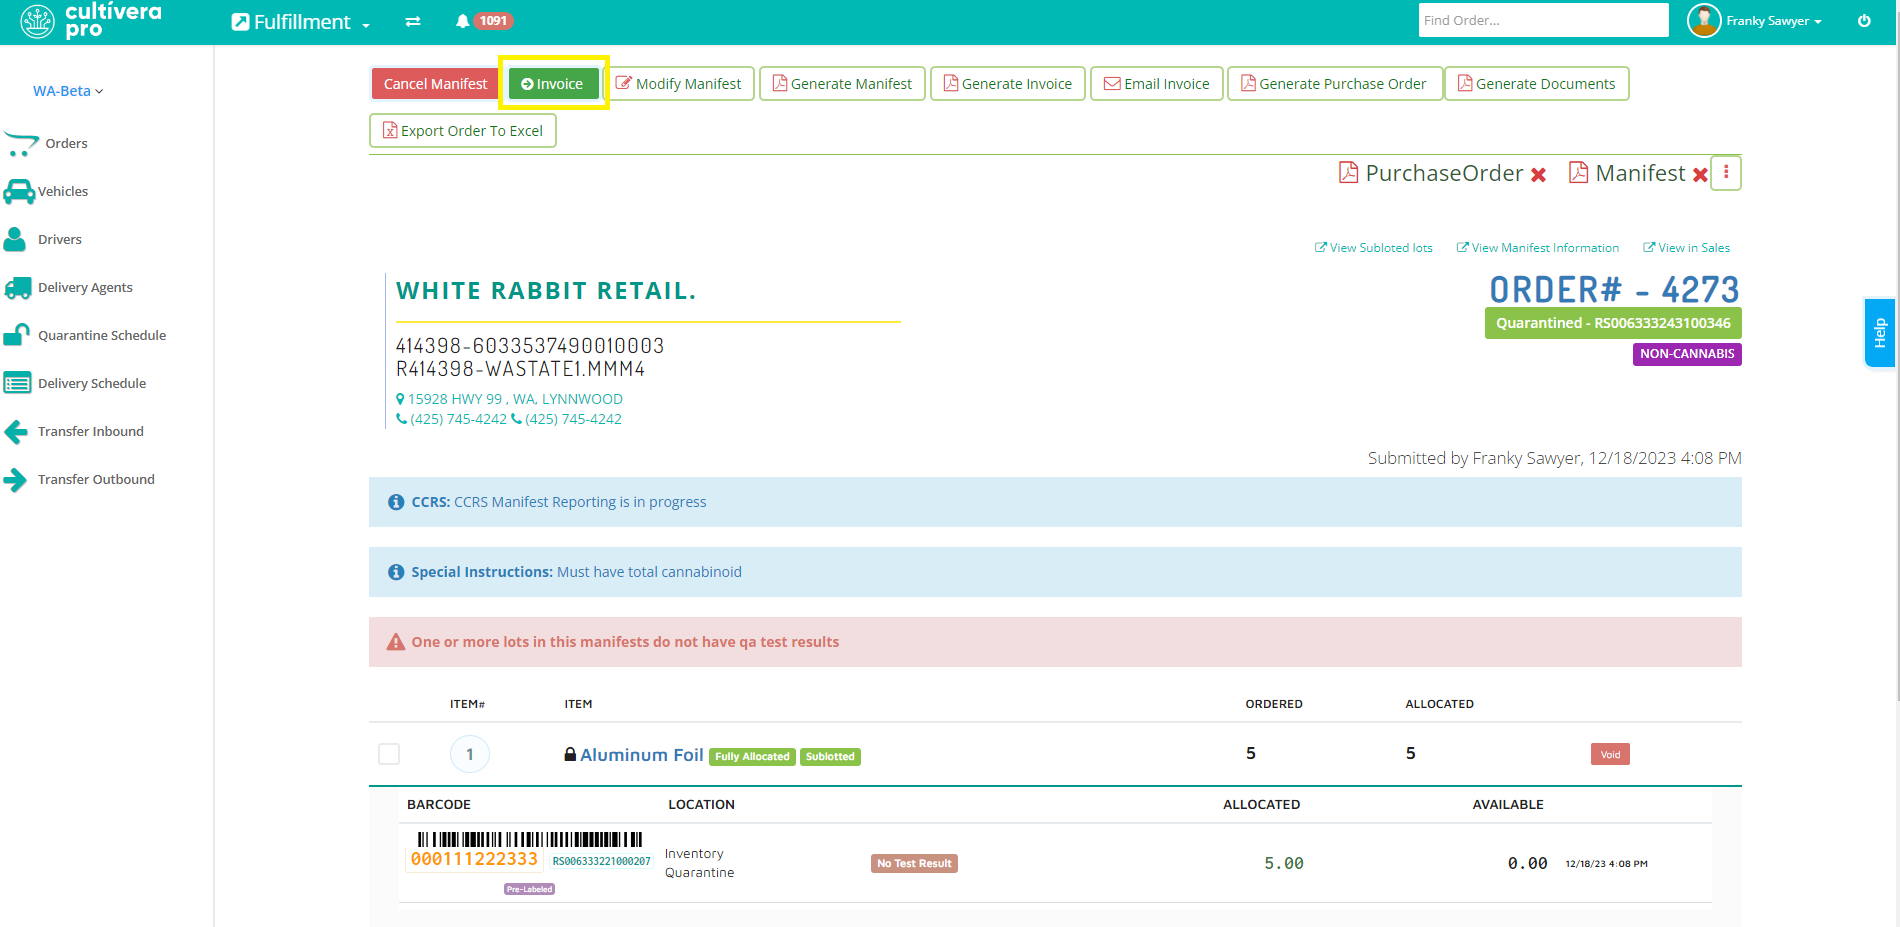
Once the order has been manifested, you may navigate back to Fulfillment > Orders > Order Details and select "Invoice".
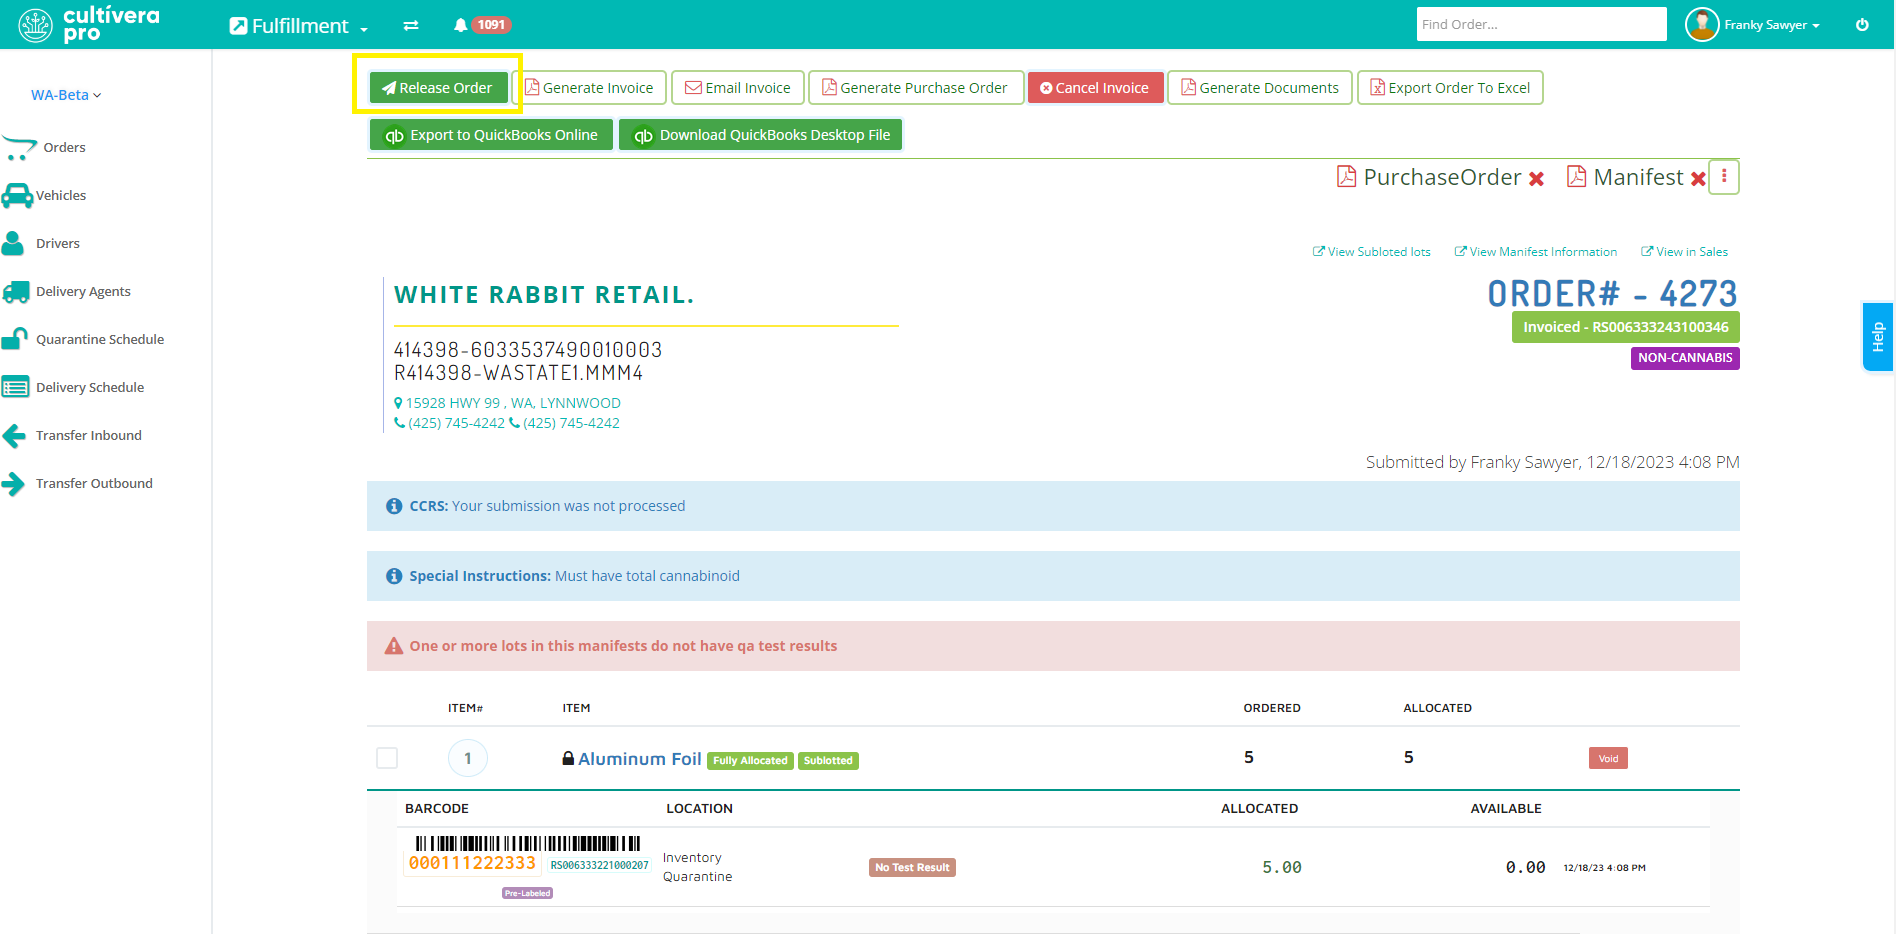
- The final step of processing the order is to select "Release" once the transfer has left the facility to be delivered. This will place the order in Fulfillment > Transfer Outbound, where the order can be marked as “Accepted”/”Rejected” as needed.
If you have any questions on this or any other workflow in Cultivera PRO, please email support@cultivera.com.