POS - Administration: Variant Types
POS Administration: Variant Types
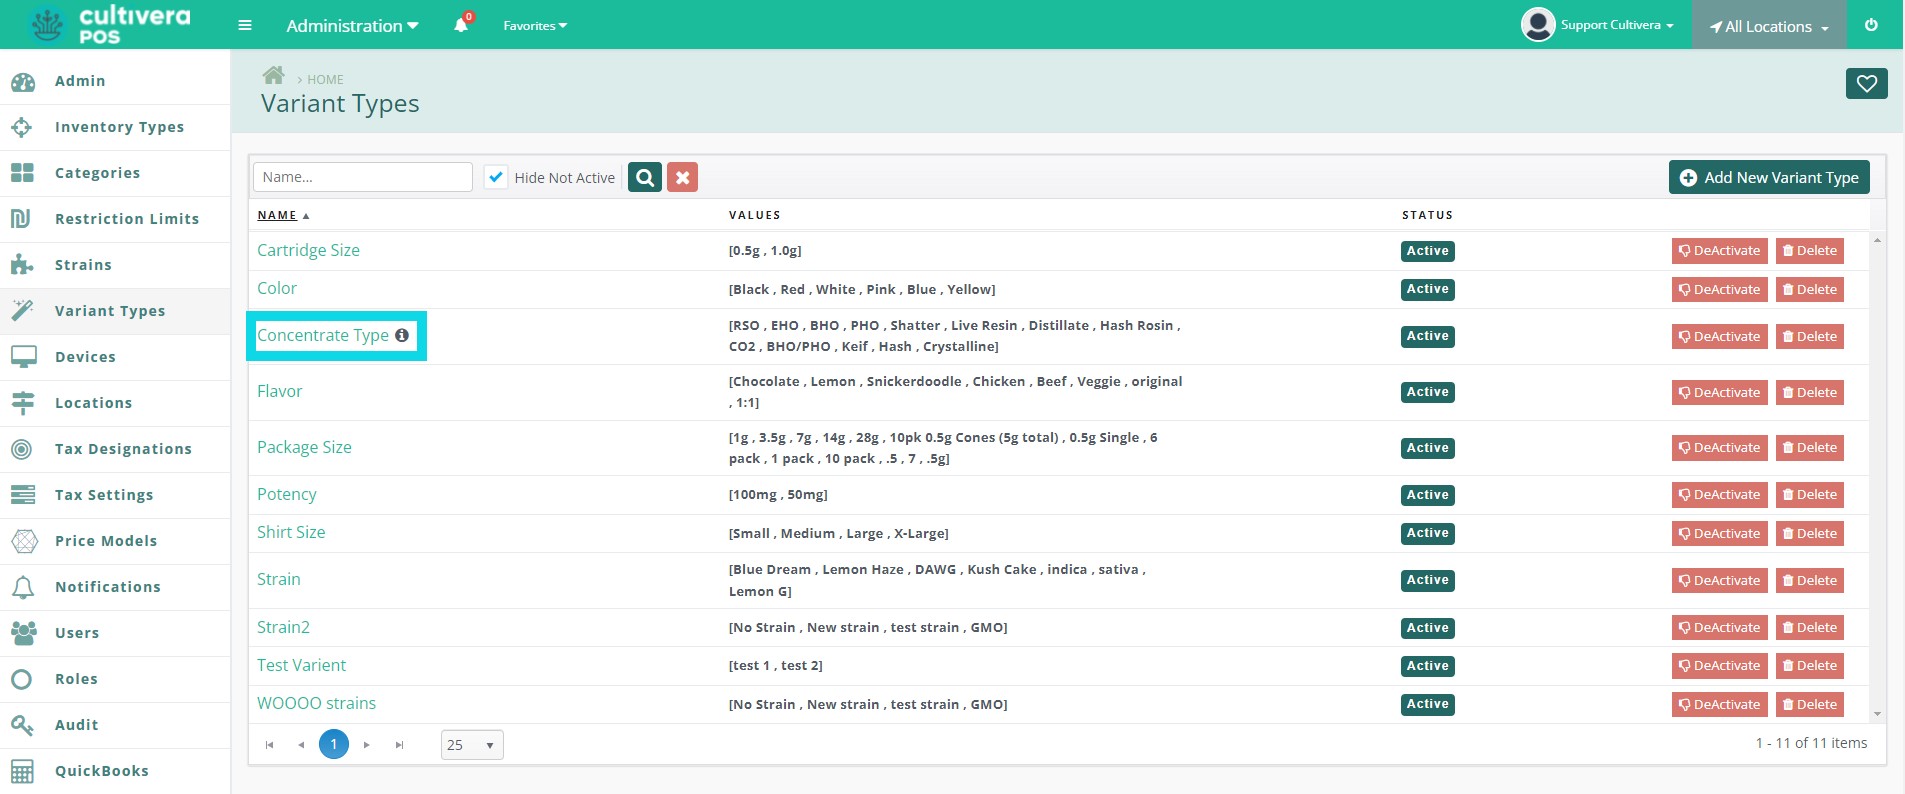
The Variant Types are where you can dictate the different variants and associated values that are acceptable to apply to your master products. Variants are a digital organization tool that can assist in unifying naming conventions as well as product organization. Each type will show a status of Active or Not Active, though deactivated variant types are hidden by default.
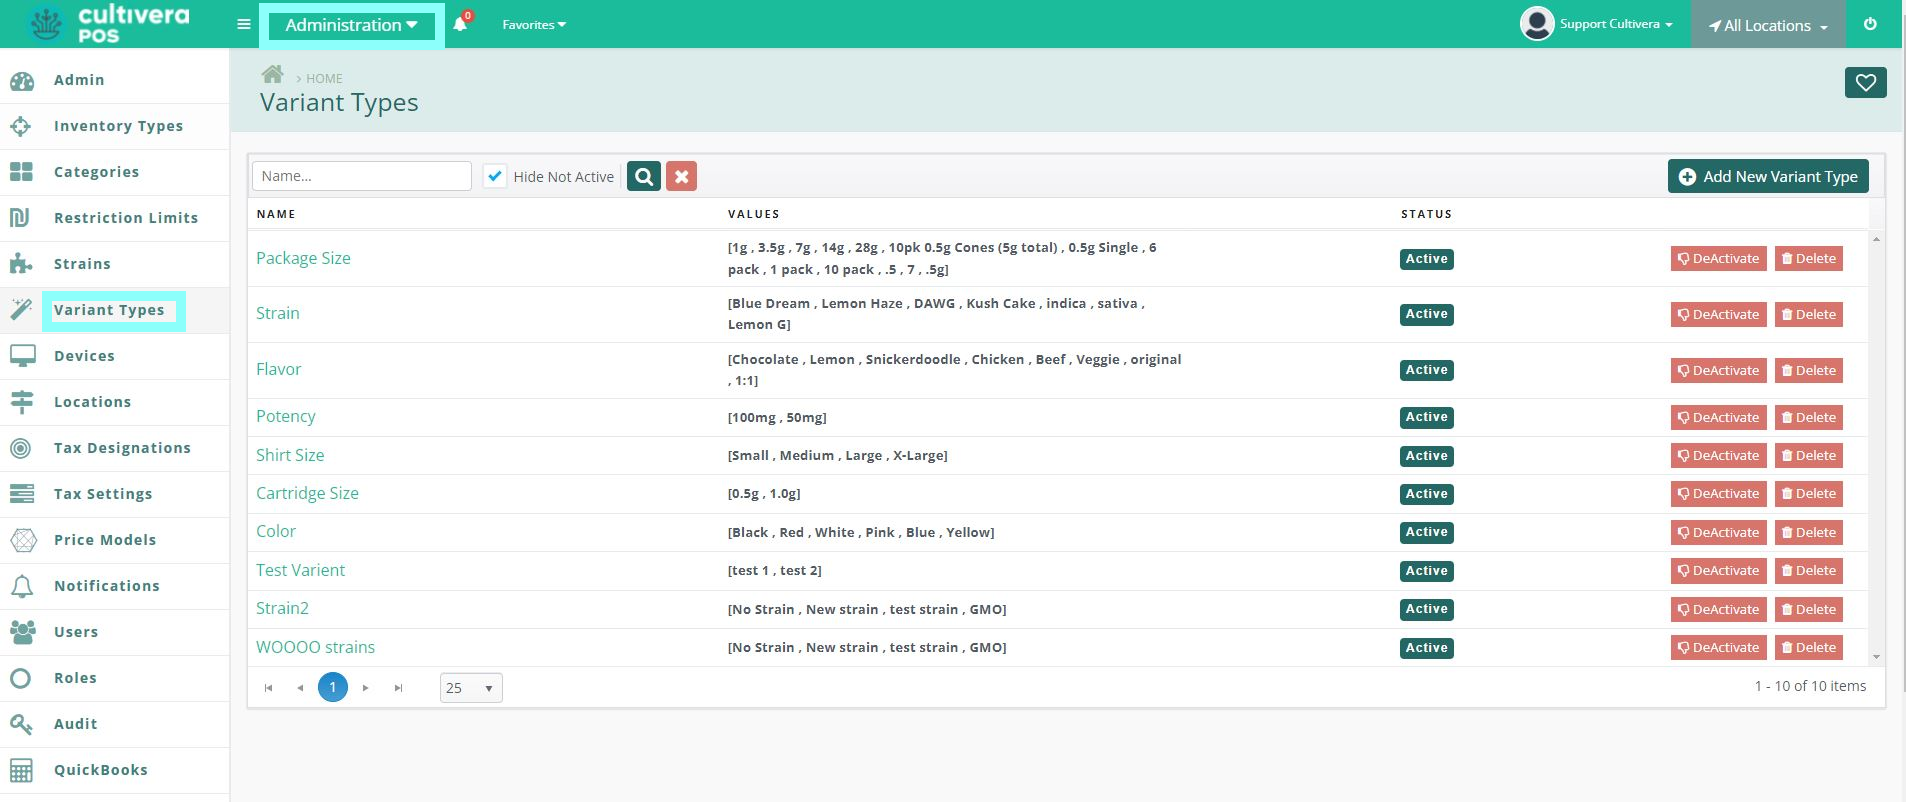
- Navigate to the Variant Types page in the Administration module.
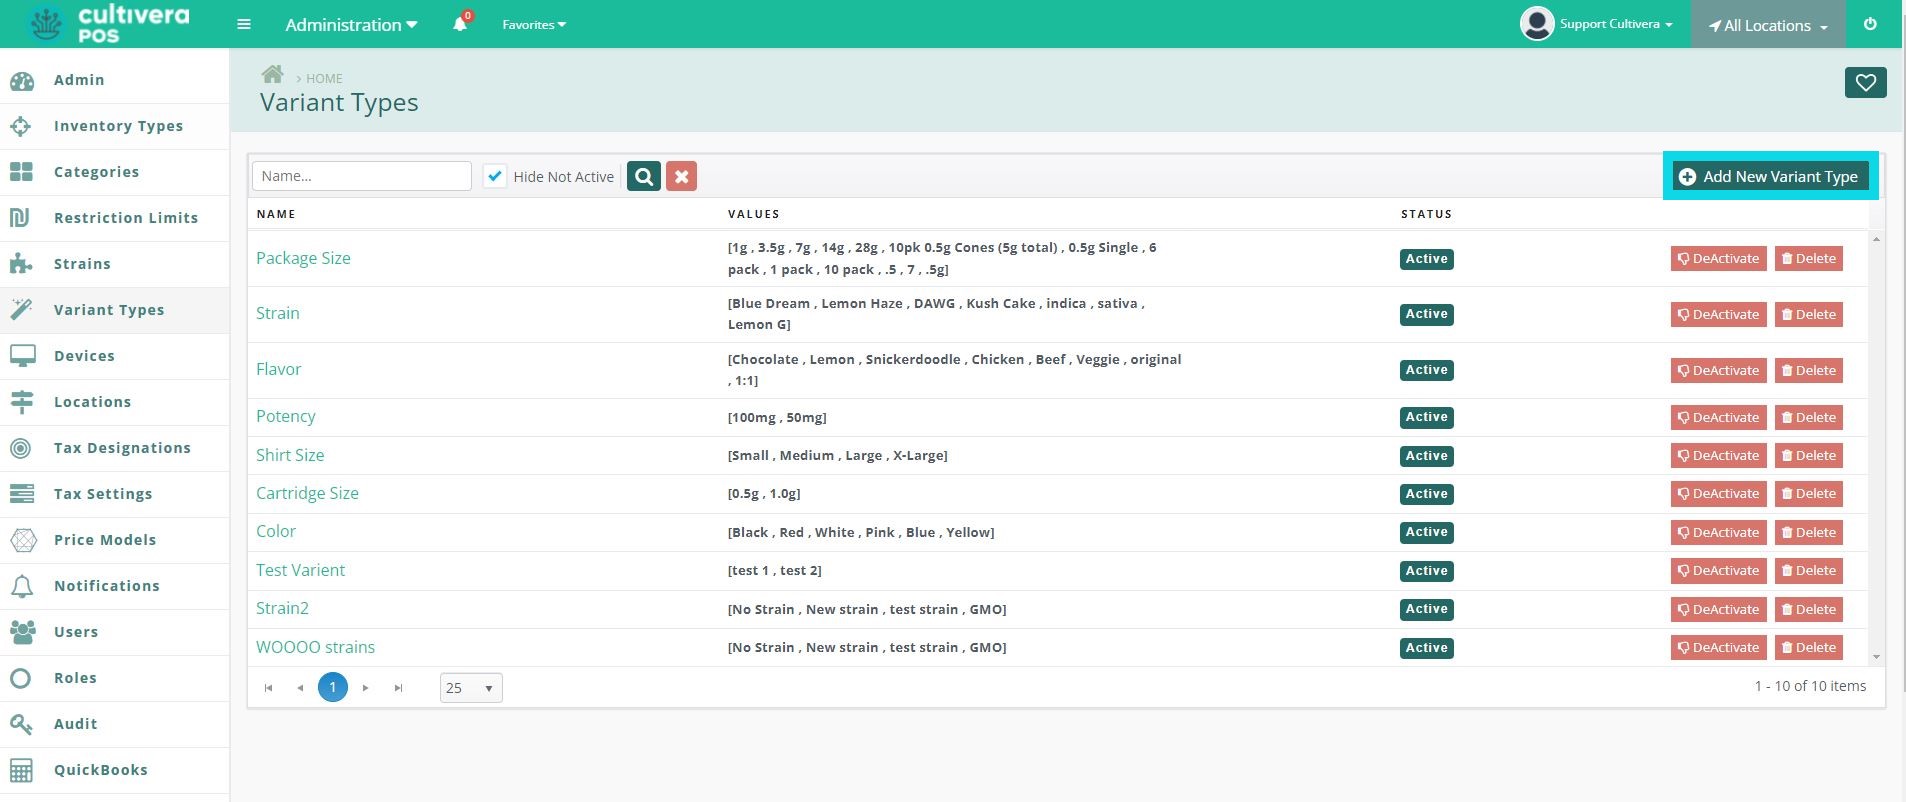
- To create a new variant, click the "Add New Variant Type" Button.
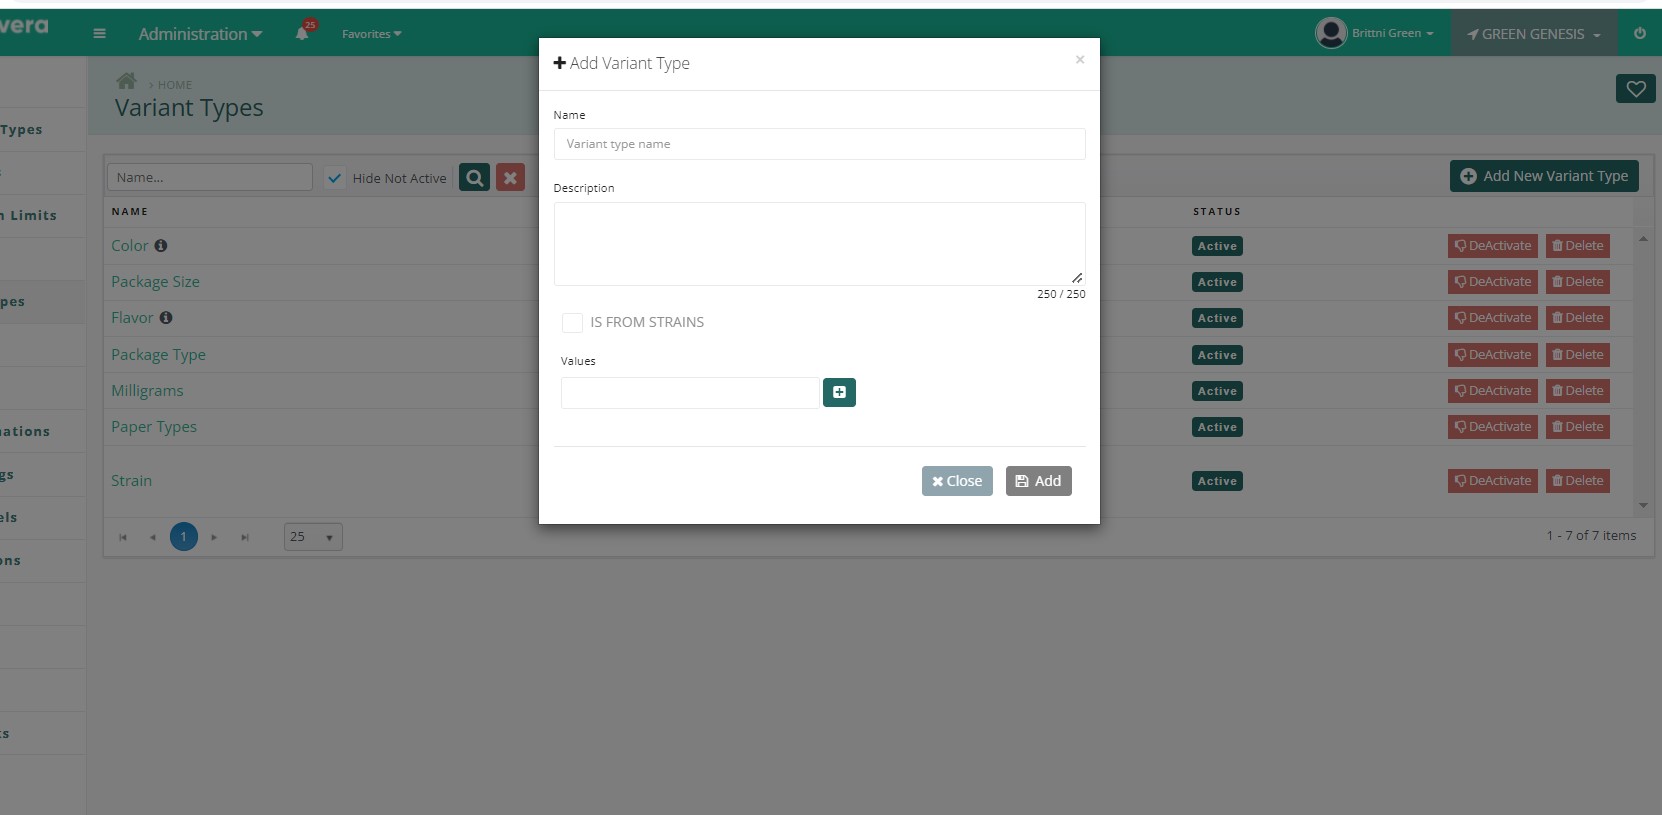
- Name the Variant Type and fill in the optional description.
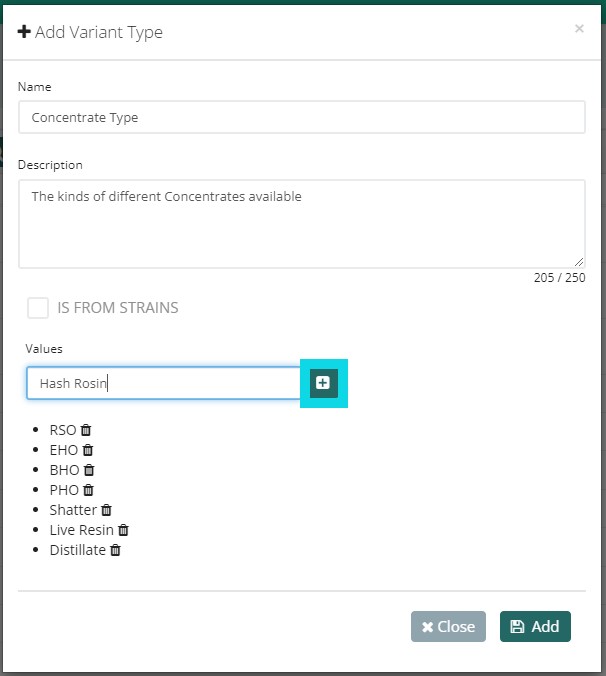
- To add values to the variant type, enter the name in the value field and click the green plus sign.
- To add a value or edit an existing variant type click the Variant Name link on the Variant Types page.
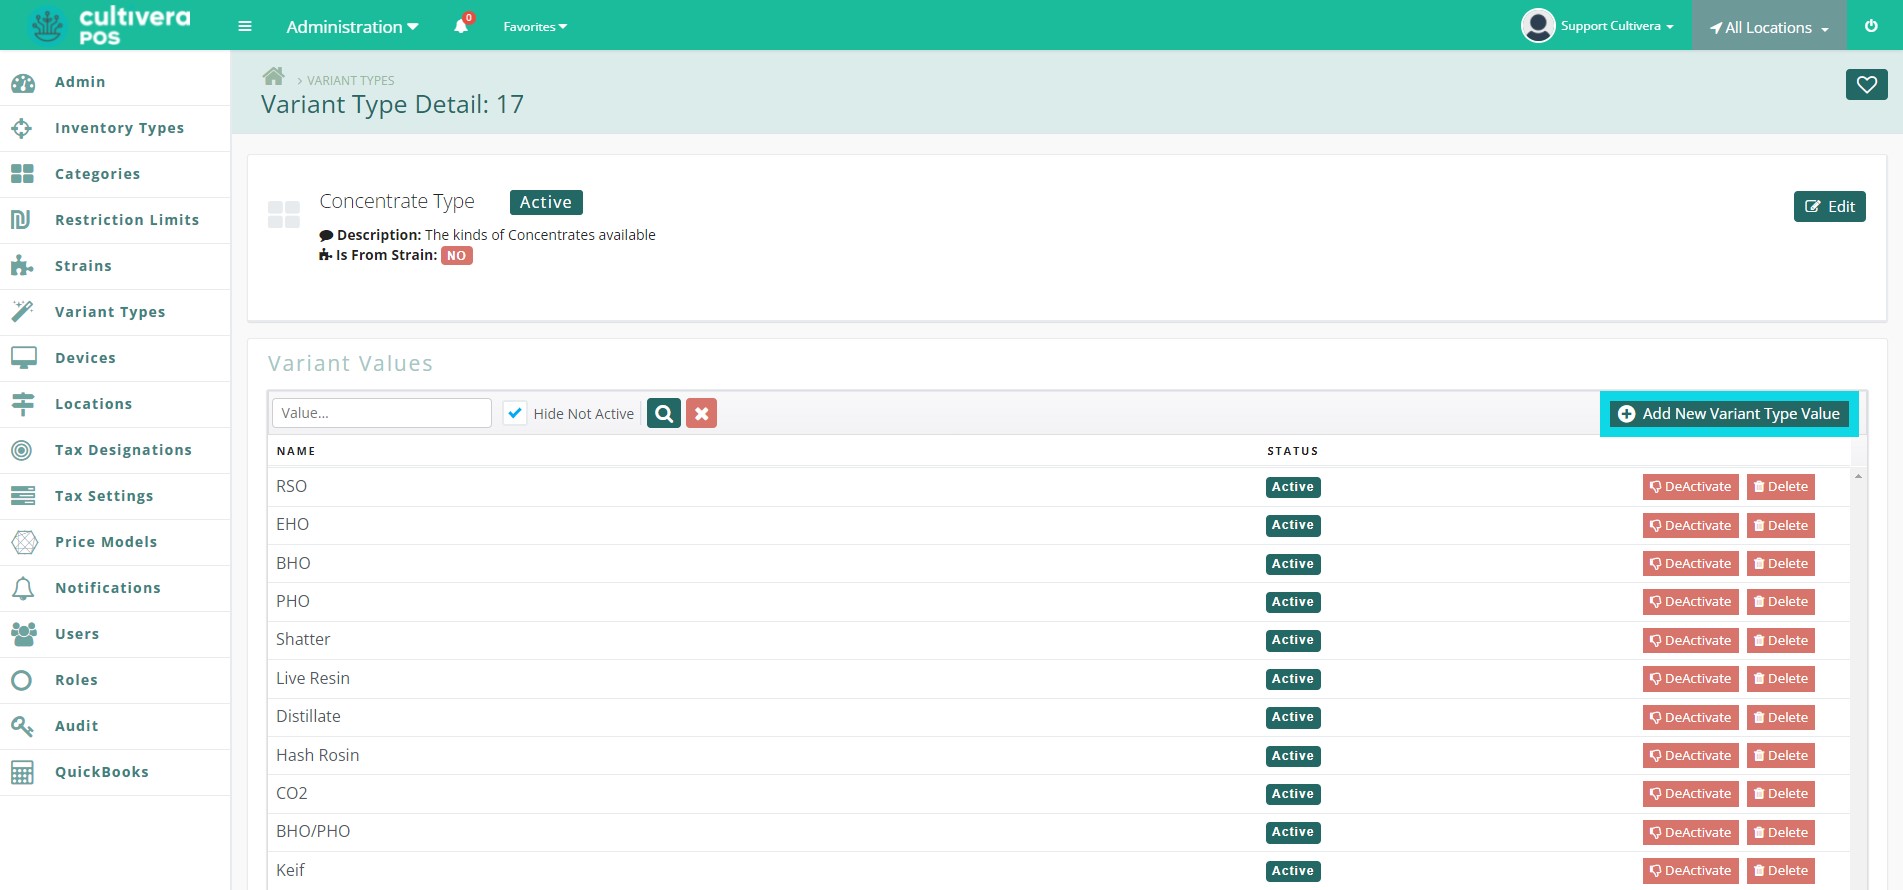
- To add a new variant type, click the "Add New Variant Type Value" button in the Variant Type Detail page.
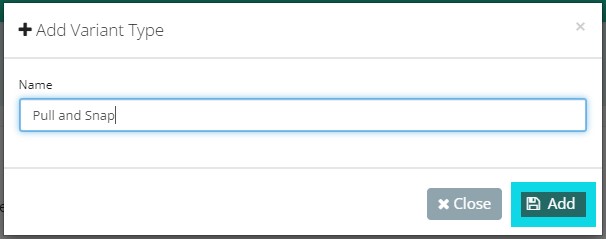
- Create the new variant type name, then click the "Add" button.
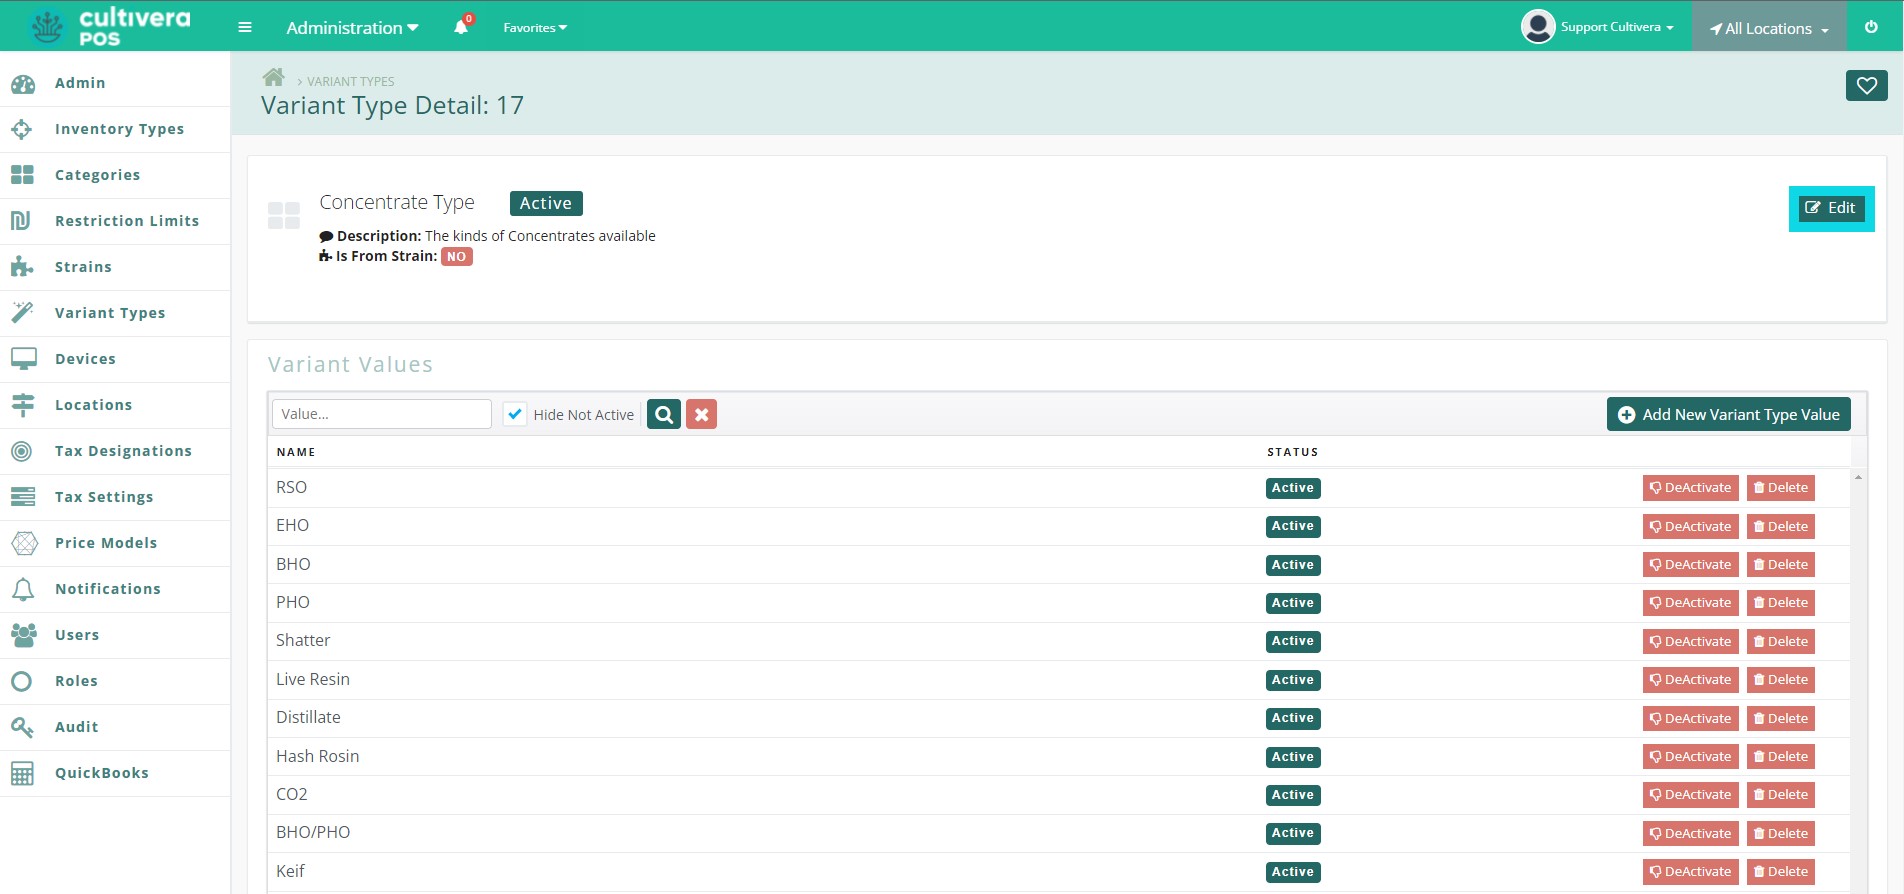
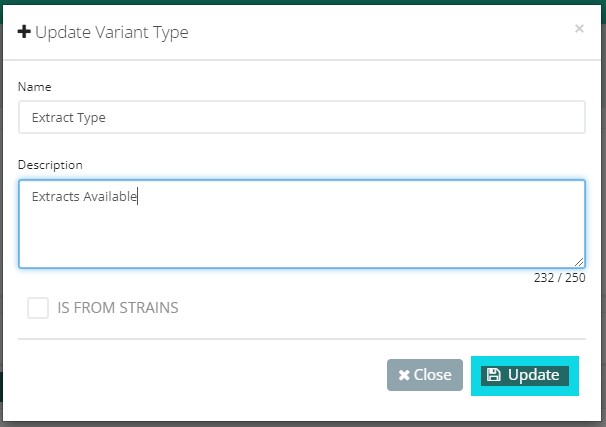
- To edit an existing variant, click the "Edit" button in the "Variant Detail" page.
- After the change is complete, click the "Update" button.
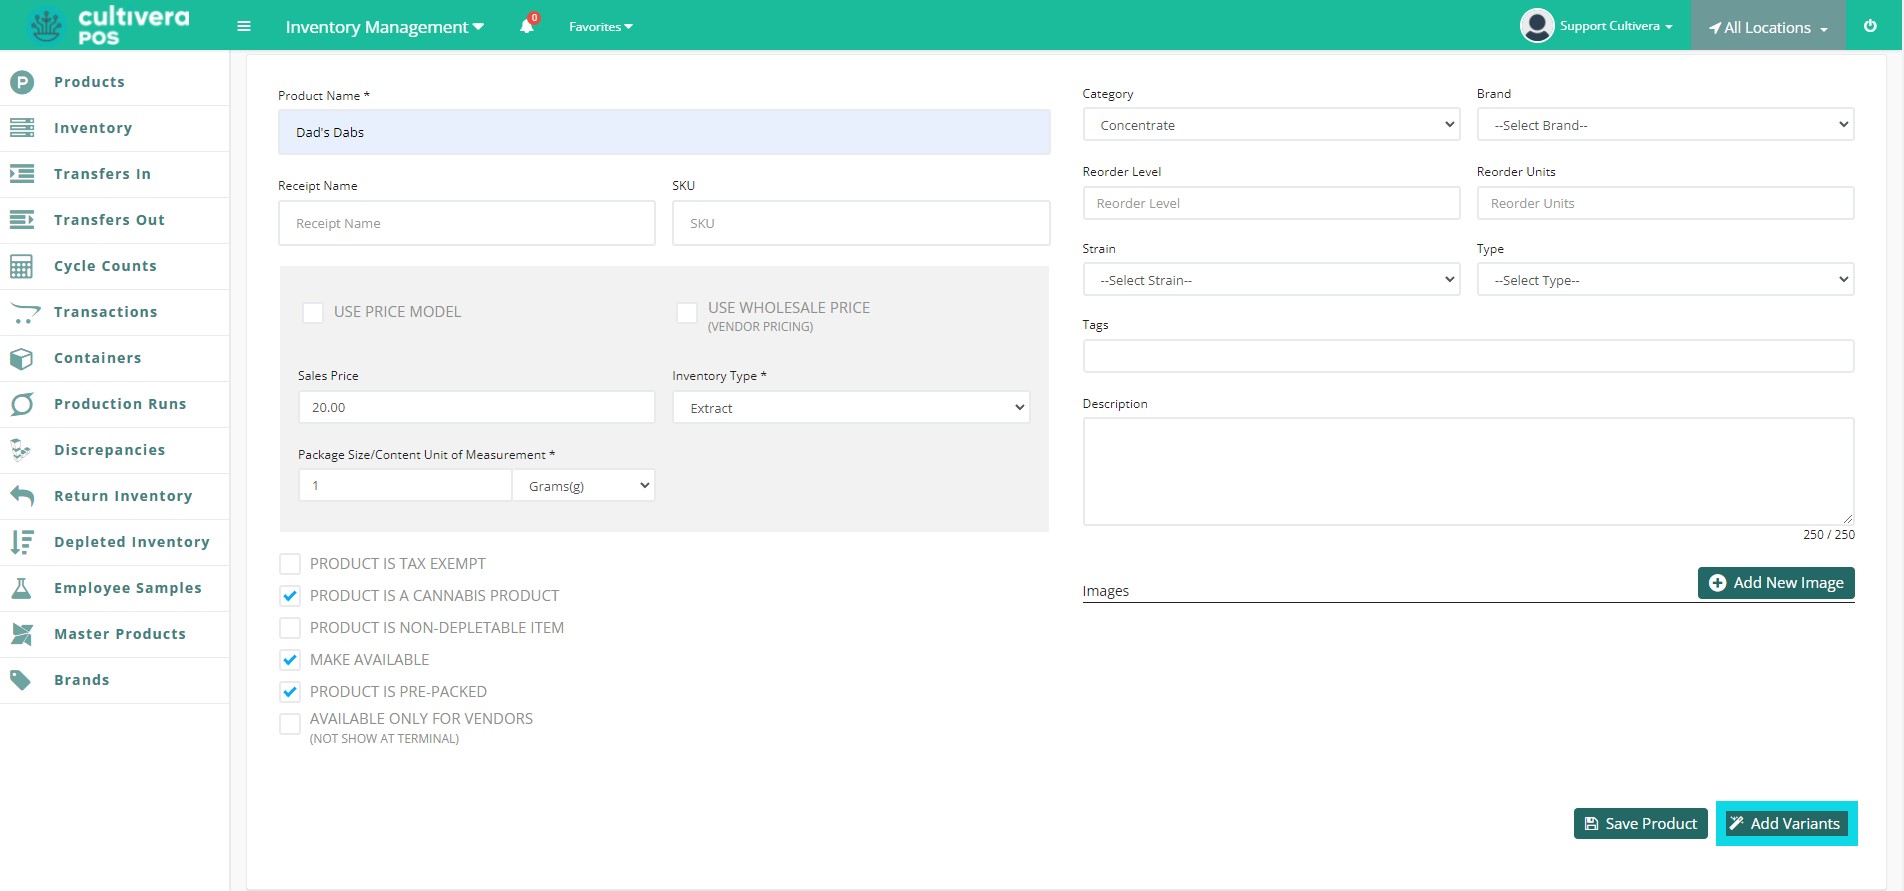
- After variant types and values have been created, you can now create new products with the variant naming conventions. After creating a new product, click the "Add Variant" button.
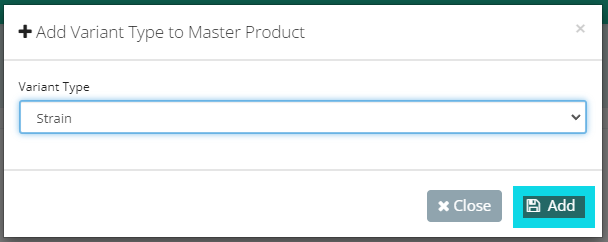
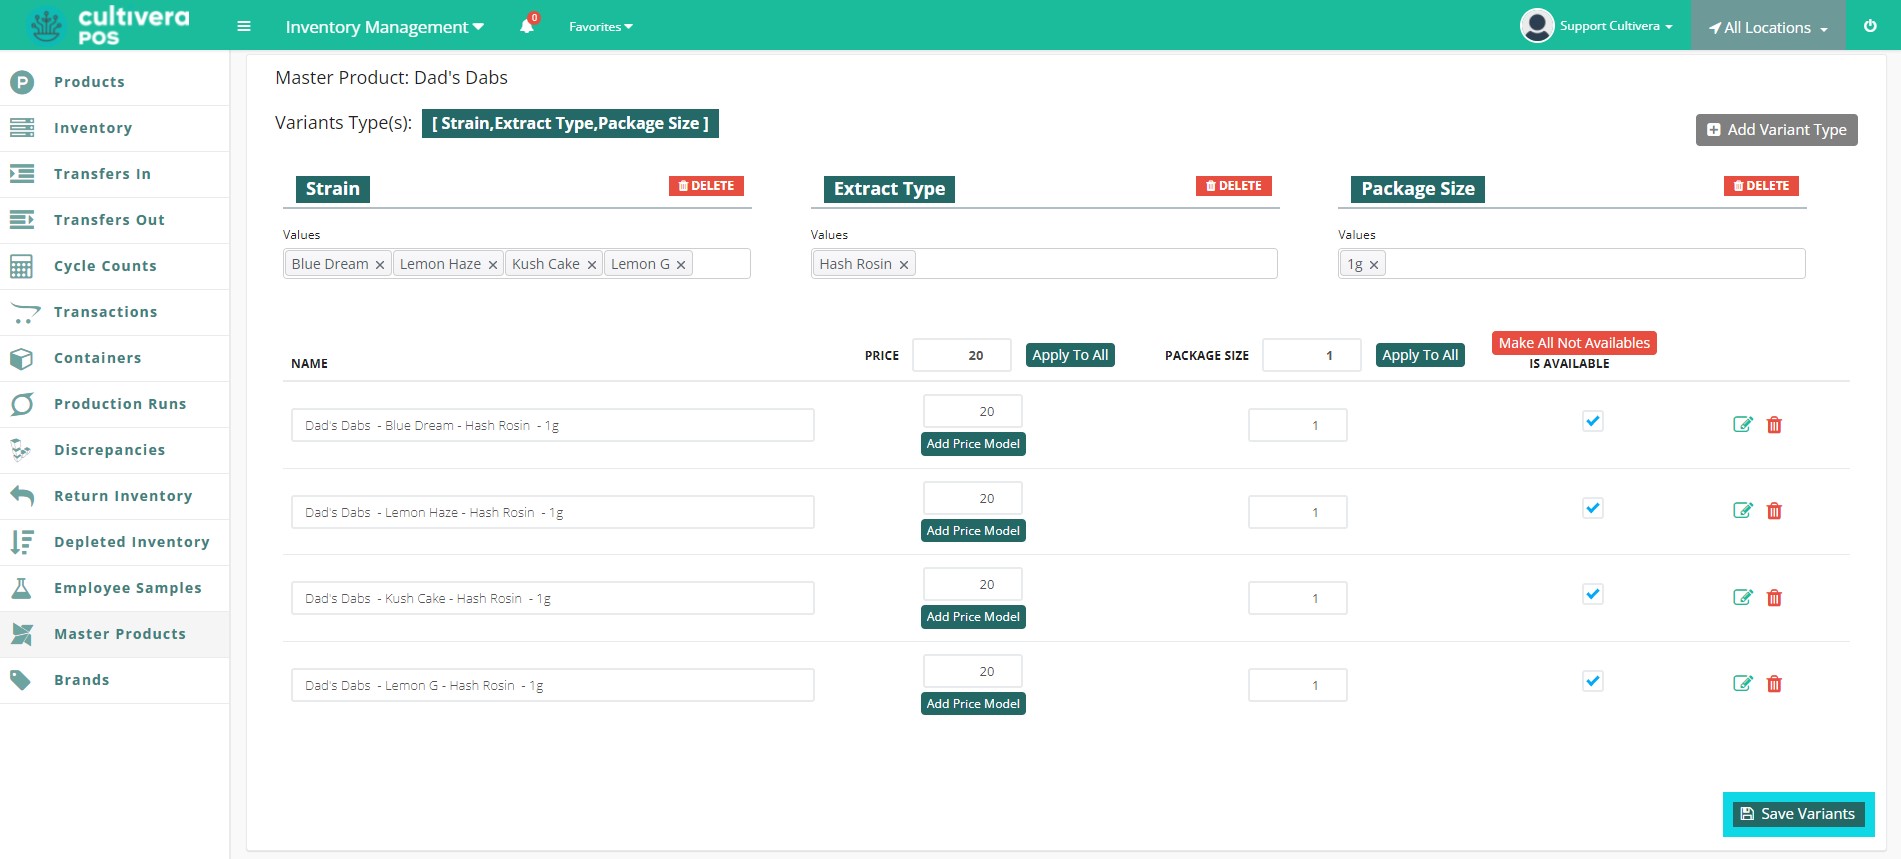
- From the Master Product Variants page, click the "Add Variant Type" button.

- Select the Variant Type from the drop down menu, then click the "Add" button. You can add multiple values here to define product descriptions.
- After you have selected your variant types, choose the values from the drop down menu, or begin typing in the Variant Type Field. Once each value is selected, product variants will populate below.

- From here, you can apply pricing and package size to each variant individually, or use the "Apply to All" button to apply price and weight to all created variants. To make all products available, click the "Make All Available" button, or check the box for each individual variant. If you need to remove a variant, click the "Trash Can" button on the line item you wish to remove.
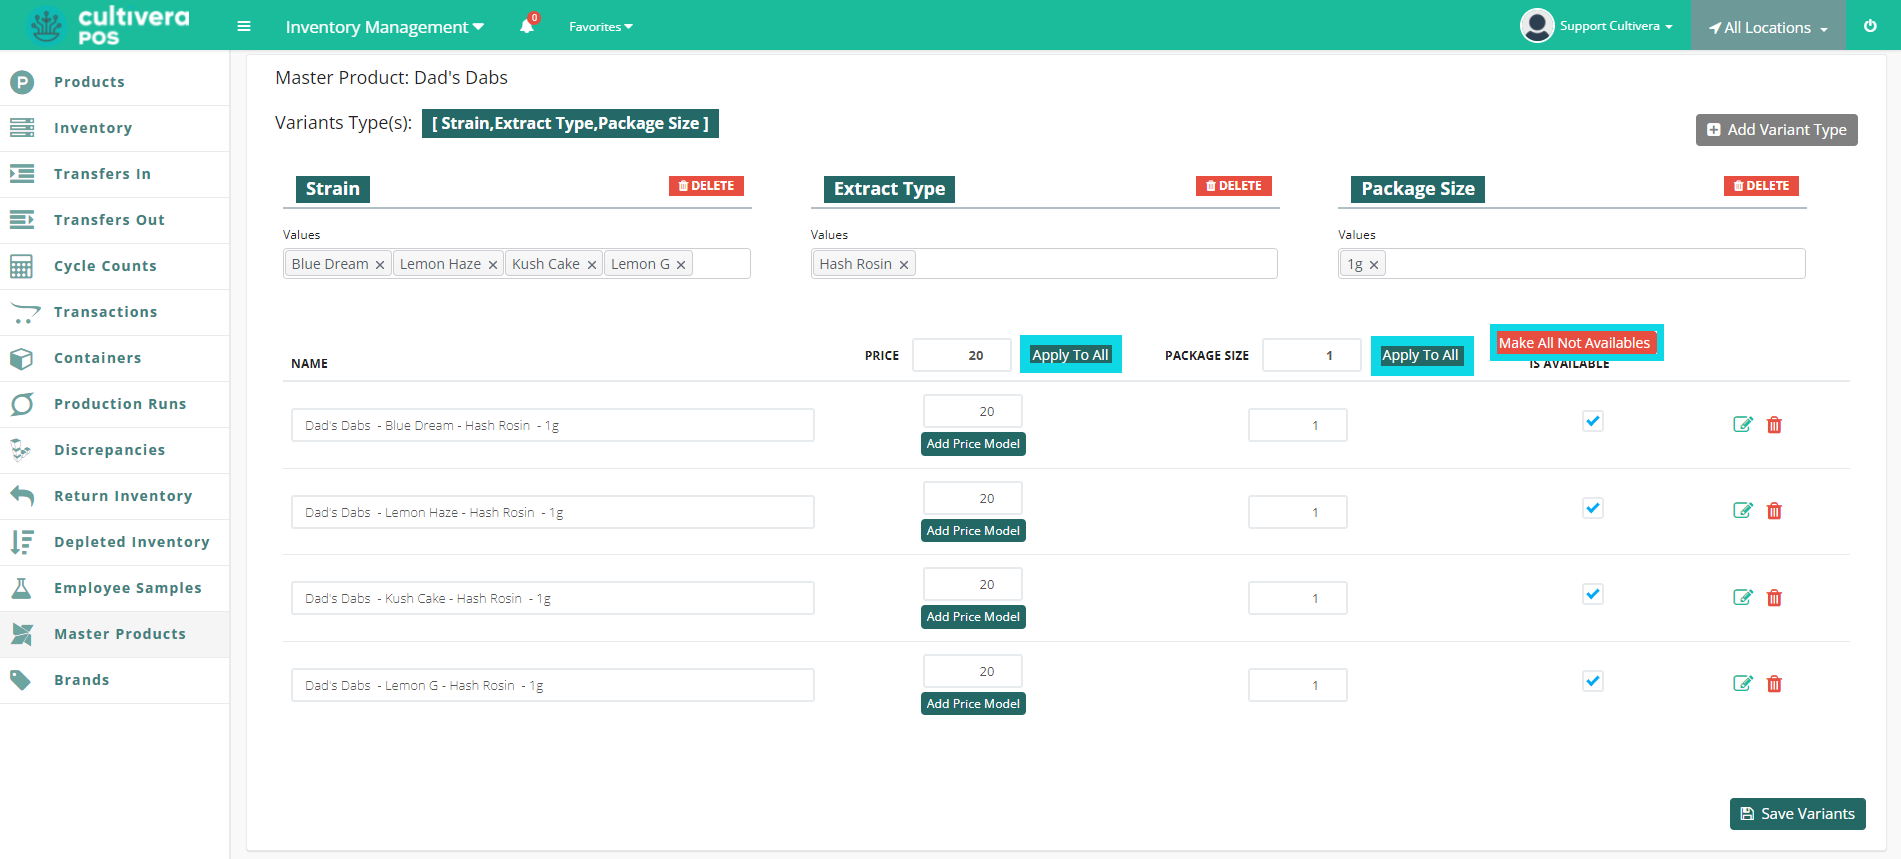
- Once all the variants have been created, click the "Save Variants" button.
This can be useful when carrying a product line with a larger inventory. Instead of having a single product for each variety, you can now create Master Products that contain all the varieties within.
