POS - Administration: Label Designer
![]() Updated
Updated
POS Administration: Custom Label Designer
In Cultivera POS Back Office, you have the ability to create and design your own label templates. If you would like to organize and add specific information to a label generated from the terminal or inventory page, you can! This lesson will guide you through the process of creating custom designed labels in the Administration module.
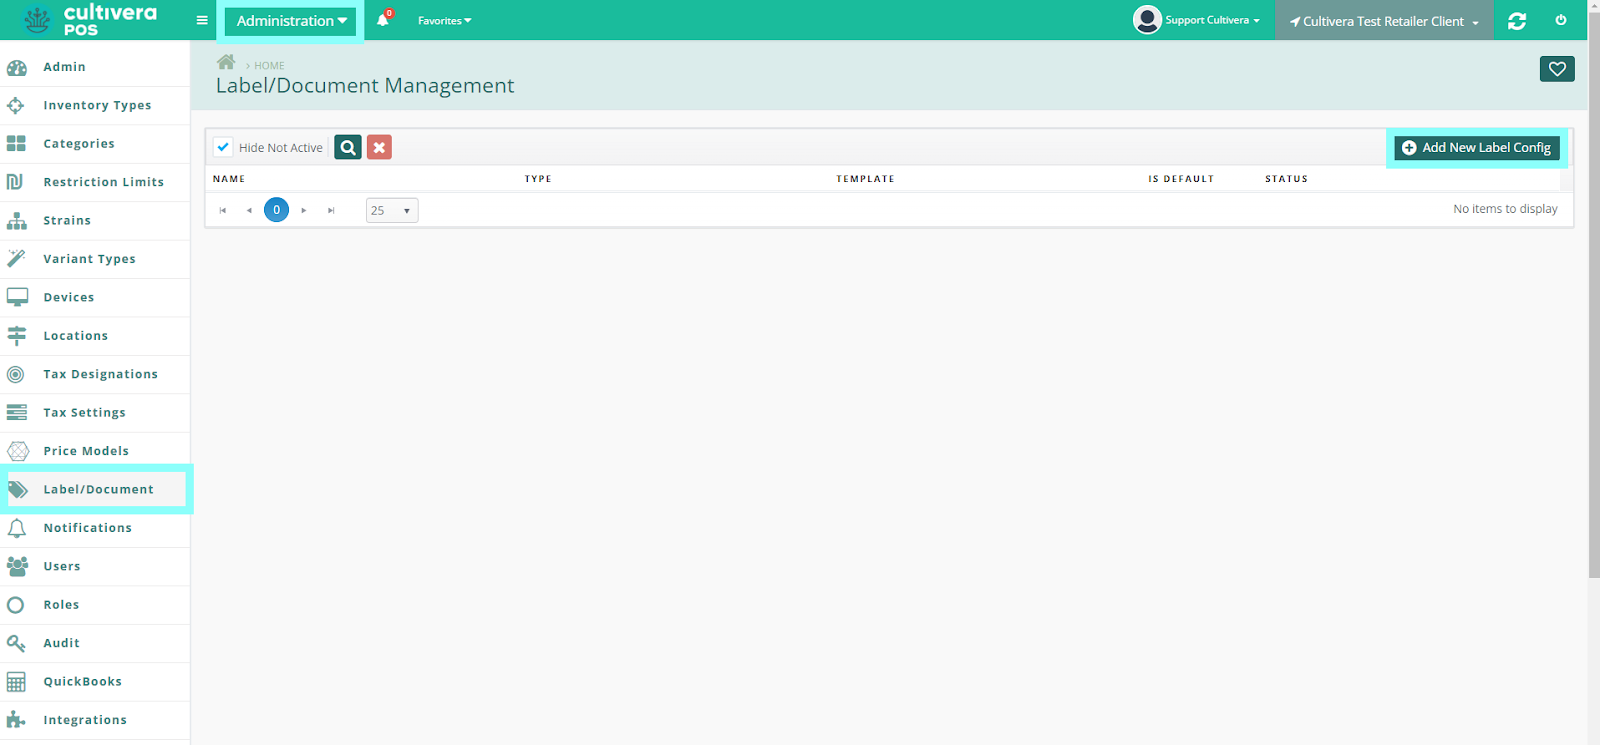
- To create custom labels, navigate to the Administration Module > Labels/Documents page. Next, select the “Add New Label Config” button.
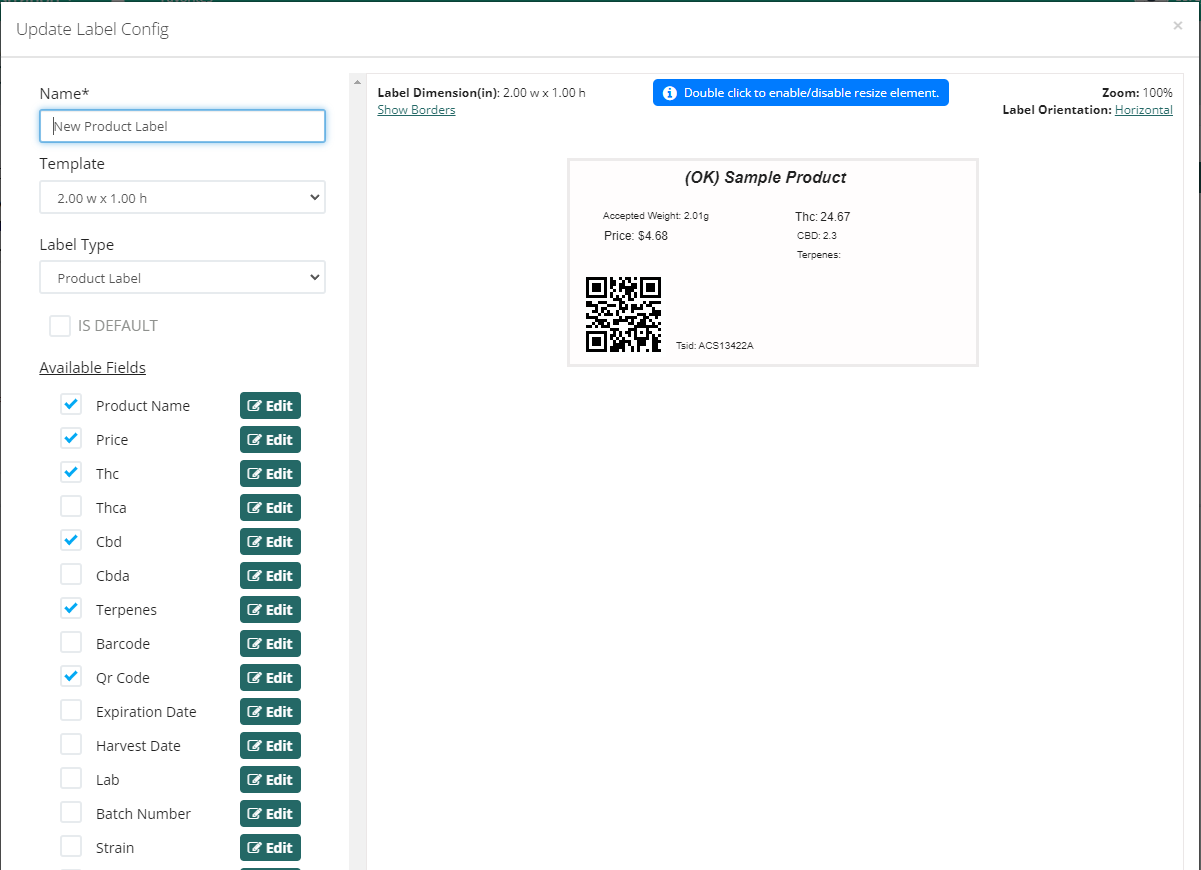
- Enter a name for your custom label, select the template size, and designate which label type you wish to use from the available drop-down menu. You may also designate this as your default label with the “Is Default” checkbox.
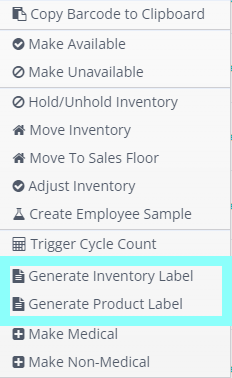
Inventory and Product labels are generated in the Back Office > Inventory Page with the right-click action menu. Compliance labels will be printable at the terminal.
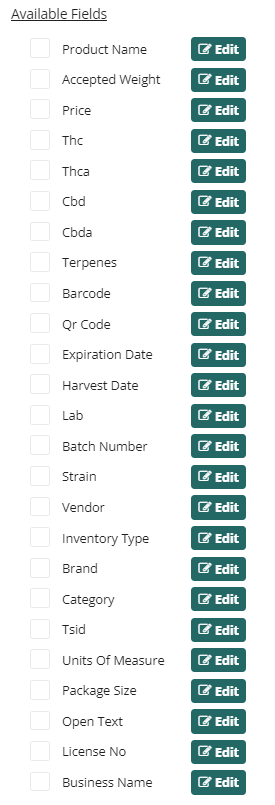
- Selecting the checkboxes next to each available field will populate the data within the template displayed on the right.
- You may click and hold the left mouse button to drag the field to the desired location on the template.
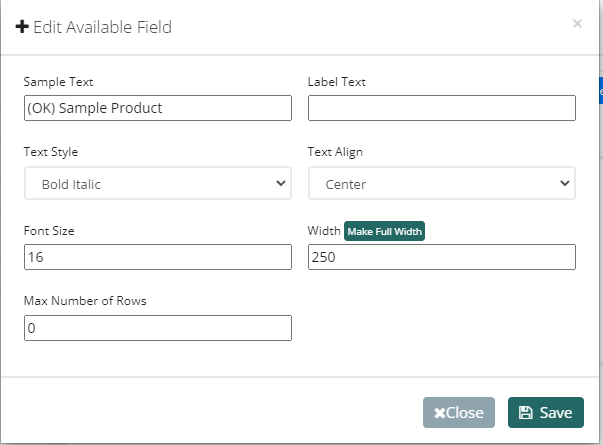
- Selecting the “Edit” button next to the field will allow you to configure text size, alignment, style, row width, and set a maximum number of rows. You can also add label and sample text to simulate what is typically presented within this field.
- Once you have completed the label template design, click the “Add” button.
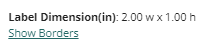
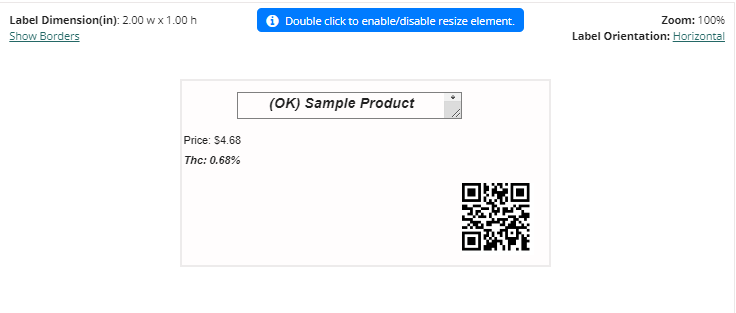
- If you’d like to view the borders for each field within the designer, select the show borders link in the top left corner of the designer. This will help determine whether you'll need to resize your fields to prevent descriptions from being truncated.
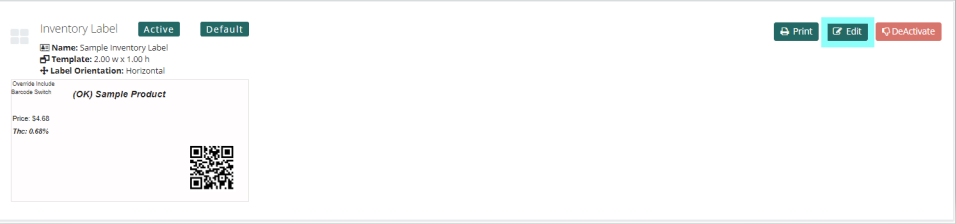
- After the creation of your label, you can edit any created templates by navigating to the label detail and pressing the “Edit” button. You’ll also be able to Print a test label, or DeActivate / ReActivate any created labels.
- You may double-click the field on the designer template to utilize the resizing element. This will allow you to click, hold and drag your field size.
- Once your design is finalized, you may now print your newly designed label!
For best image quality of POS Web Compliance labels, or Inventory and Product labels generated from the Back Office, it is recommended to print using Adobe Acrobat Reader DC. You may download this free software by selecting this link: https://get.adobe.com/reader/
It is also required to download and install the Zebra Setup Utility in order to set label size for printing when utilizing Adobe Acrobat Pro DC. Download this free software using the link below: https://www.zebra.com/us/en/support-downloads/printer-software/printer-setup-utilities.html
- Once you have the software installed, generate your desired label. You will now have a pdf file for the label in your downloads directory on your local machine. You can right-click on the file and select “Open with Adobe Acrobat Reader.”
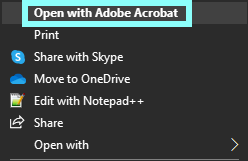
You may also set Adobe Acrobat Reader to your default program to open pdf’s in your device’s settings.
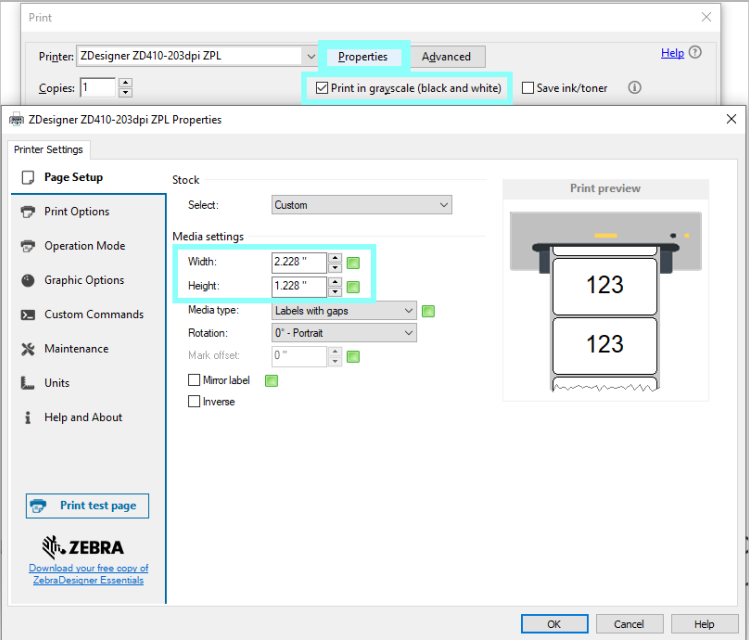
- After you’ve opened the pdf file for your label, select print. From the drop-down menu, choose the barcode printer as your device, then check the box for “Print in Grayscale (Black and White).”
- Next, select the properties to set the dimension of your label. The width must be set to 2.228” while the height will be set to 1.228”.
- Now you may press the print button to print your label from the PC.
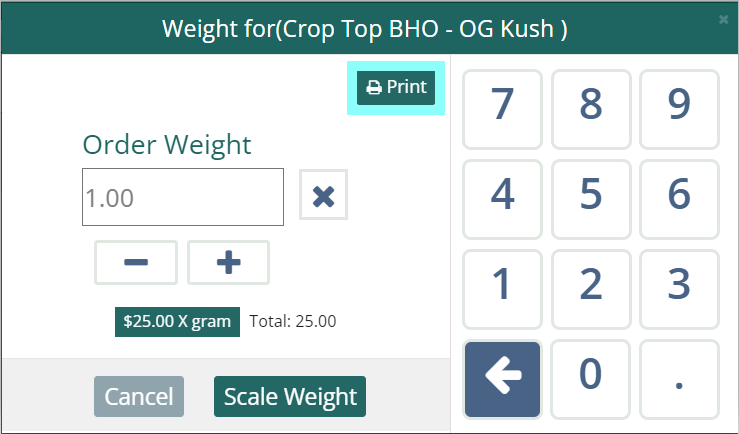
- To print compliance labels at the terminal, simply press the print button within the Edit Quantity page.

- This can also be done when weighing out bulk products at the scale or sale weight page.
Details
You can still use the Cultivera POS default labels, but this new feature gives you the ability to create and design your own custom labels to meet your state’s compliance requirements or your own labeling needs for inventory.