POS - Inventory Management: Stand Alone - QA & COA Uploads
![]() Updated
Updated
POS Back Office Inventory Management: Attaching and Editing QA and COA Results
QA results are required to be entered for each batch of inventory for cannabinoid and terpene results to appear in the Back Office and sales floor product labels. QA and COA results can be attached in the Back Office.
To email COAs or view results at the terminal, a PDF must be uploaded to the inventory.
To begin, follow these steps:
- Log in to Cultivera POS back office.
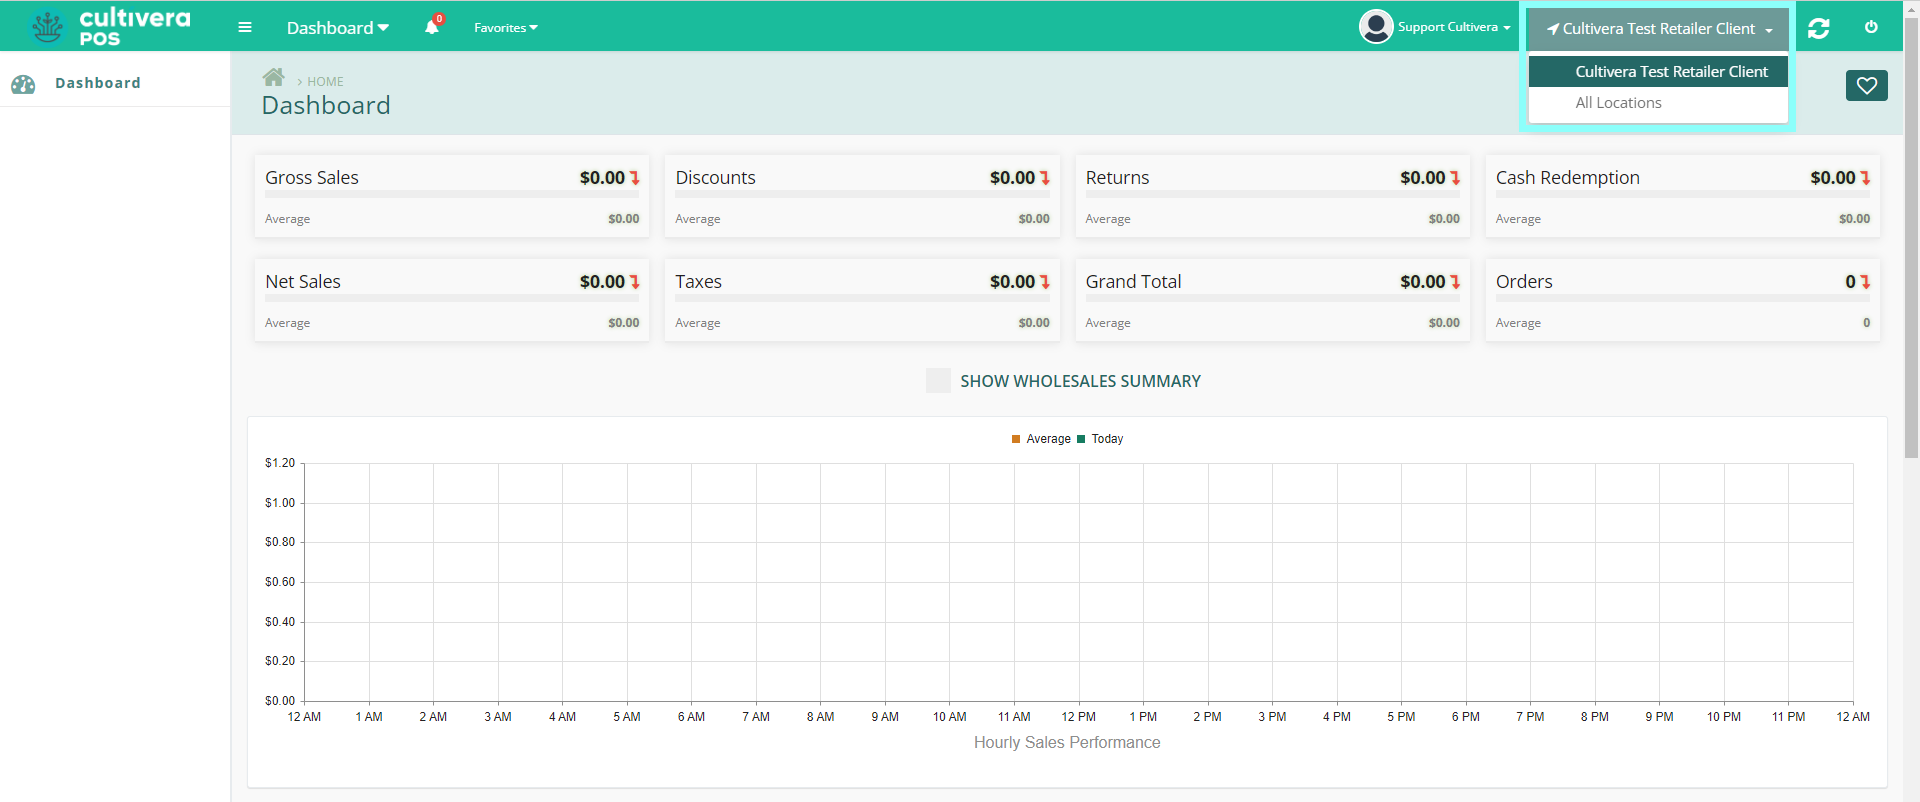
- Select the Location where the inventory is located with the drop-down menu in the top right corner of the screen. The Back Office defaults to All Locations upon logging in.
- Navigate to the Inventory Management module and select the Inventory page from the menu on the left.
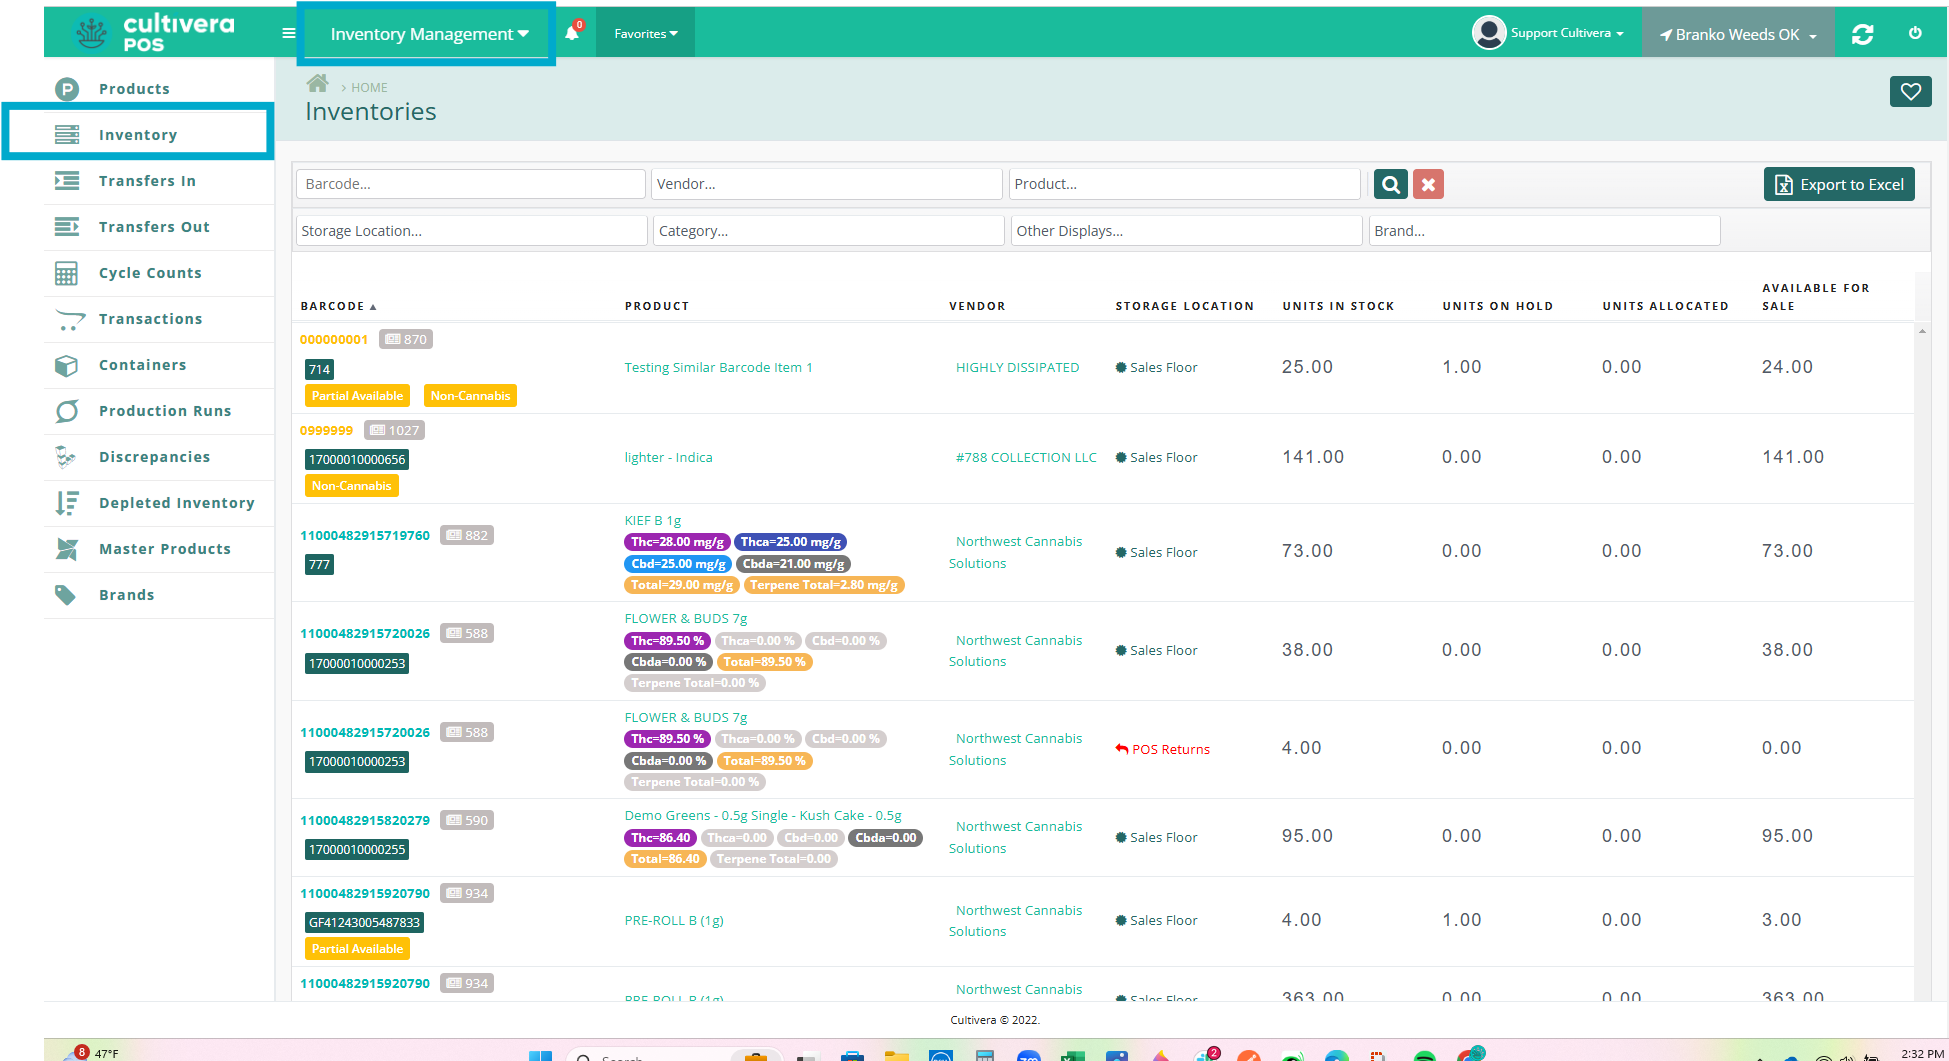
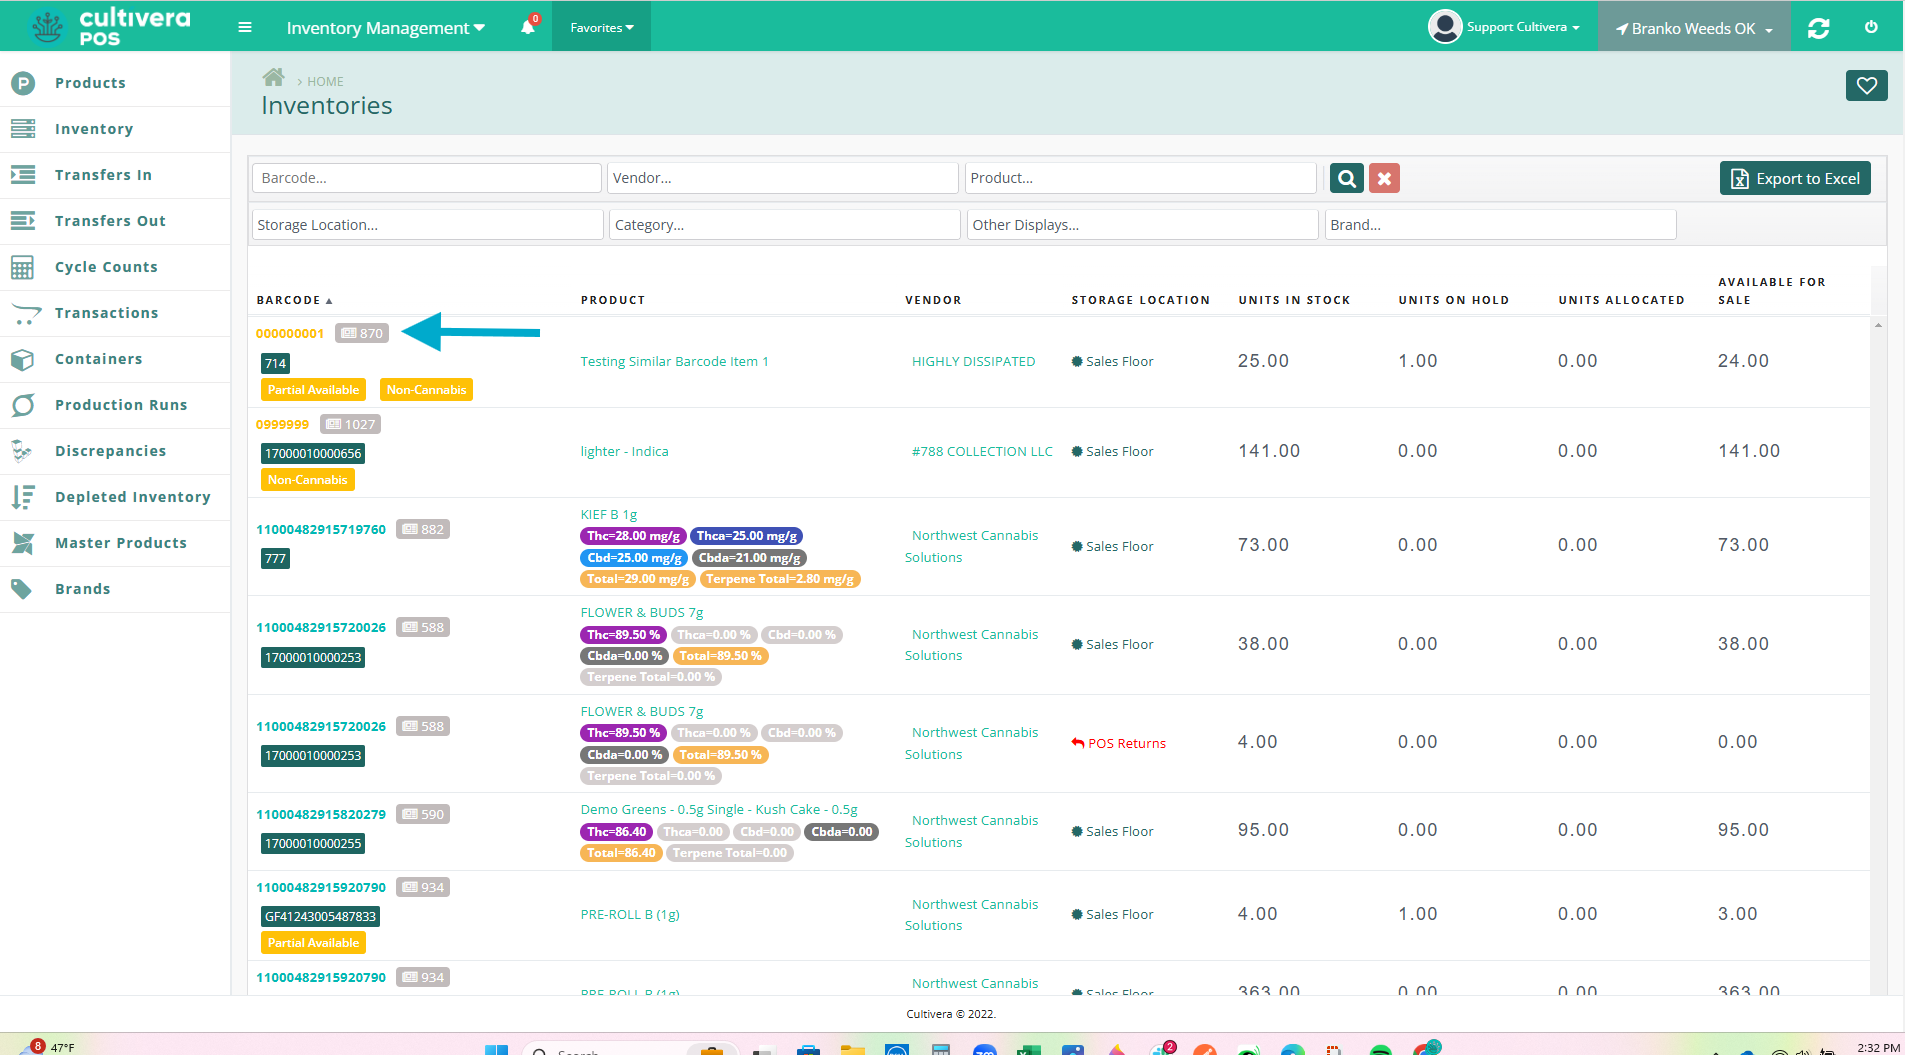
- Select the inventory you wish to add results to by clicking the grey Batch Detail Icon next to the barcode.
- This will produce the Batch Detail for that inventory as shown below:
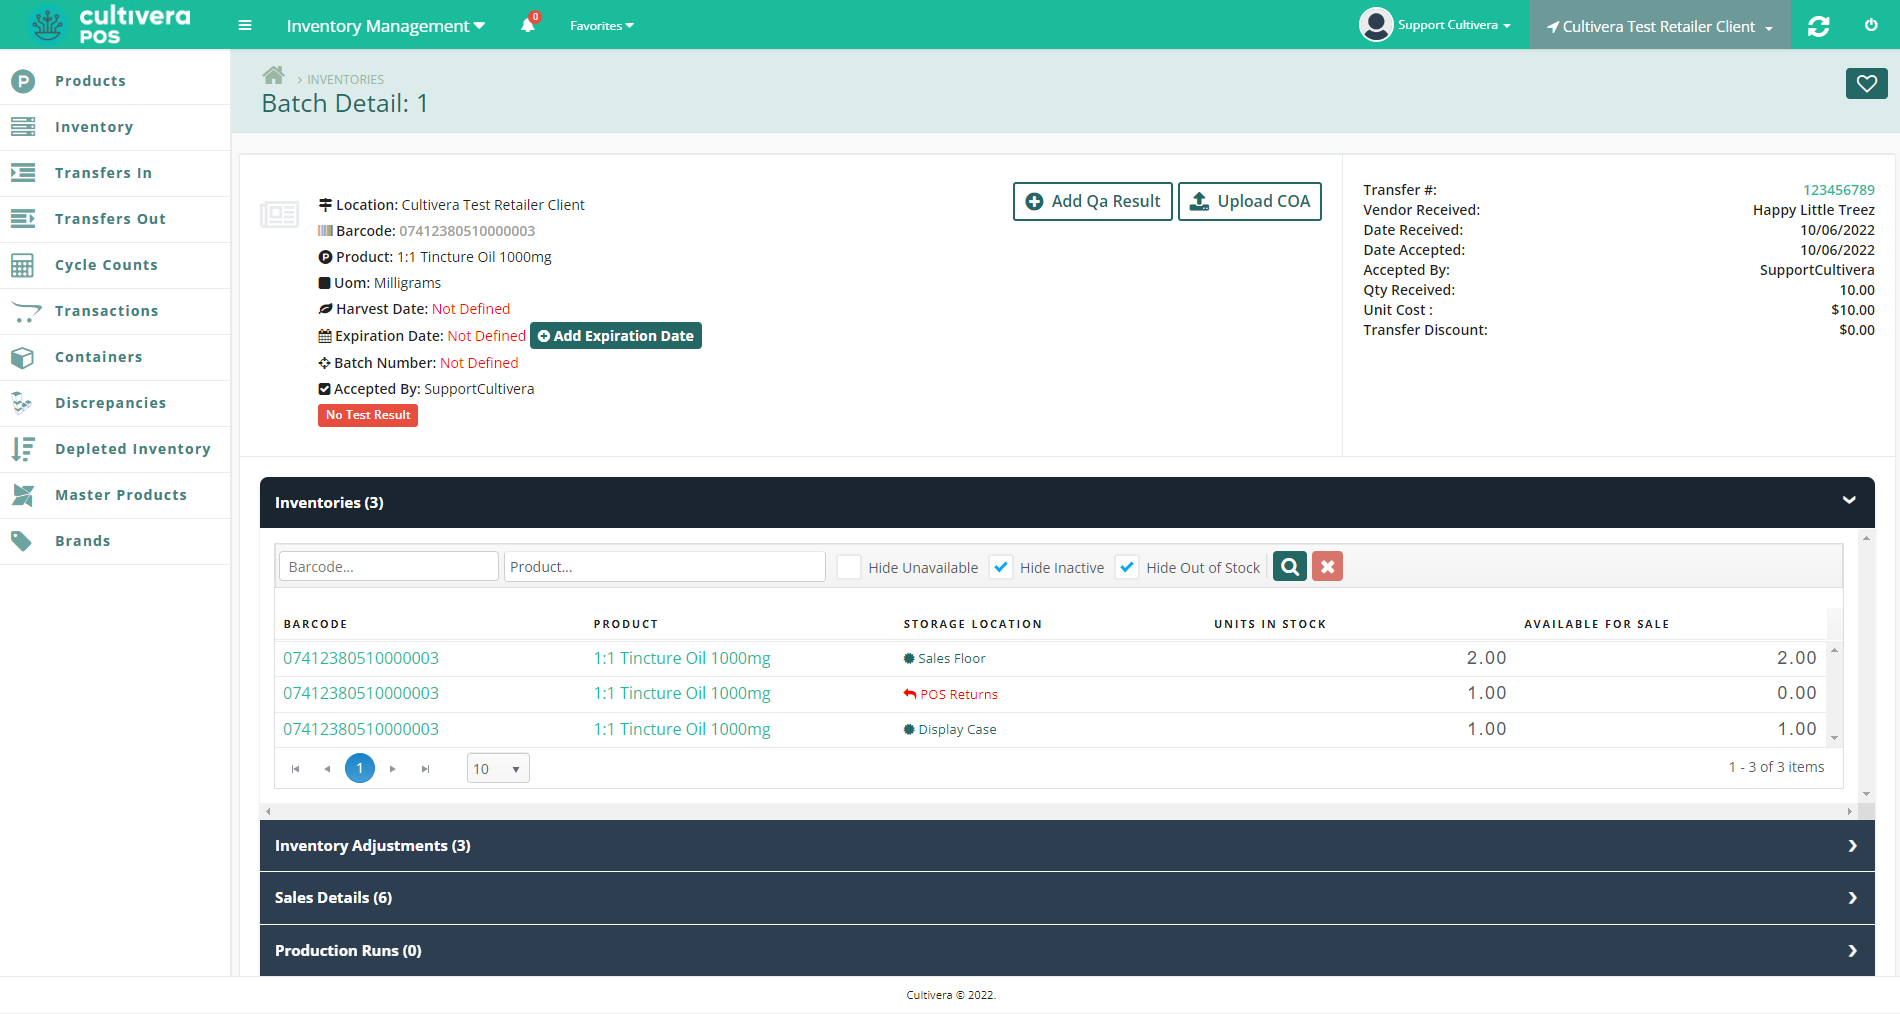
- This will produce the Batch Detail for that inventory as shown below:
- On the Batch Detail page, choose from the options presented with two buttons: "Add QA Result" and "Upload COA".
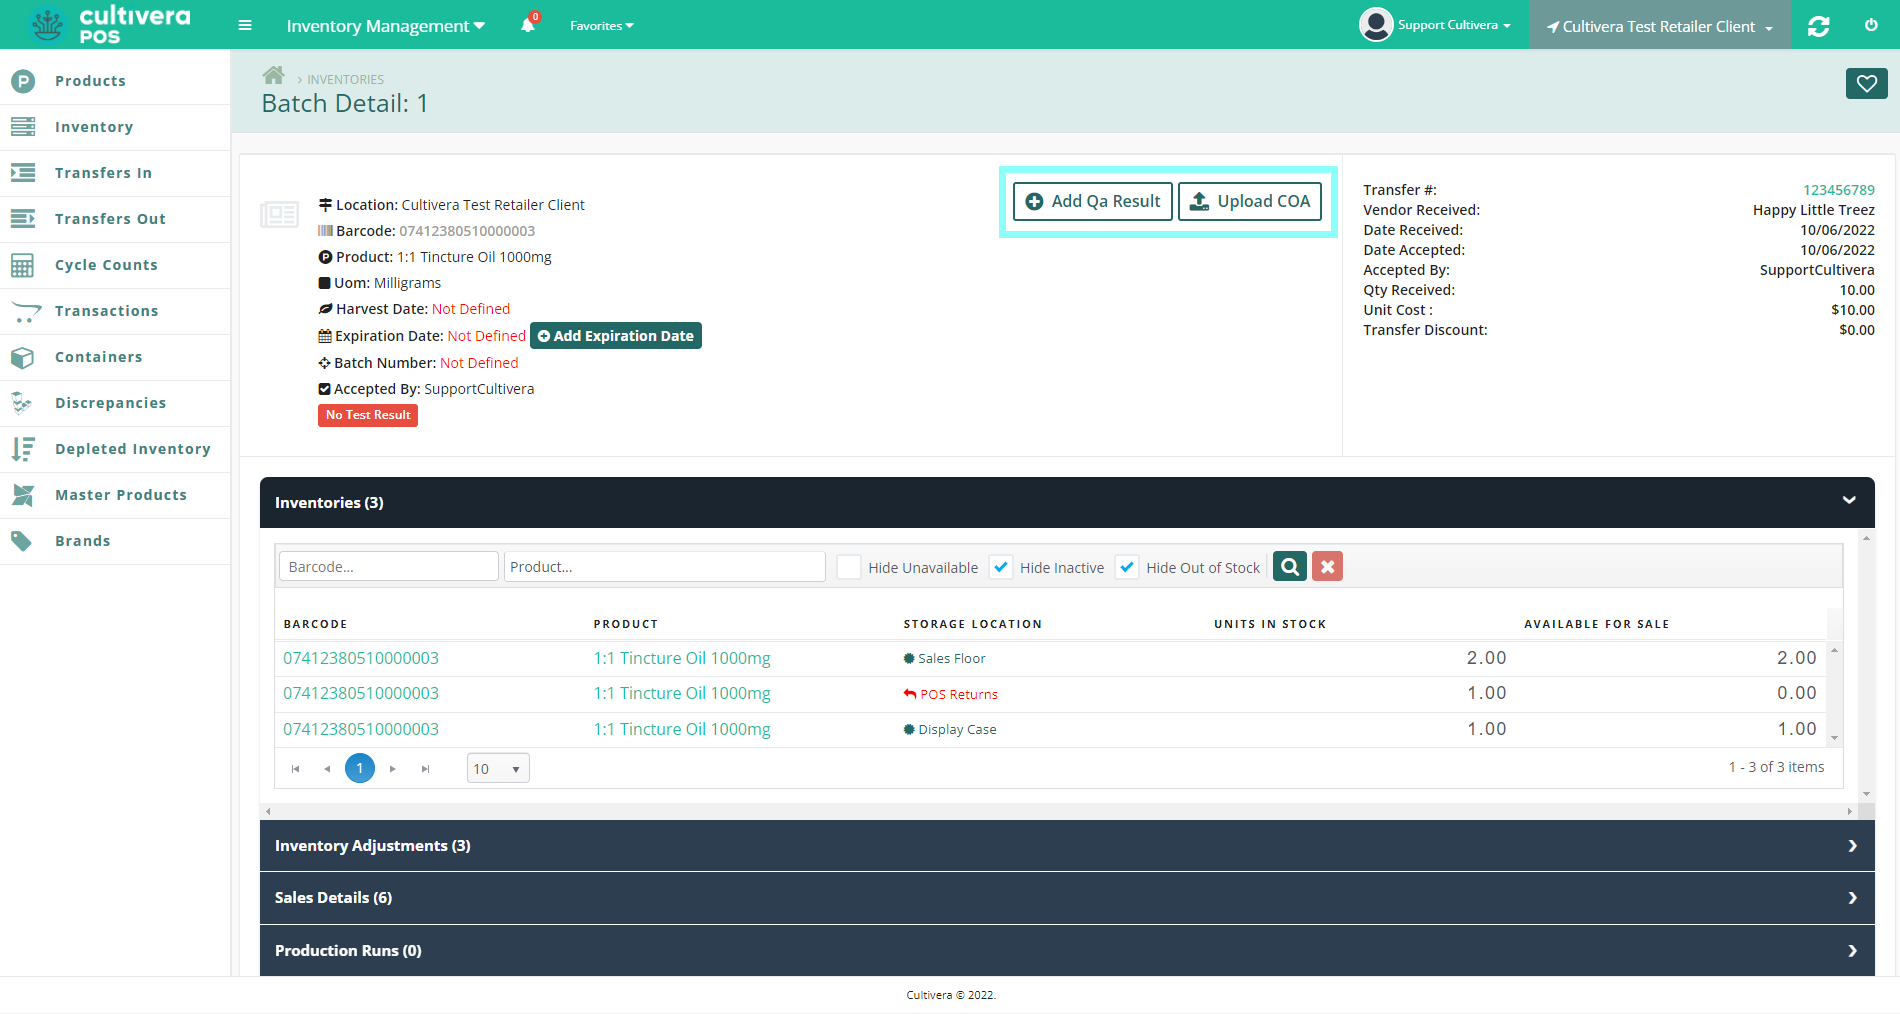
Steps for each below:
Adding QA Results
- Select "Add QA Result".
- Enter the cannabinoid and terpene content, then select "Save".
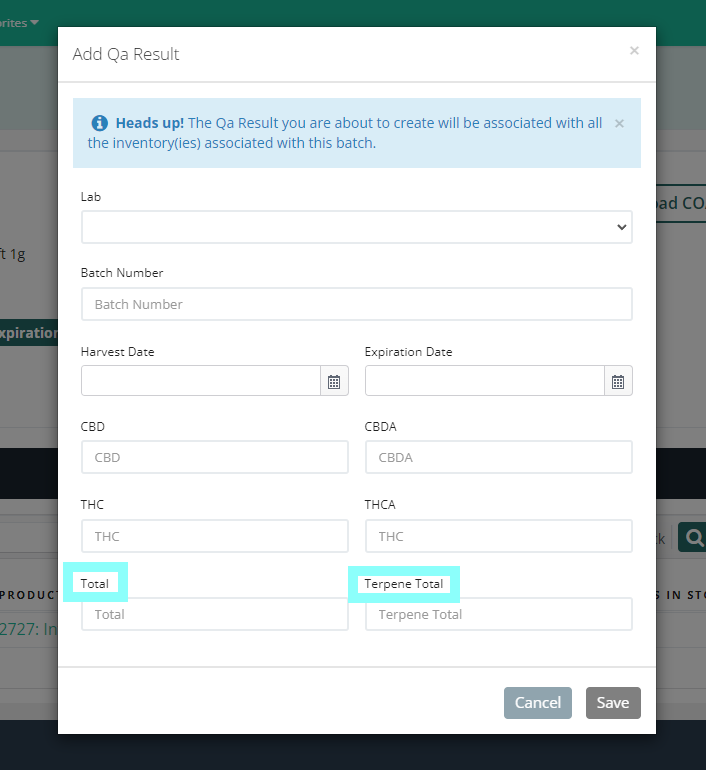
Details
Inventory will appear with the results in the Back Office Inventory UI. This is viewable at the terminal in the Products menu category. Product labels will display the Total and Terpene Total.
Adding COA Document
- Select "Upload COA".
The preferred format is a PDF, however, you may upload the results in other formats.
- Find the desired file by clicking "Select COA".
*The file must be downloaded on your computer if you wish to use it.
- Once the file is selected, select the grey "Upload Document" button.
Details
Once the file is uploaded, it is available to view at the inventory level and available to email attached to a customer receipt at the terminal.
QA results need to be attached per batch. For correct inventory data, the product being sold must match the batch number it was brought in with. Best practice is to scan an inventory barcode or physically match the barcode to the container when selling.
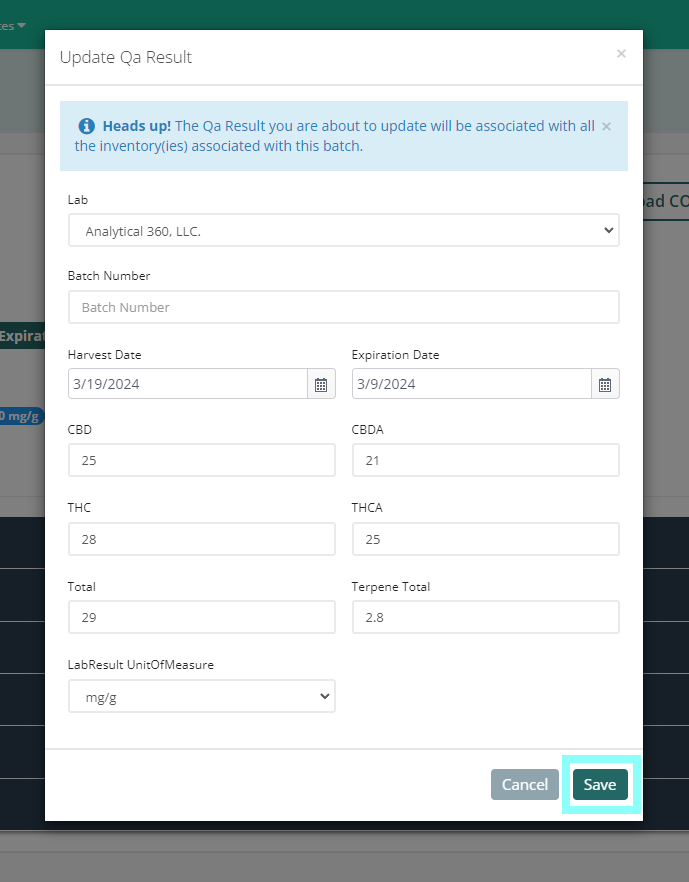
Editing a QA Result
- Select the grey Batch Details button next to the product you'd like to edit.

- Select "Update Qa Result".
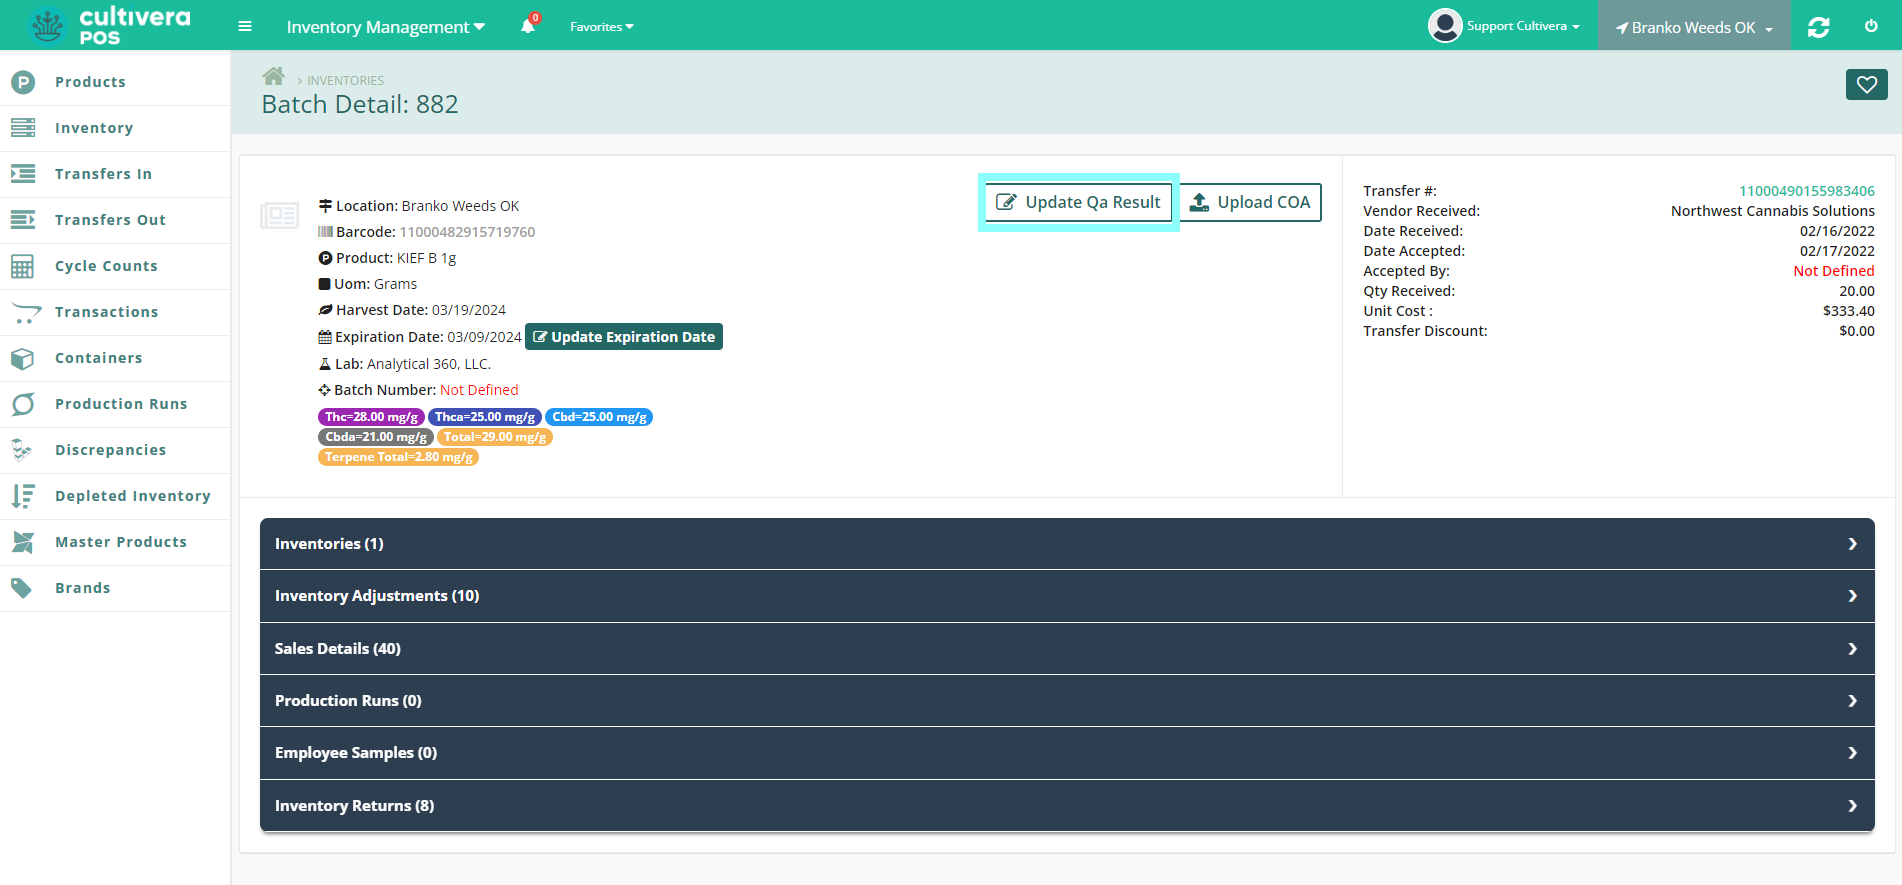
- Update as needed, then select "Save" to save the updated results.