POS - Inventory Management: Move Inventory
![]() Updated
Updated
POS Inventory Management: Move Inventory
It is common to have multiple storage locations such as the Sales Floor, Display Cases, Refrigerators, Incoming Inventory, and Return Quarantine. This tutorial will show how to move inventory from different storage and sales locations.
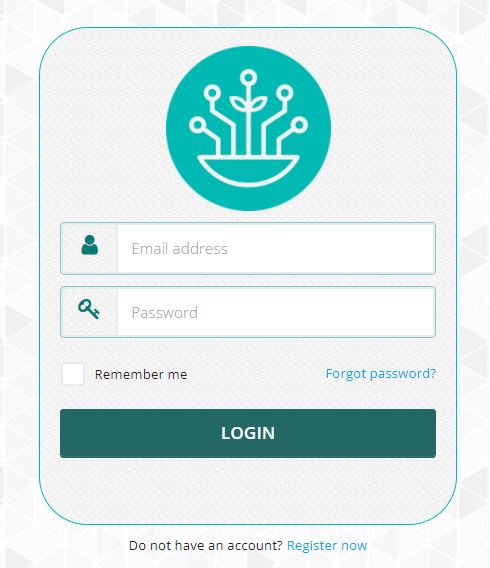
- First, log in to Cultivera POS Back Office.
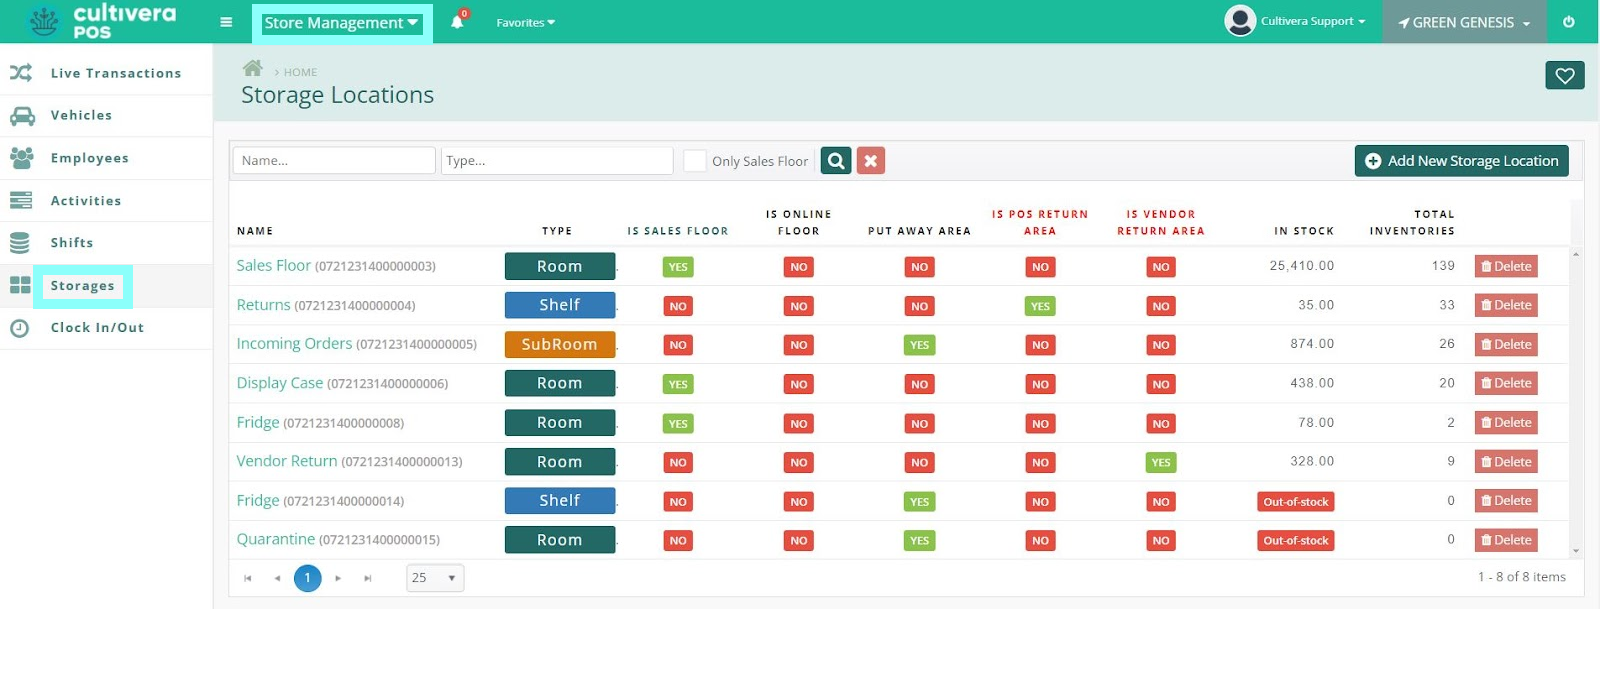
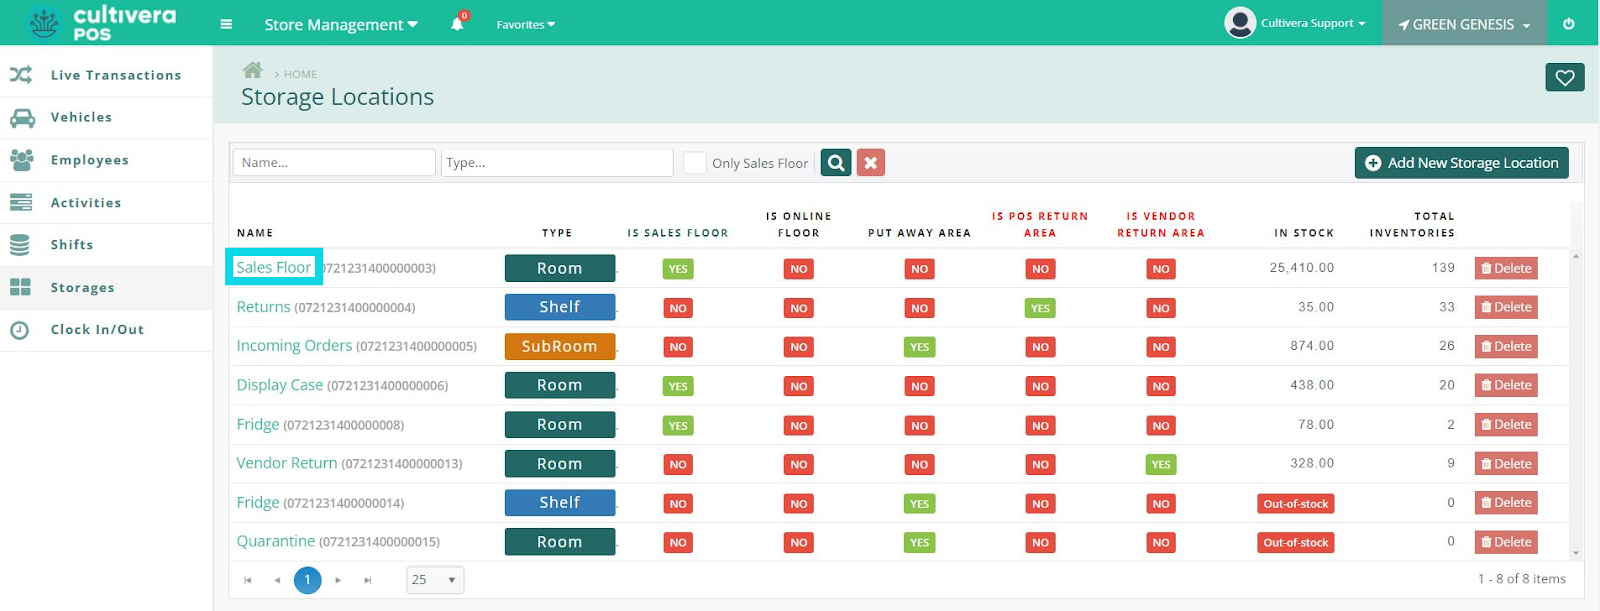
- Navigate to the "Storages" page within the Store Management module.
Details
From here, you will be able to add, remove, and search locations. You can also click on any created storage location's name to explore the storage location details.
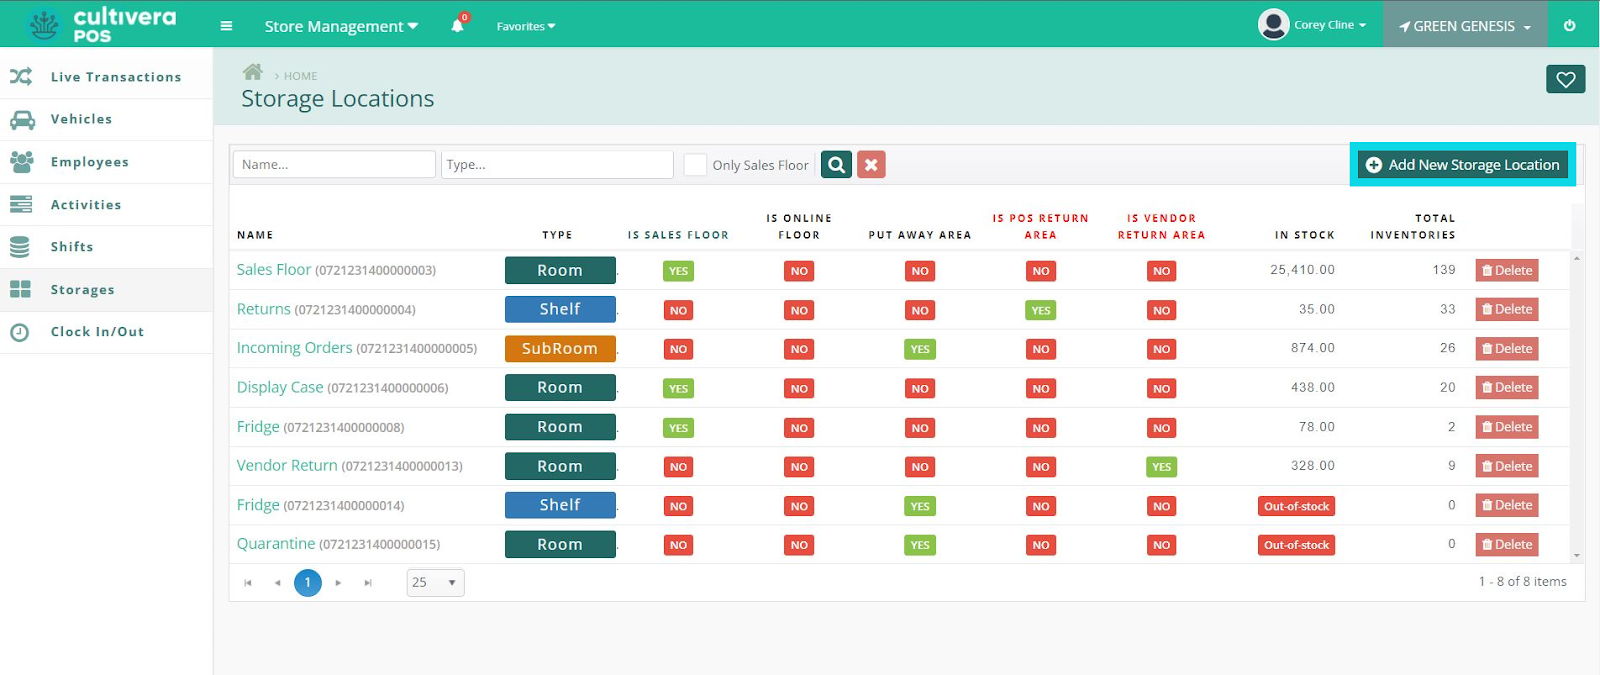
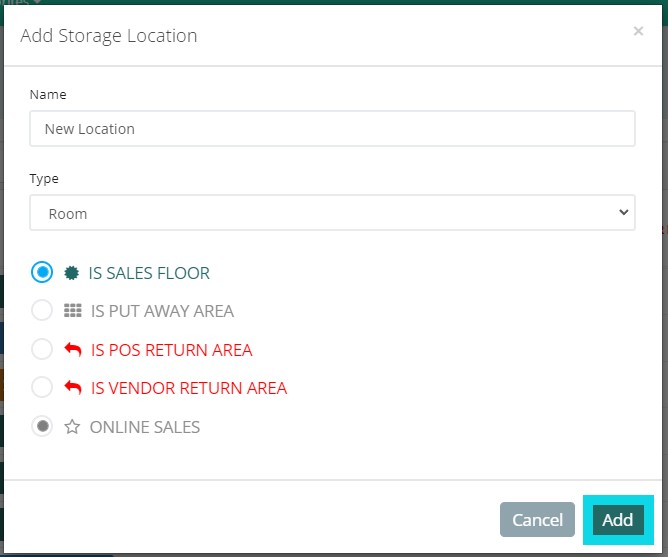
- To add a new storage location, click the "Add New Storage Location" button.
- Create the name of your new storage location. Select the room type and choose whether this is a Sales Floor location, Put Away Area, or Return Area.
- If you need to make changes or view details of a created Storage Location, click on the teal "Name" link.
Details
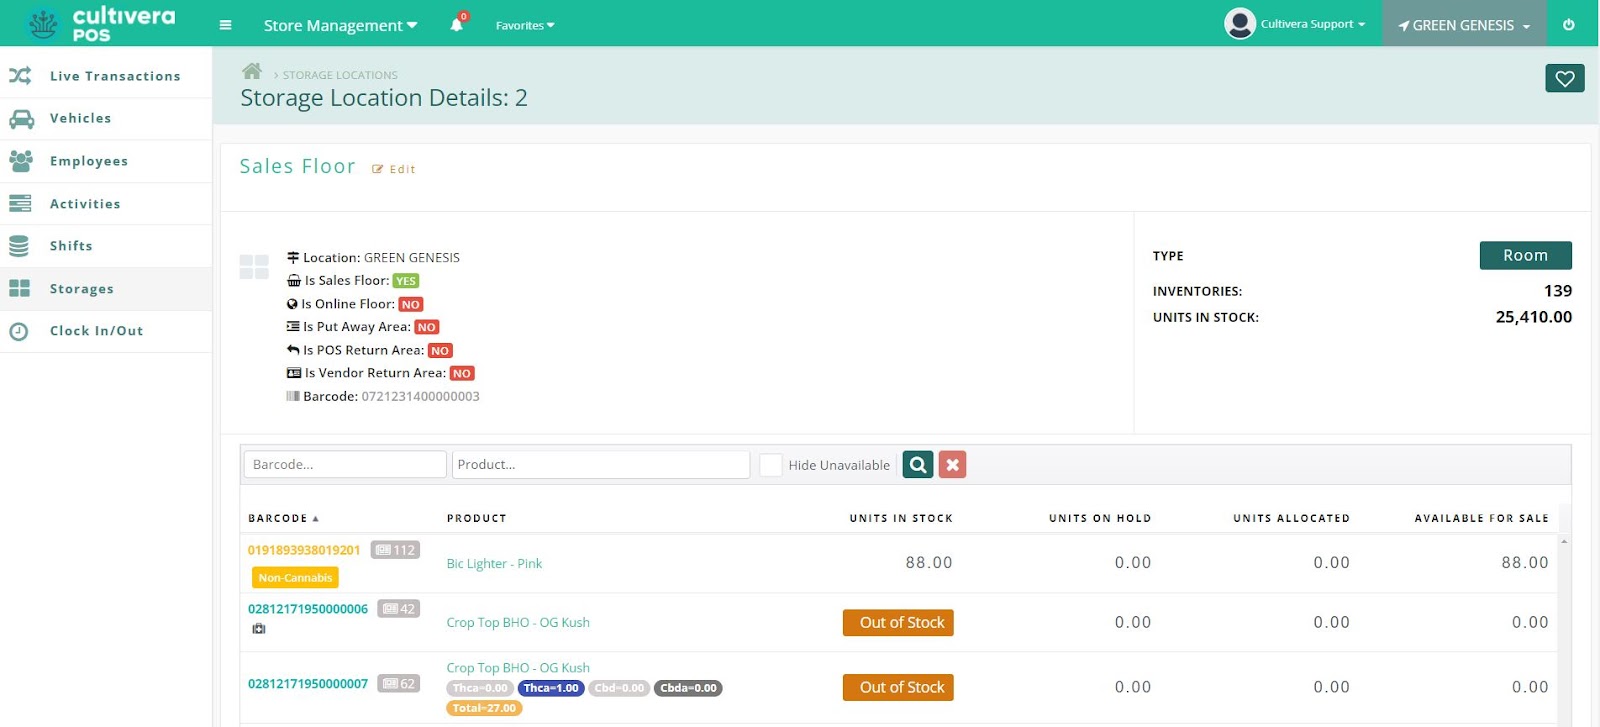
Storage Location Details will allow you to see what inventory is assigned to the location you're viewing, the room type, how many different units the location houses, and the total units in stock. You can search for a barcode or product in the search fields below.
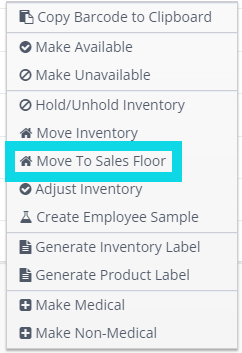
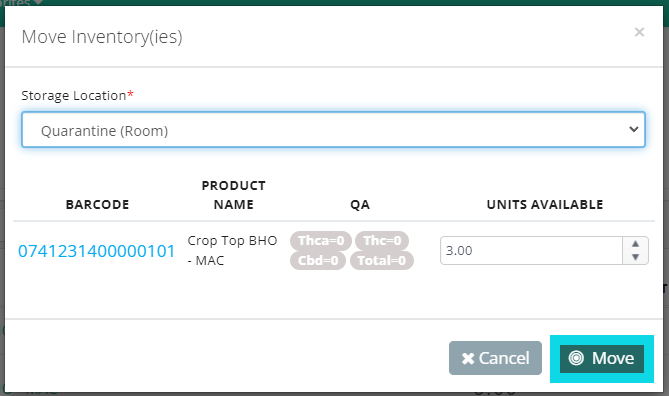
- To move inventory from the Storage Location Details page, simply right-click to bring up the Inventory Action Menu and select "Move Inventory".
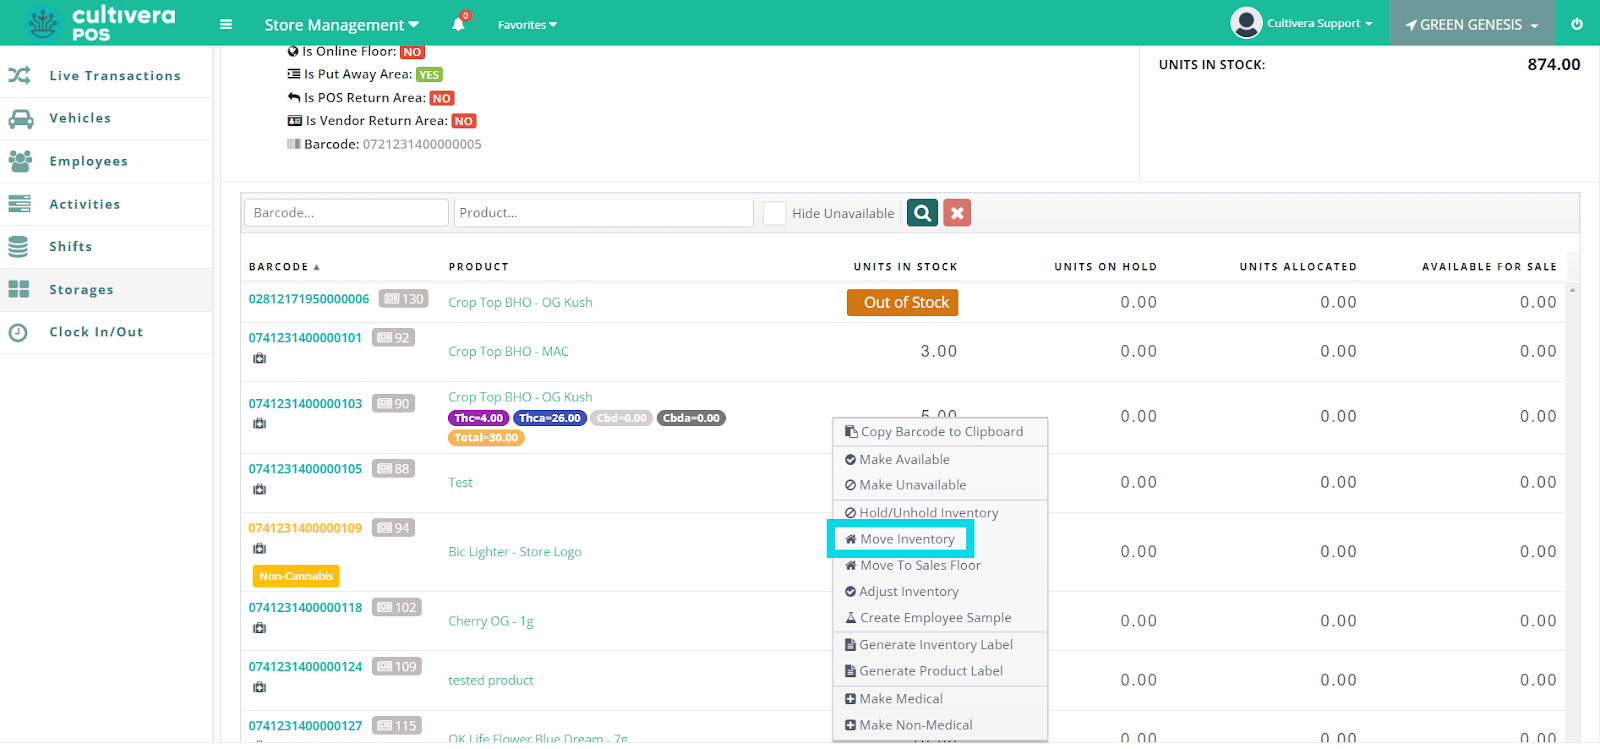
- Select the storage location from the drop-down menu, input the total units you wish to move, then click the "Move" button. Once complete, the units will now be located in the new storage location.
You can select multiple inventory items to move by either holding the left mouse button and dragging across items, by holding shift and clicking, or by holding CTRL and clicking individual items.
Details
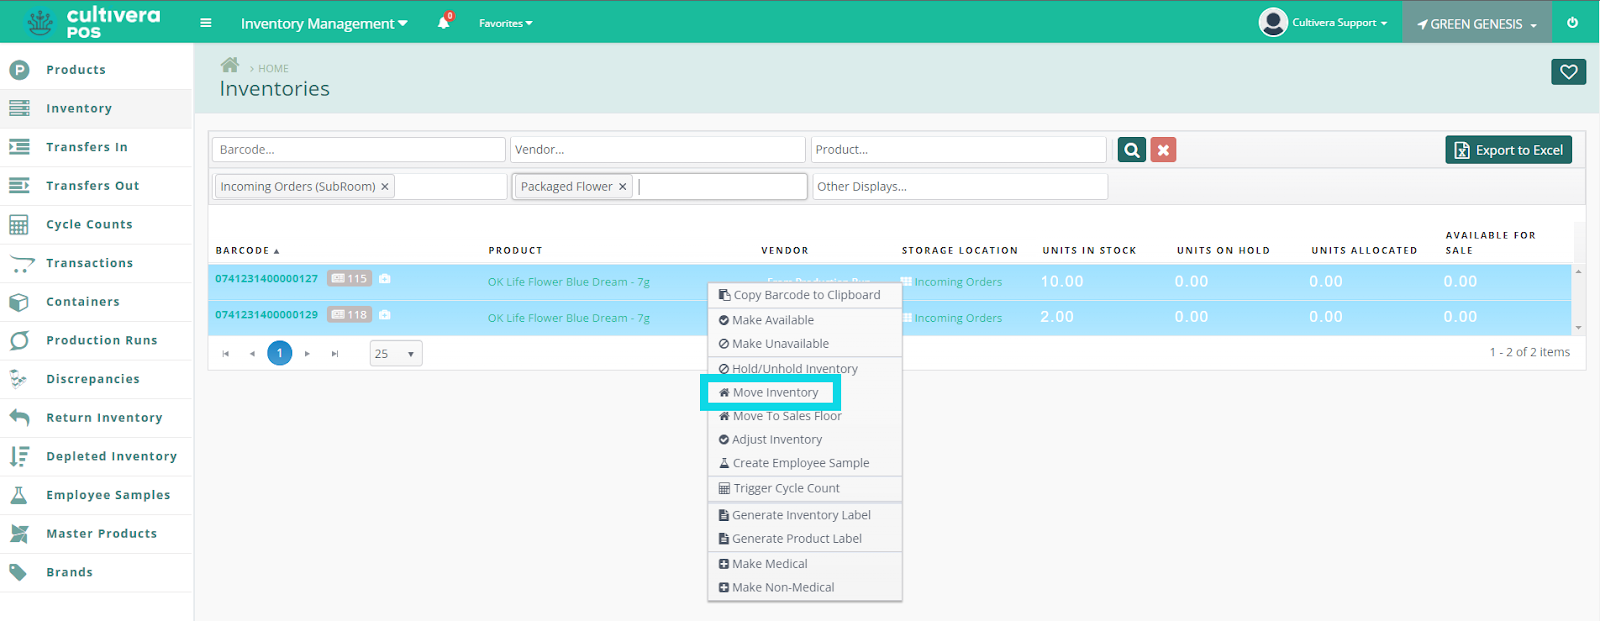
The Storage Location Details is not the only page where you can relocate your inventory in the Back Office. You can also do this on the Inventory page within the Inventory Management module.
Details
The Inbound Transfer page will also provide an opportunity to place incoming inventory into a storage location from the drop-down menu shown below.

For inventory to be displayed at the terminal, it will need to be moved to the Sales Floor location. The Inventory Action Menu provides an option to move selected inventory to the Sales Floor.