POS - Administration: Integrations - Weedmaps Online Menu
![]() Updated
Updated
Cultivera POS Weedmaps Integration
Cultivera Point-of Sale has now partnered with Weedmaps to bring you online menu integration services!
Integrating Weedmaps Online Menu with Cultivera POS
To assign a Weedmaps online menu account to Cultivera POS, follow the steps below.
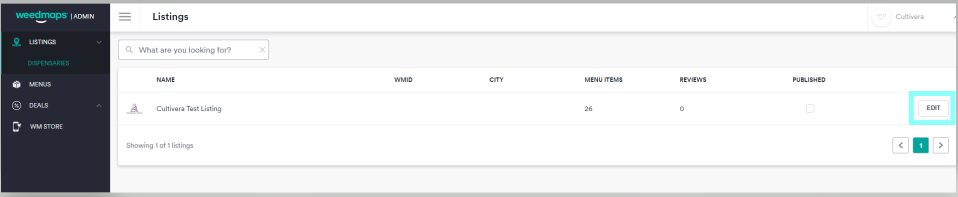
First, you must grant Cultivera POS integration access to your Weedmaps online menu. Start by logging in to your Weedmaps Account with the administrator credentials and navigate to the Listings > Dispensaries page. Select the "Edit" button for your location.
From there, select Menu at the top of the page, then POS Integrations.

After you've selected Cultivera POS as your POS Integration, follow the steps below:
- Log into Cultivera Back Office.
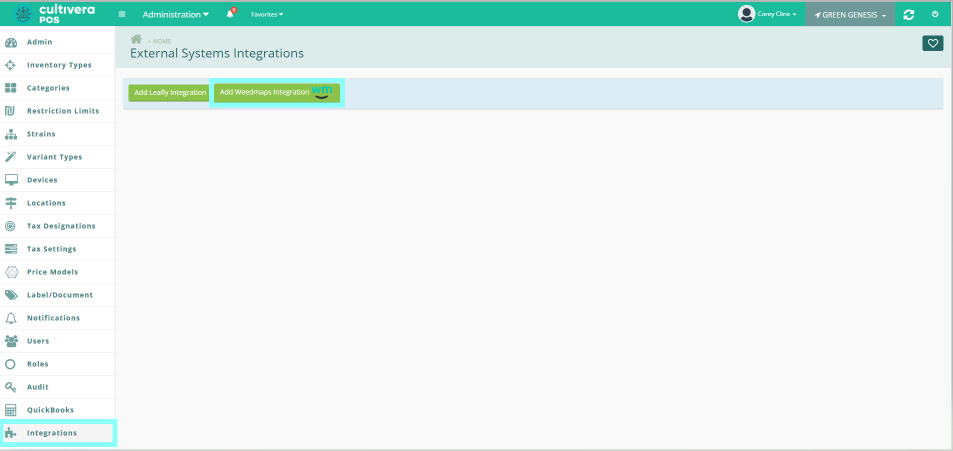
- Navigate to the Administration module.
- Select the "Integrations" page.
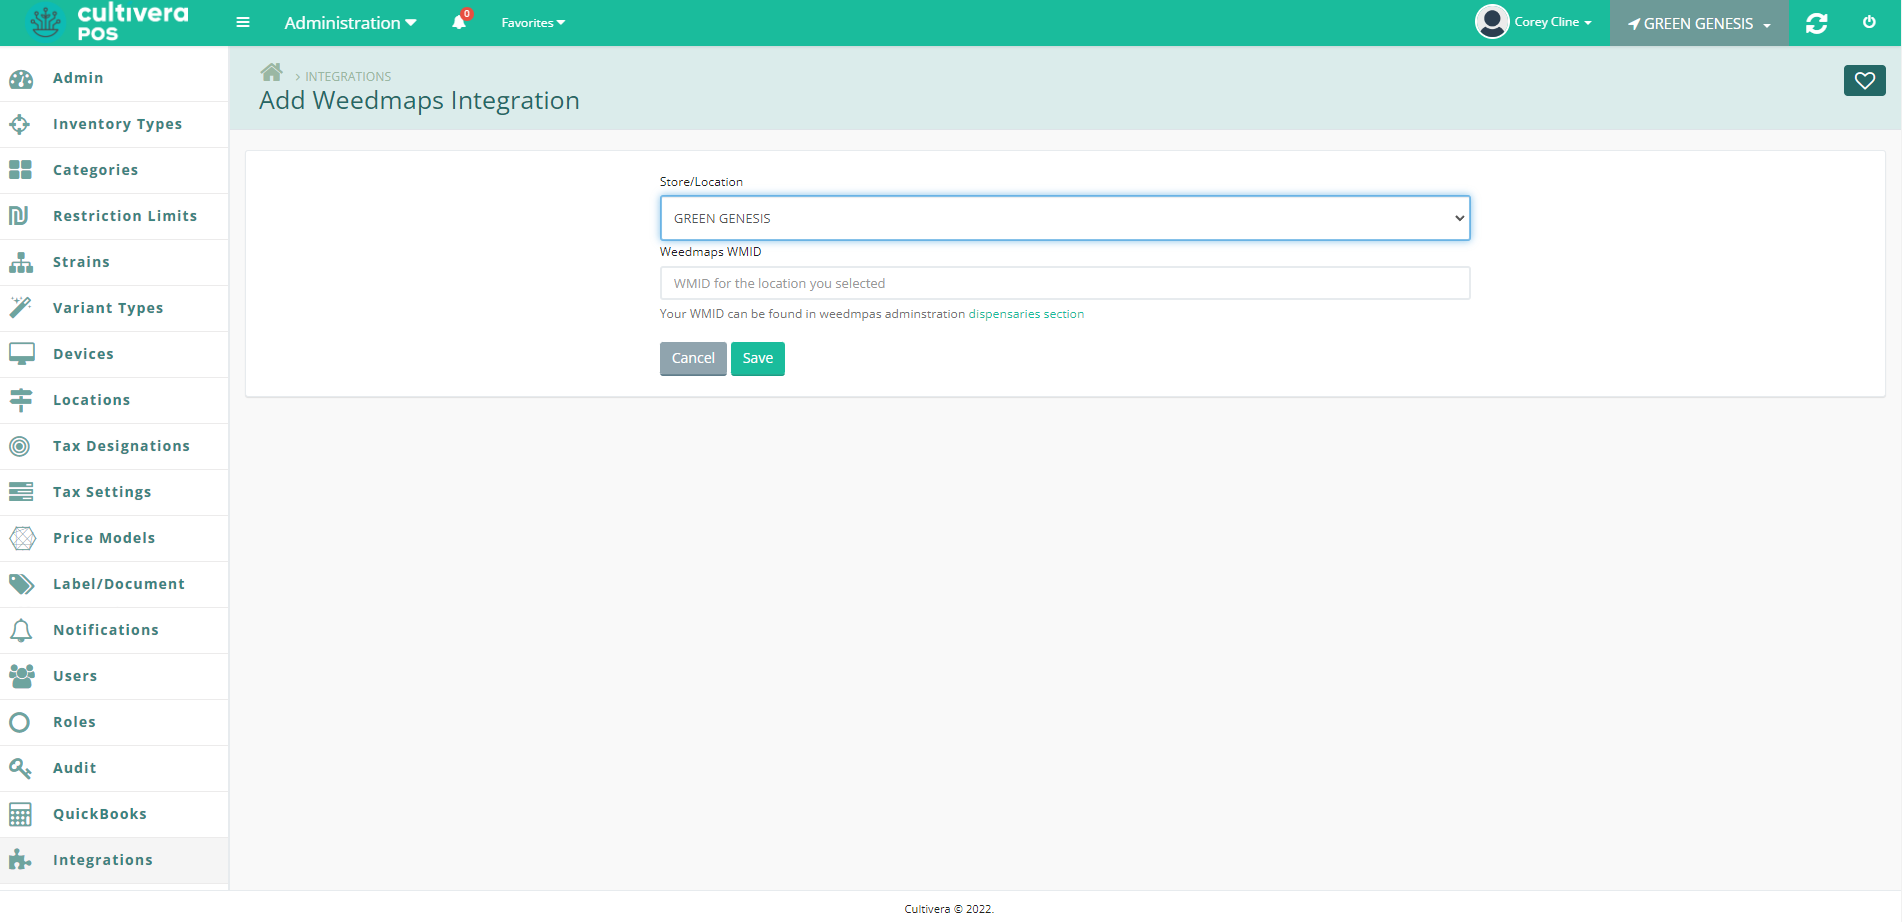
- Click the green “Add Weedmaps Integration” button.
- Select the Location.
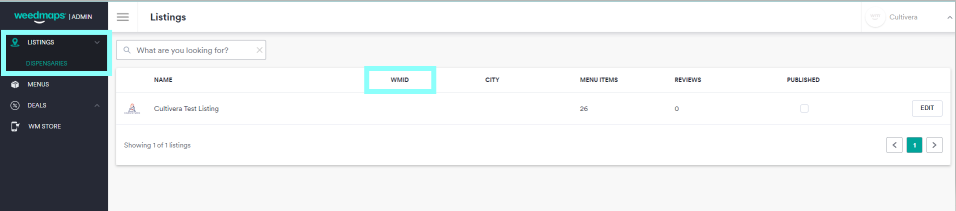
- Insert the Weedmaps ID. This can be found by logging into Weedmaps with your Administrator credentials and navigating to the Listings > Dispensaries page.
- Click the "Save" button.
Listing Products on Weedmaps
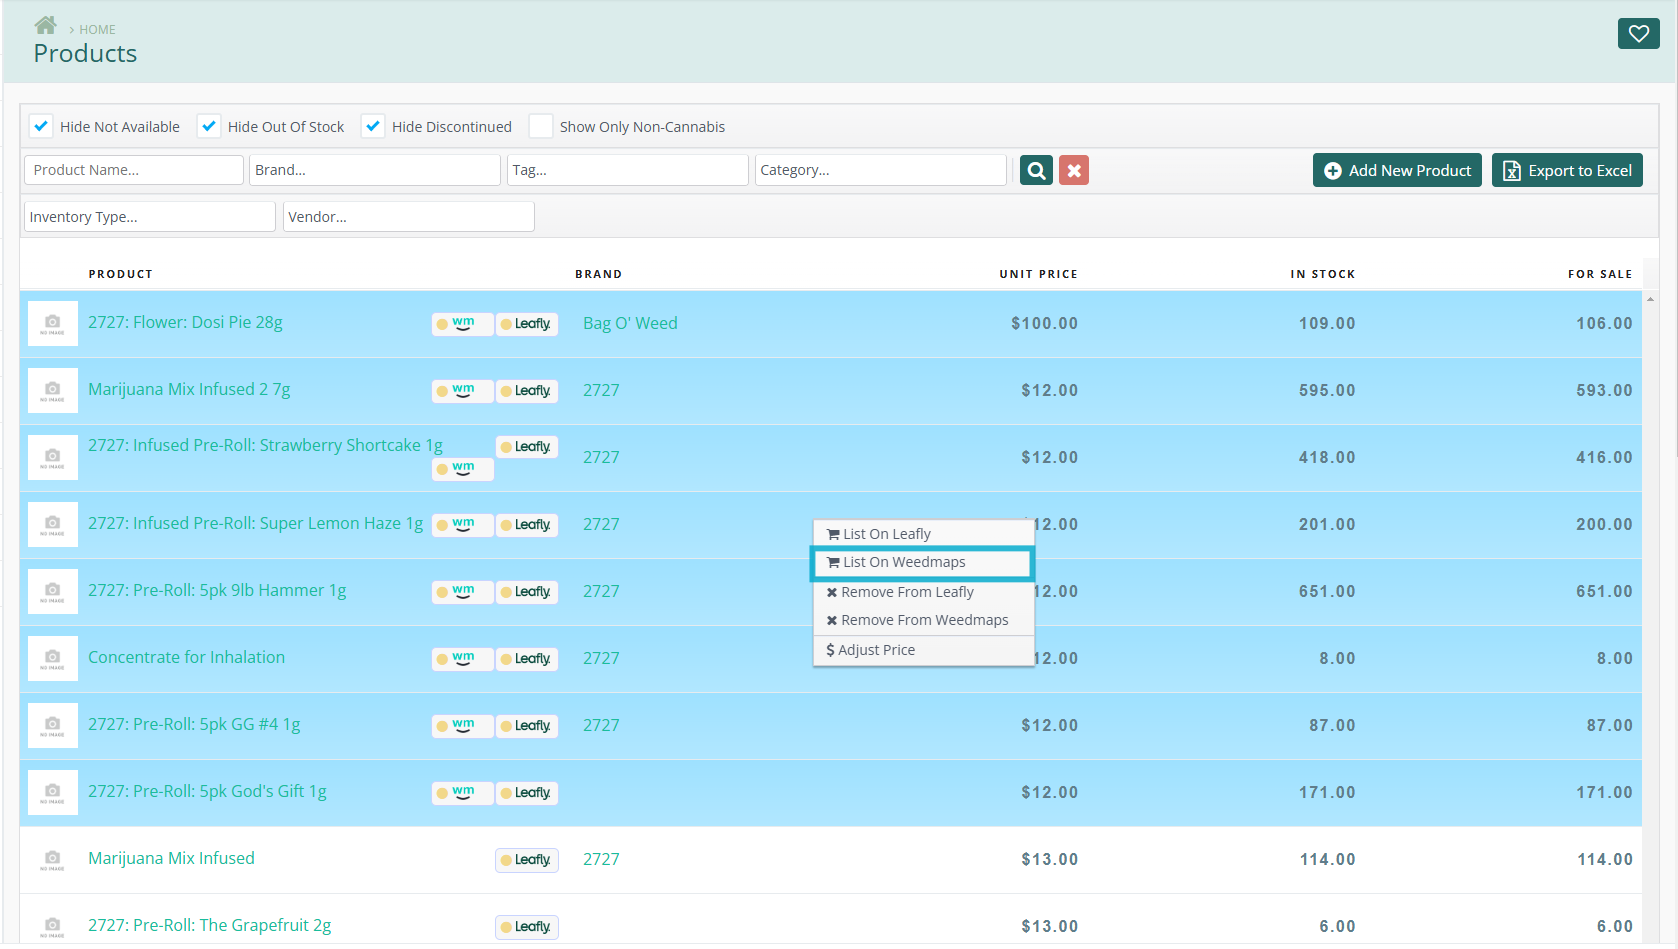
- Navigate to the Inventory Management module.
- By default, you are taken to the Products page where you can begin listing to your menu.
- Highlight and Right Click the products you wish to list on the Weedmaps Online Menu, and Select the "List on Weedmaps" option from the Right Click Action Menu.
How To Create Custom Mapping Categories within Your Weedmaps Menu
- Navigate to the "Administration" module, then Select "Integrations".
- Select the "Weedmaps Settings" gear icon to the right of your location.

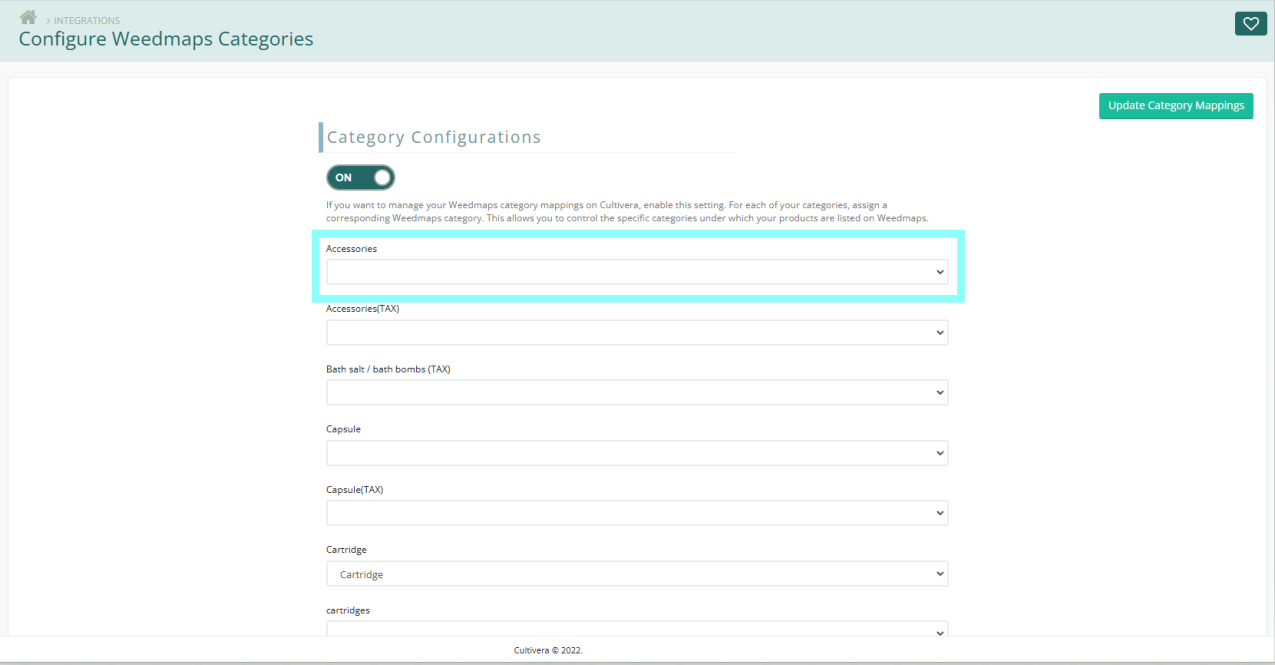
- Then, Select "Configure Categories".
- Set the toggle to "ON".
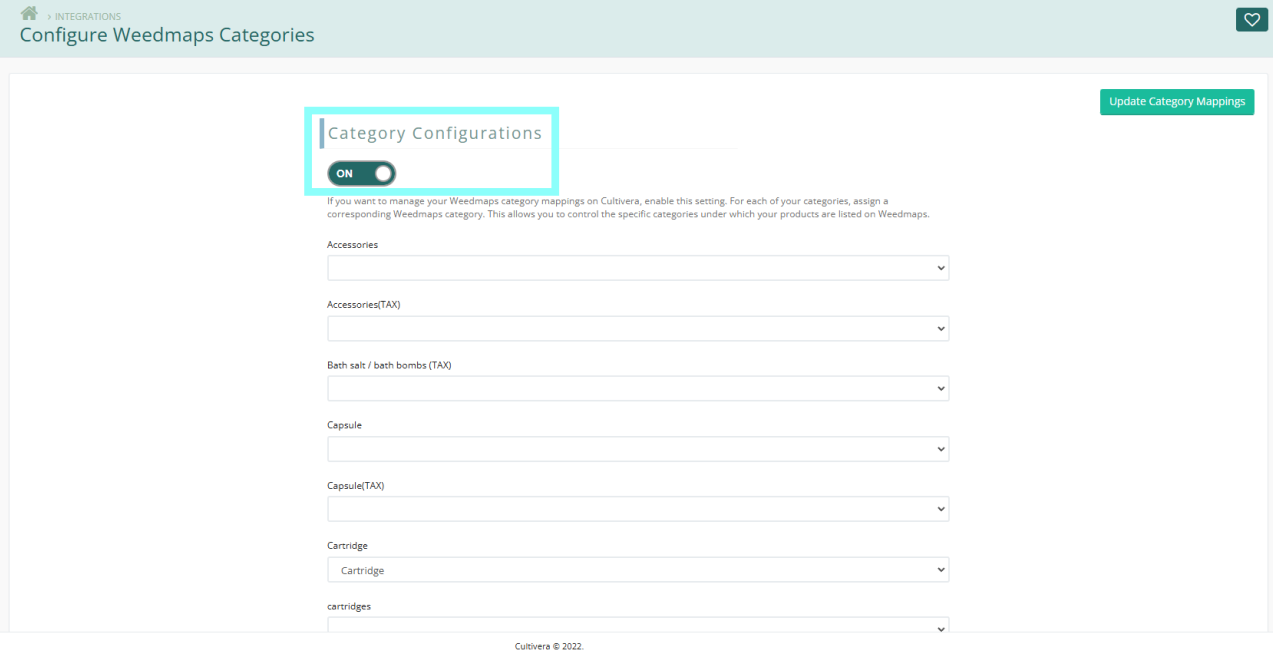
- Configure each category as you would like them to reflect on your Weedmaps Online Menu.
- Select "Update Category Mappings" to save.
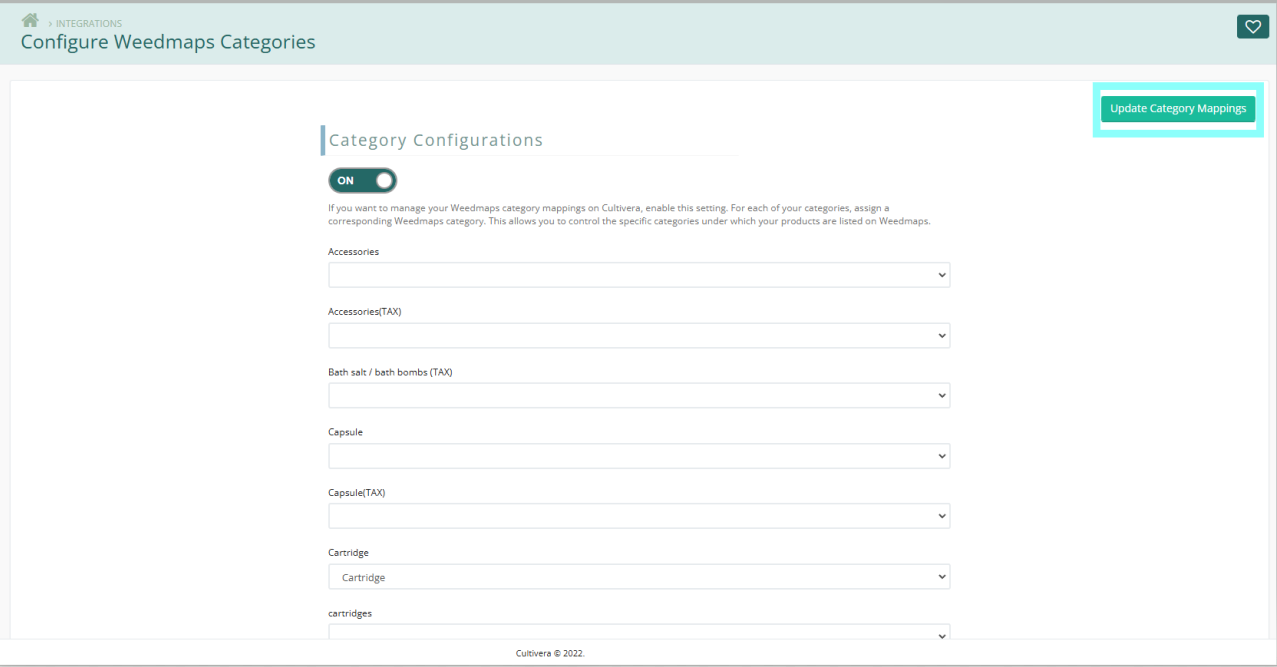
- Congratulations! Your Custom Mapping Categories will now reflect within your Weedmaps Online Menu.
Weedmaps Online Ordering Integration
Cultivera Point of Sale now integrates with Weedmaps menus, enabling real-time online ordering directly from your store’s live inventory. This new feature streamlines the customer experience while optimizing order management, ensuring efficiency for both retailers and consumers.
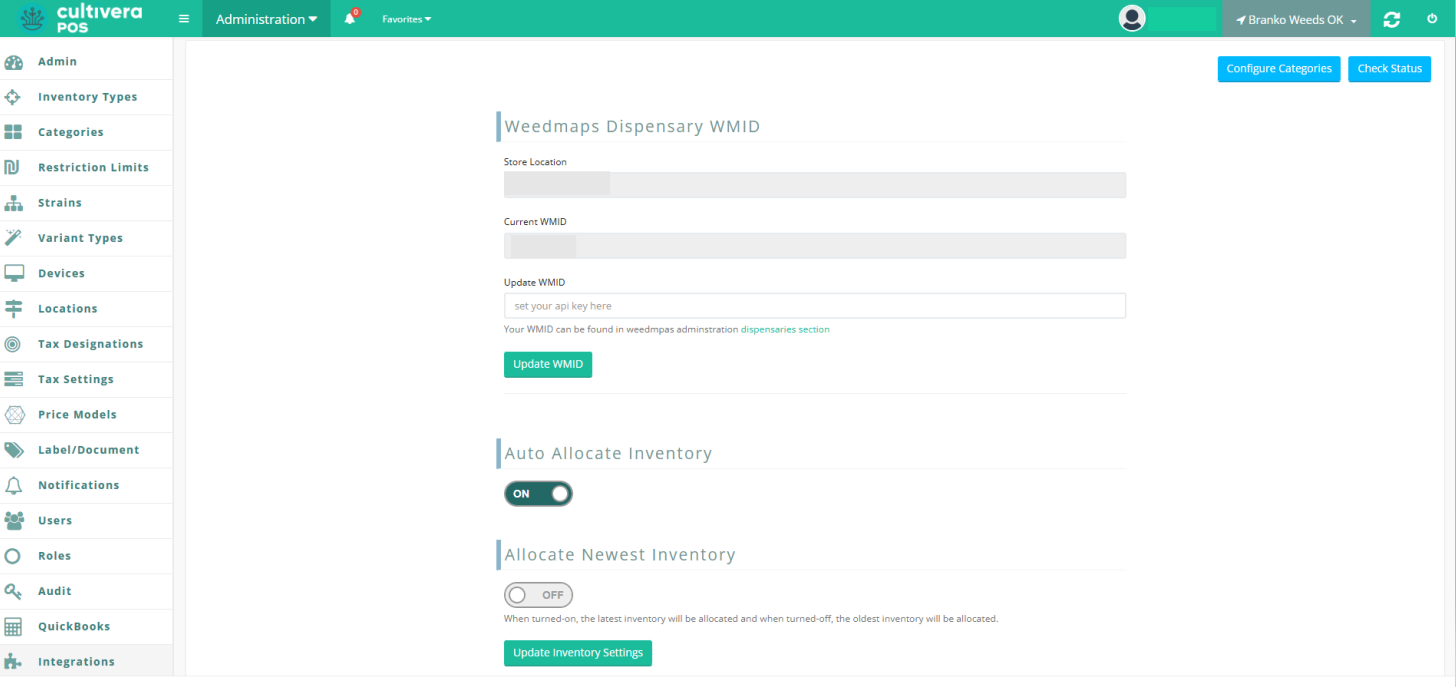
To configure your online ordering fulfillment settings, navigate to the Administration module > Integrations page and select the Gear icon for "Weedmaps Settings".

From here, scroll down and locate the fulfillment settings.
Auto Allocate Inventory

If the the Auto Allocate Inventory toggle is ON, your barcodes will automatically be assigned to Weedmaps Online Orders, and will be allocated for the order until it has been cancelled and processed from pending orders.
When this toggle is in the off position, terminal and POS Web users will have to manually assign barcodes in order to process or modify the existing orders.

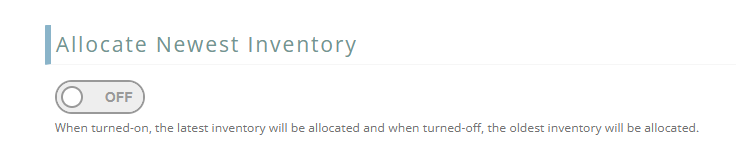
Allocate Newest Inventory
The Allocate Newest Inventory toggle will allow for an automatic FIFO (First In / First Out) of oldest inventory when fulfilling online orders. This will only occur if the Auto Allocate Inventory toggle is ON, and will be based on the preference desired.
If the toggle is ON, the newest batch associated with the product will be assigned.
With the toggle in the OFF position, the oldest batch will be designated for the order.
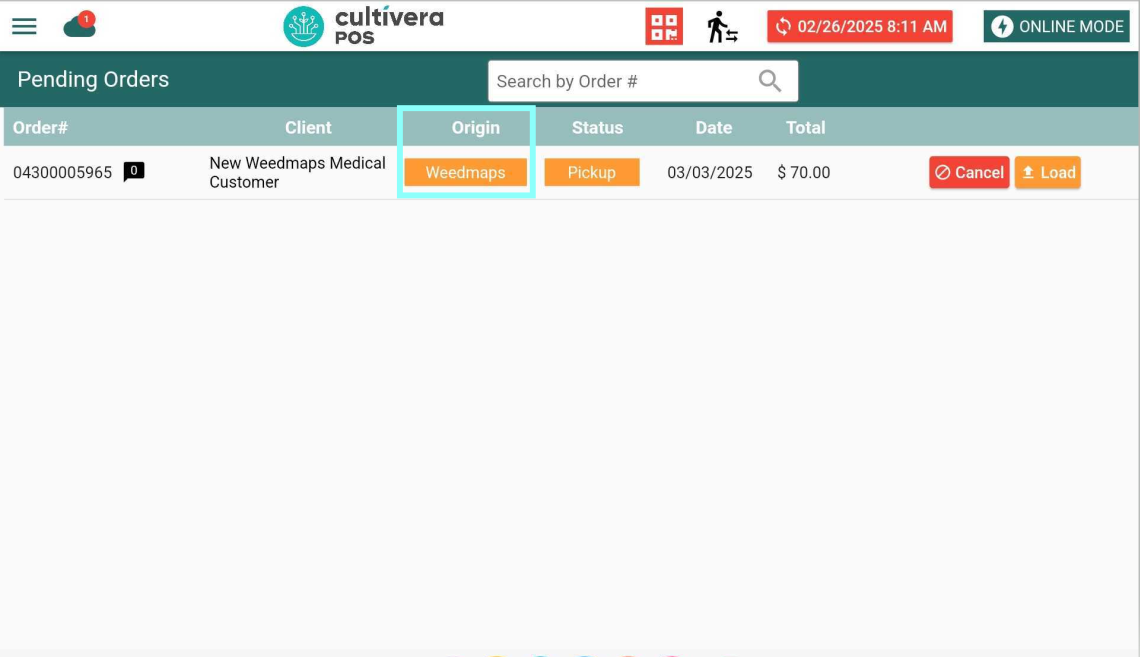
Online Order Processing
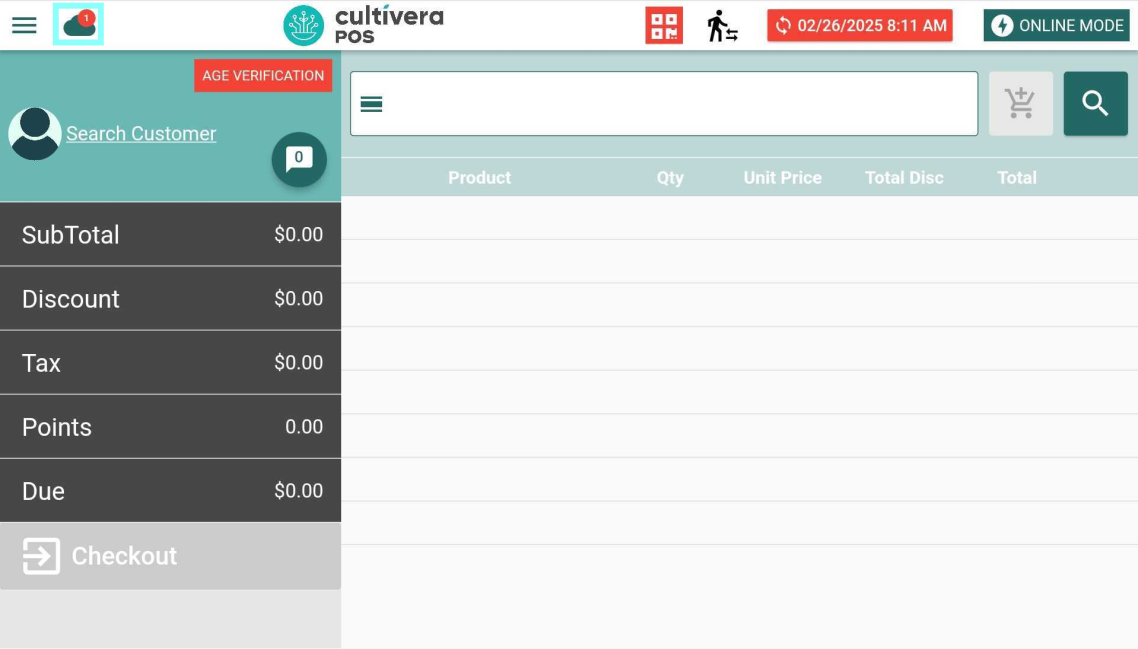
The cloud icon in the upper-left hand corner of the iPad and Android app can be selected to quickly navigate to the pending orders page. A counter will display the number of pending orders remaining.
Orders placed from the Online Menu can now be found within your pending orders page and are indicated by the Weedmaps badge in the Order Origin column.