POS - Administration: Price Models
![]() Updated
Updated
POS Administration: Creating Price Models
Creating Price Models in the Back Office will allow you to give customers price breaks once a threshold of weight or quantity is reached on a specific product. This is commonly known as Tier Pricing where a customer purchases bulk product for a discount.
This walkthrough will explain the Price Model Home Page and how to create a Price Model and intervals within it.
Price Model Home Page
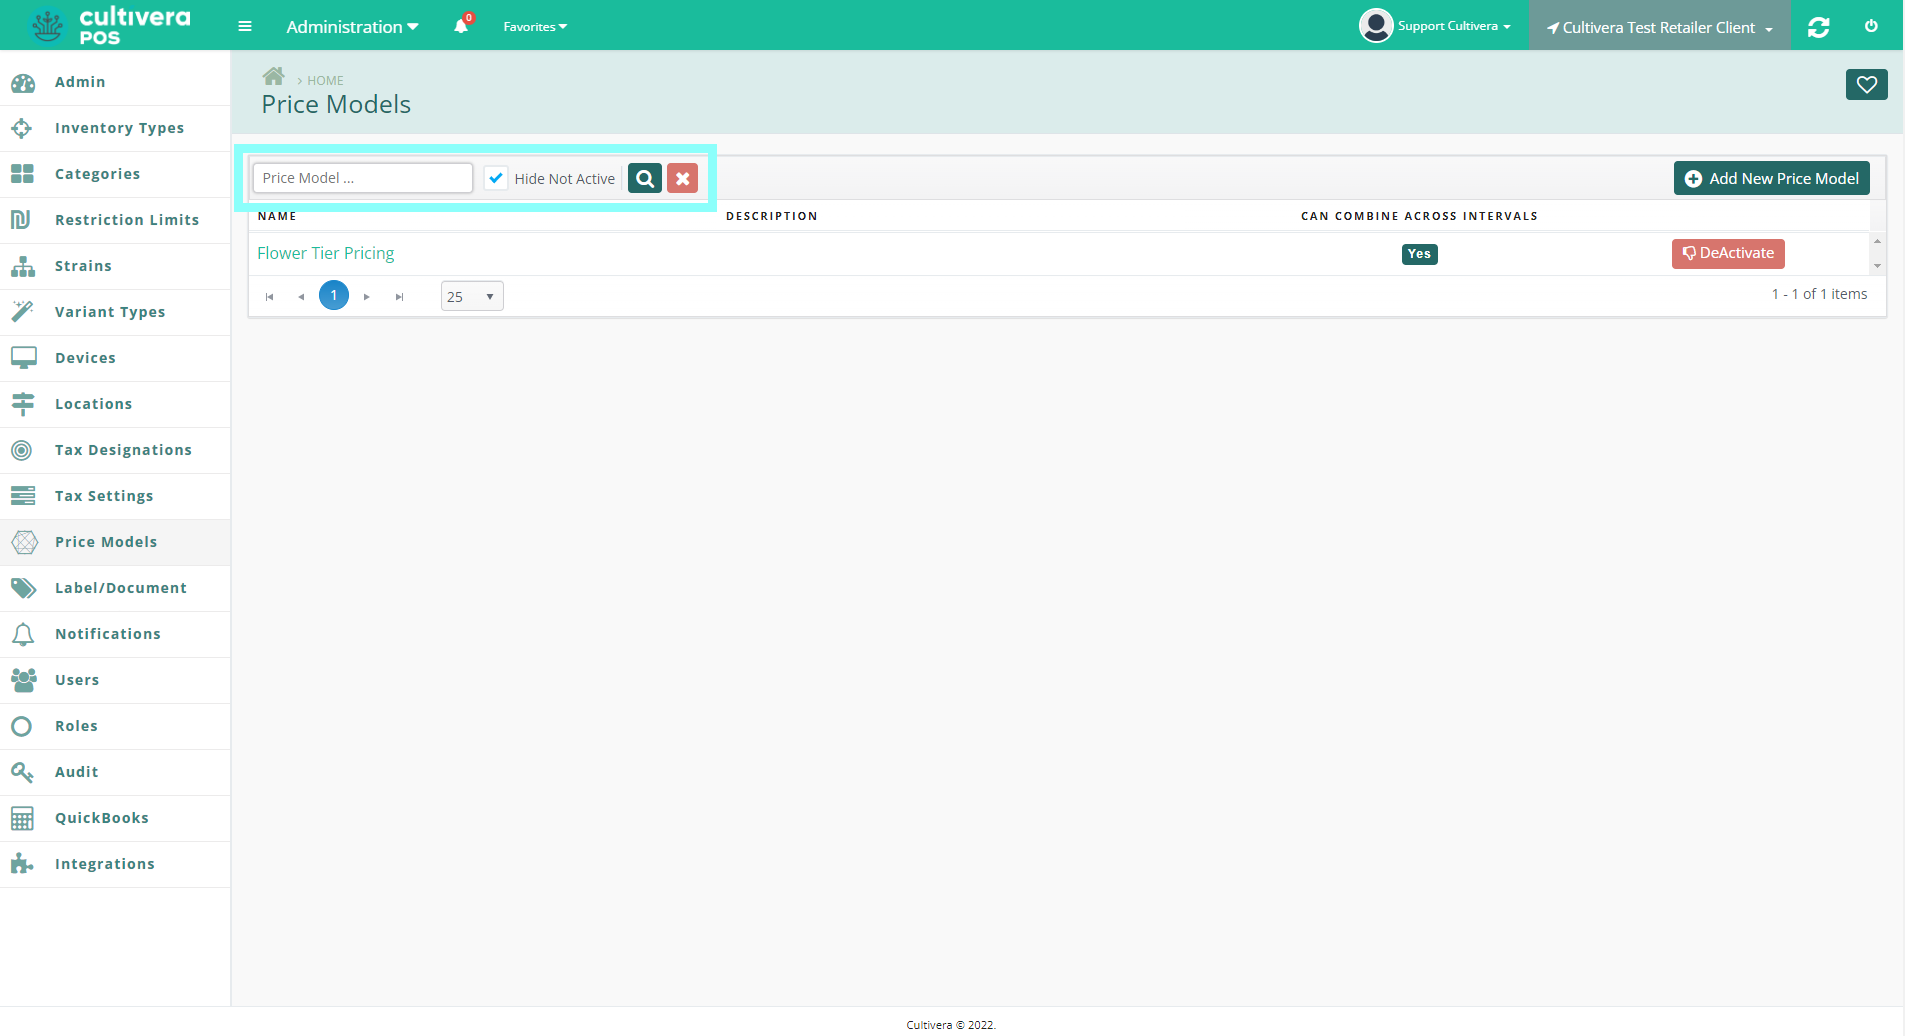
- Navigate to the "Administration" module, then Select "Price Models".

- By default, this page will show any Active Price Models. Price Models can be searched/filtered by Name or Active Status using the filter box.
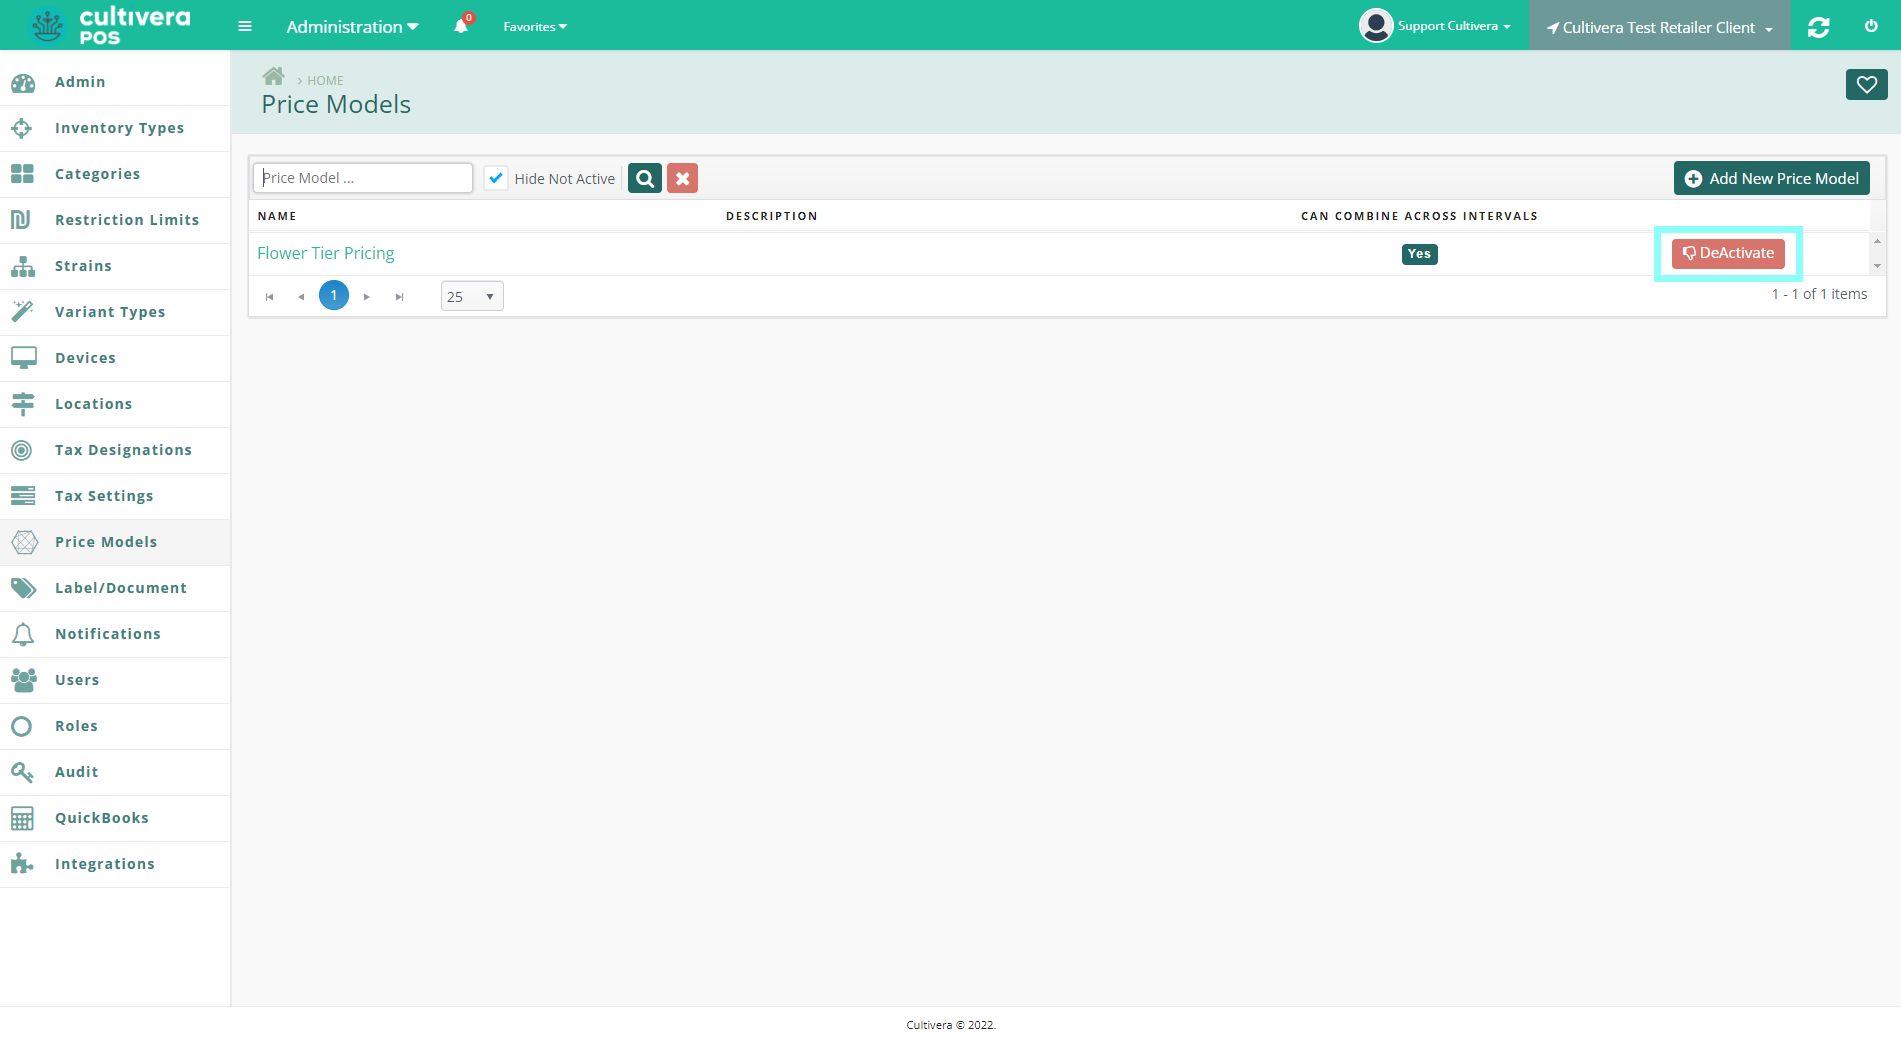
- Price Models can be deactivated by Selecting the red "Deactivate" button.
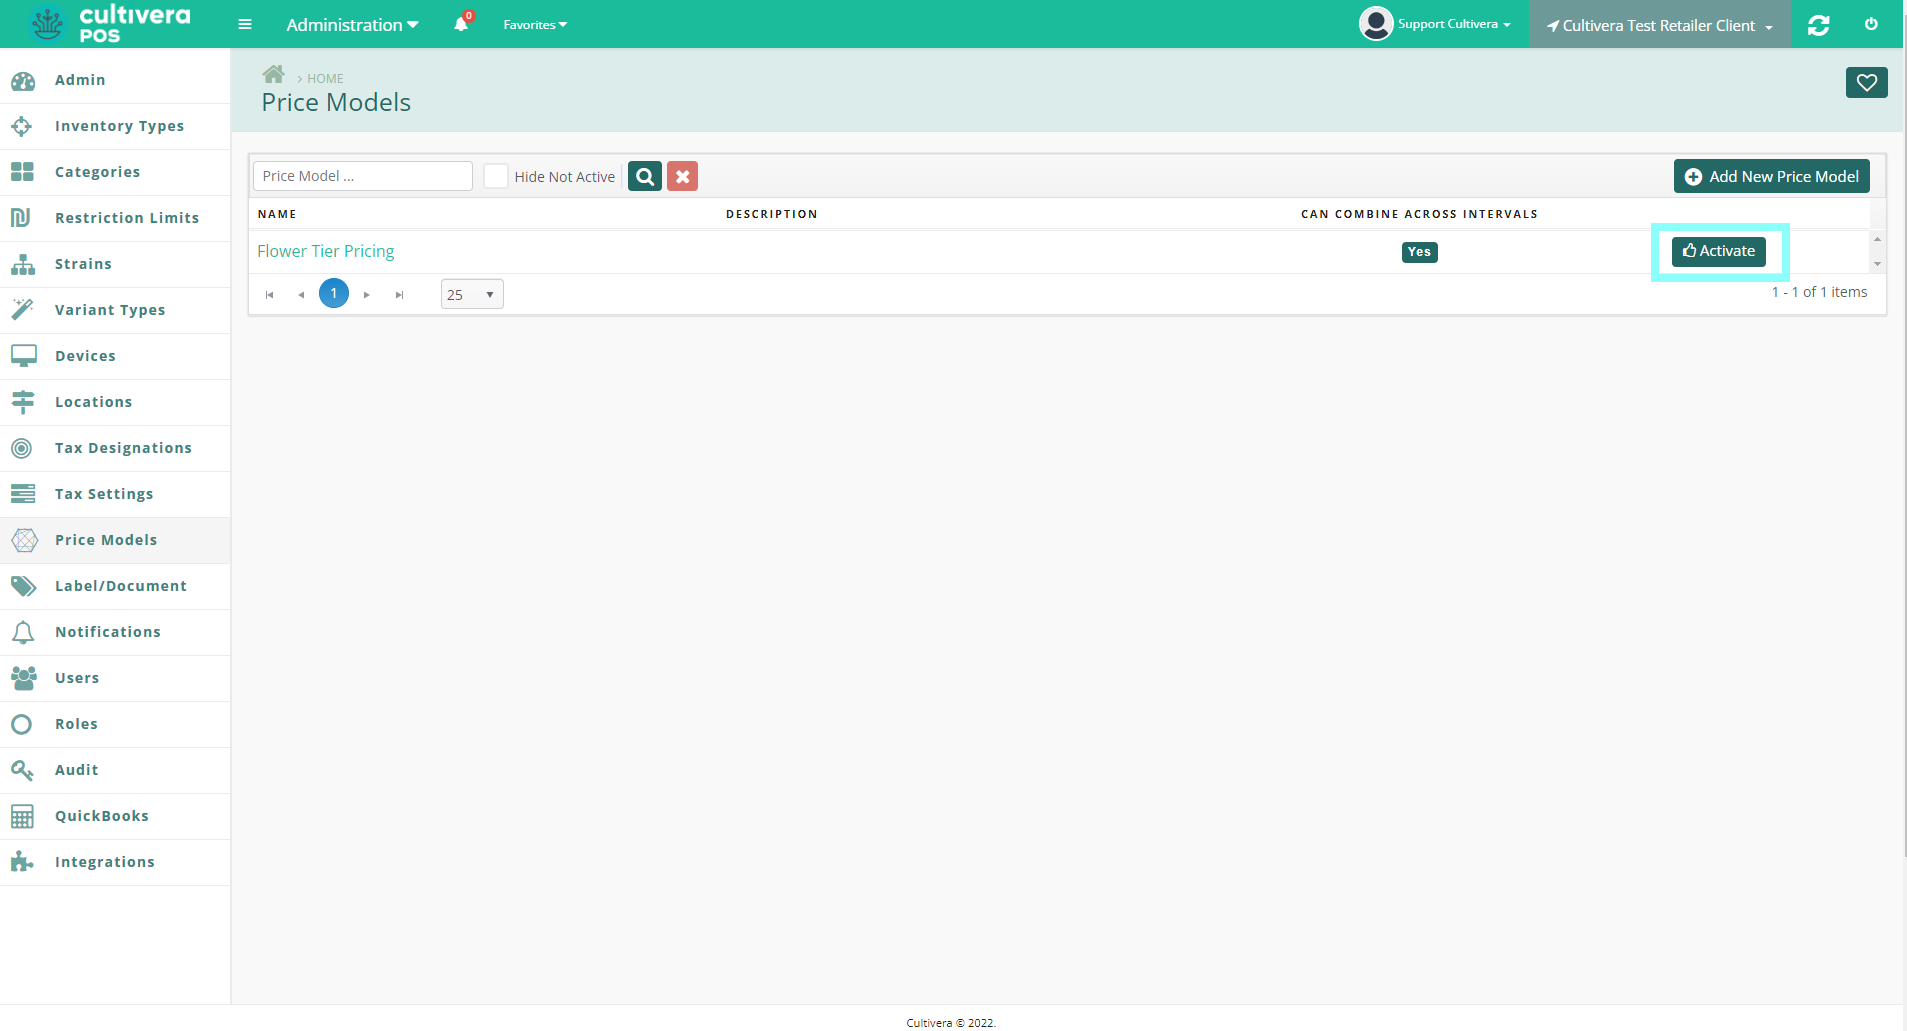
- Once a Price Model has been deactivated, it can be reactivated by Selecting "Activate".
- By default, this page will show any Active Price Models. Price Models can be searched/filtered by Name or Active Status using the filter box.
Creating a New Price Model
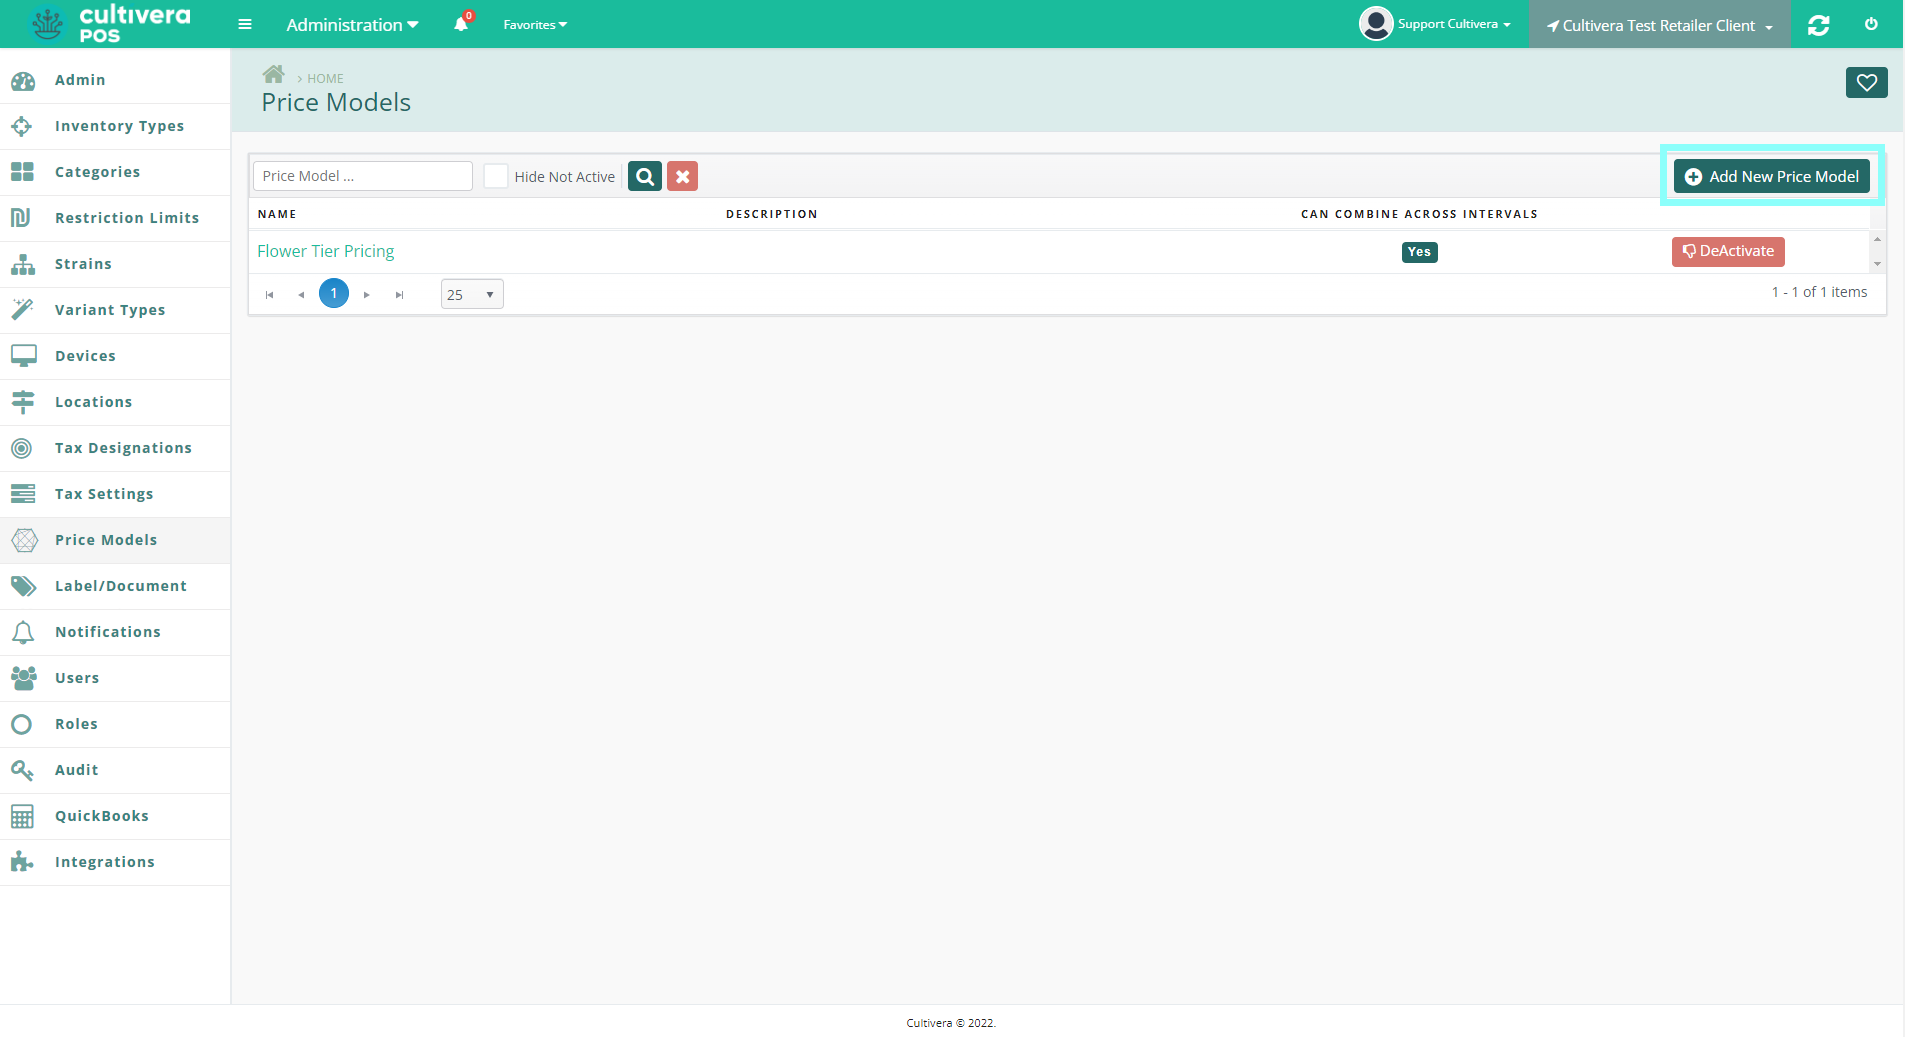
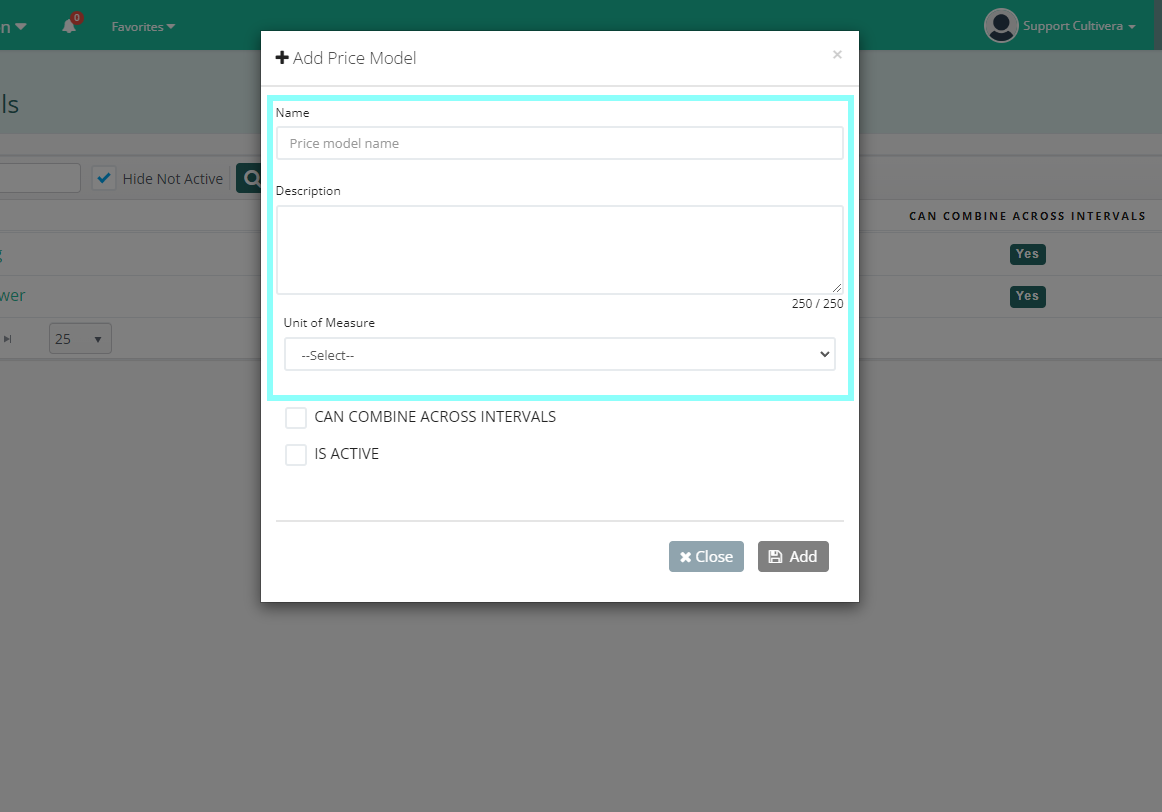
- Select "Add New Price Model" in the upper right corner.
- From here, input the Name and Unit of Measure; Description is optional.
- Select whether this Price Model can be Combined Across Intervals, as well as its Active Status, then Select "Add".
If a Price Model is marked as "Can Combine Across Intervals", multiple products that have their price set to this Model can be rung up together and the unit price will be calculated based on the combined amount, and not that of the individual product price. For Example: You can mix and match eight different strains of 3.5 gram flower to be grouped at a one-ounce price rather than individual pricing for each eighth.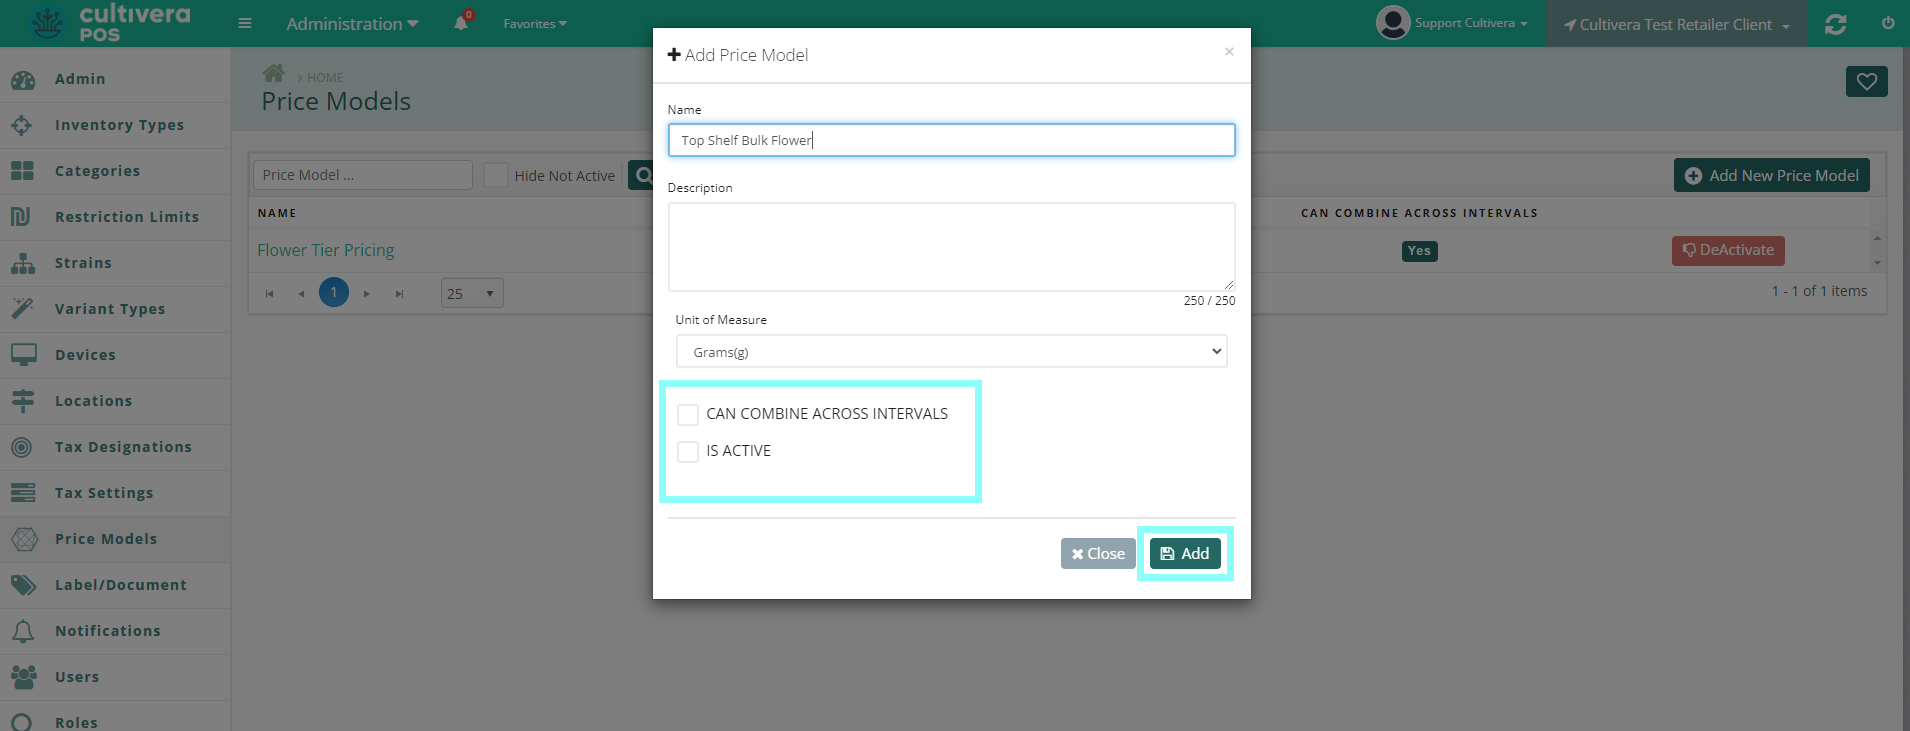
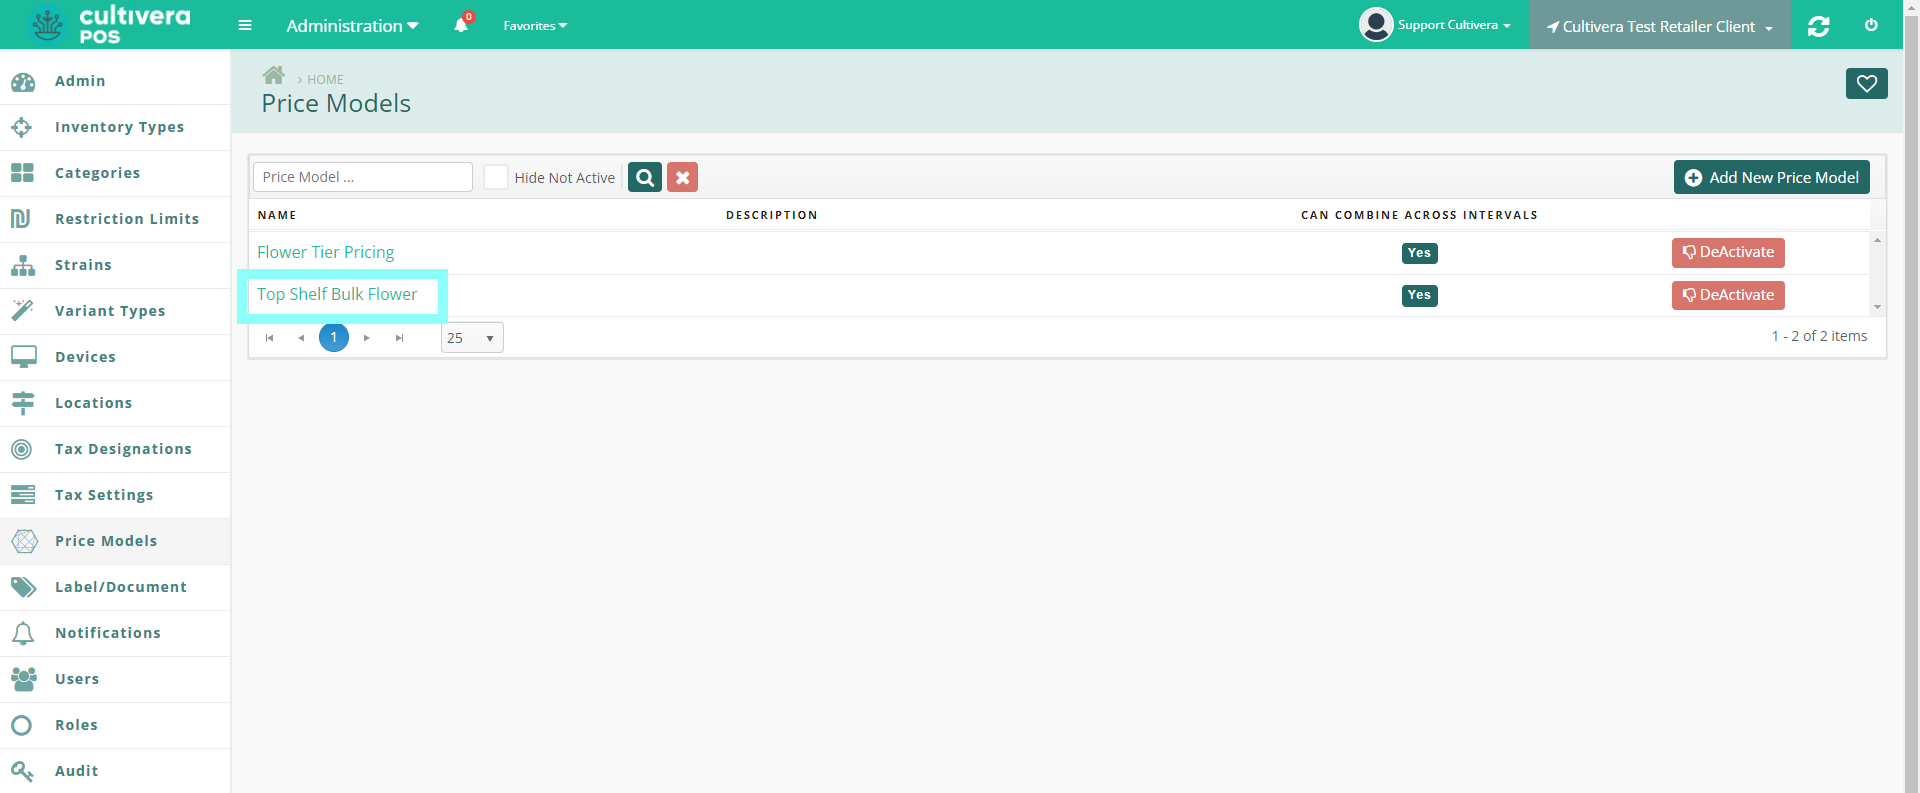
- Once the Price Model has been added, Select its name to Edit the Price Model Details.
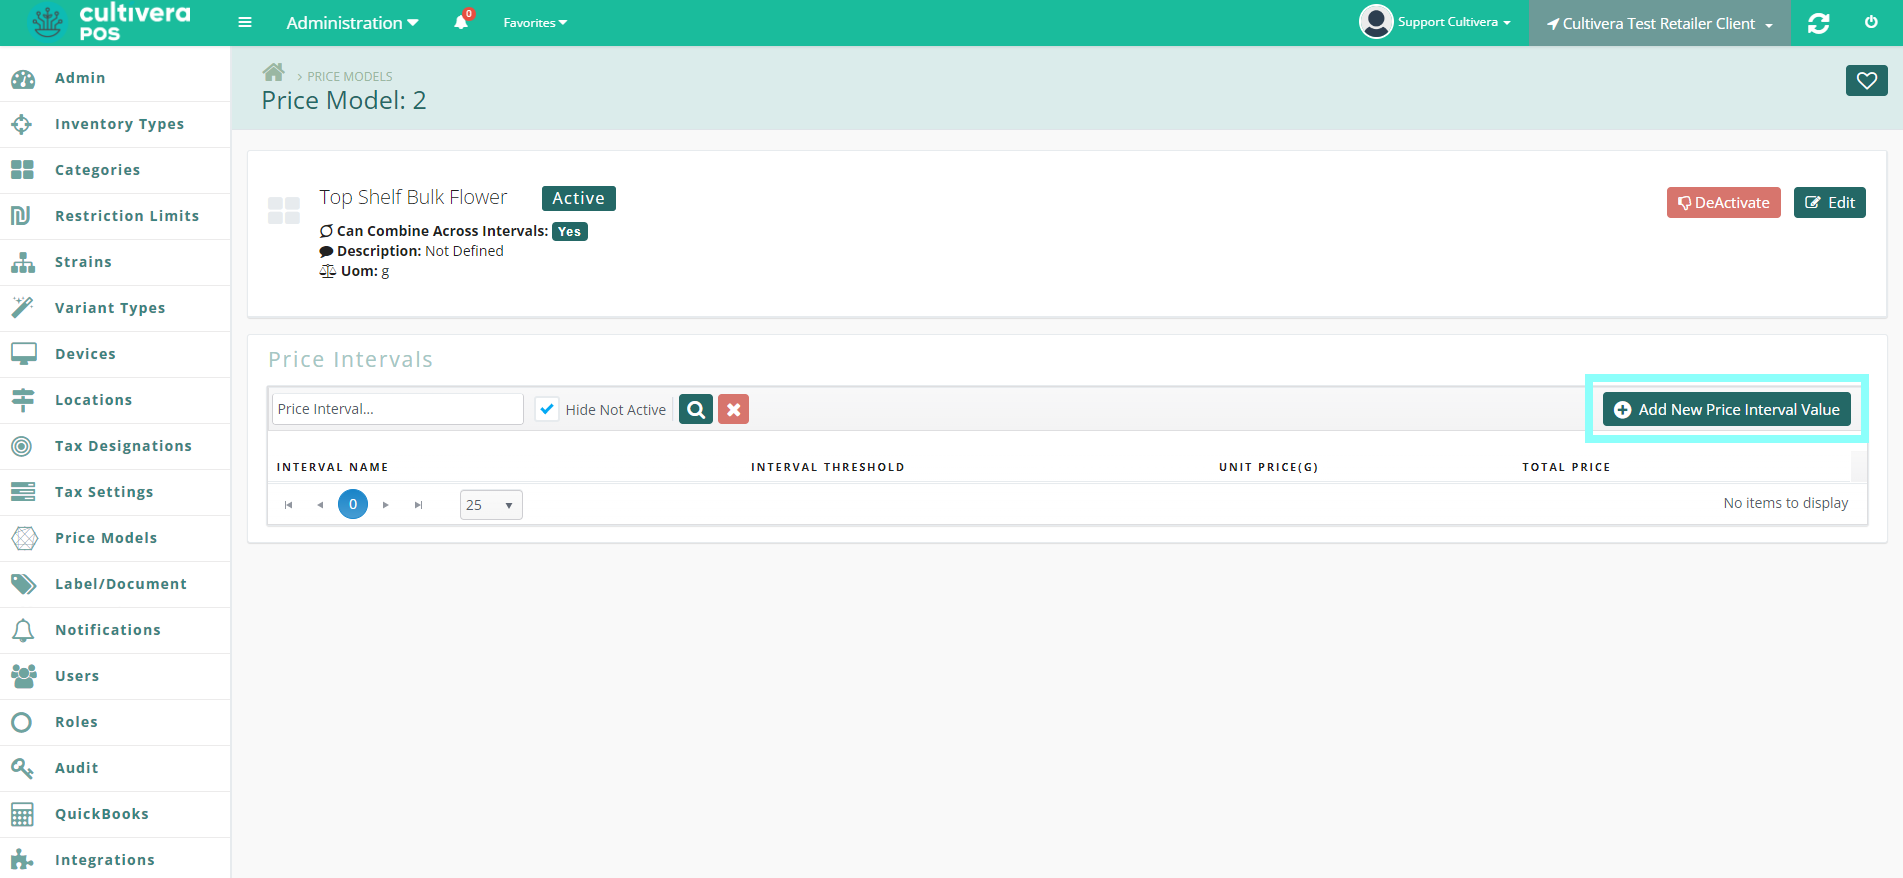
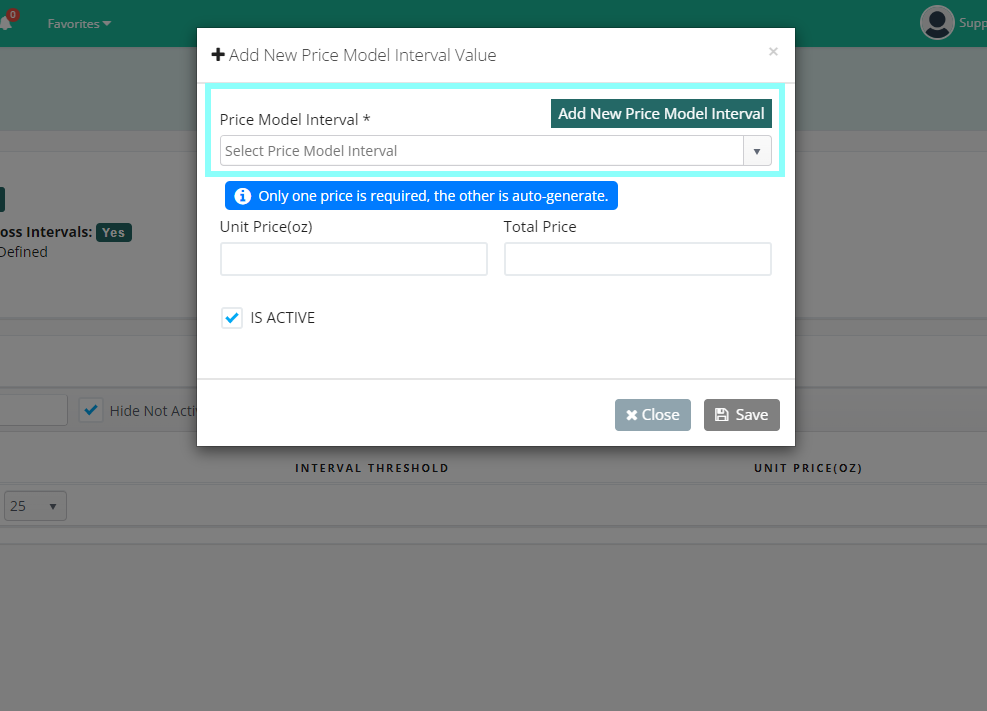
- The Price Model Details page shows the breakdown of each interval that has been added to the model and its associated unit and total price. To Add a new price interval, Select the "Add New Price Interval Value" button.
- Select an interval from the drop-down list to assign a value. To Create a custom interval, Select the green "Add New Price Interval" button.
- If creating a custom interval, specify a Name for the interval and Enter the Weight for that interval.
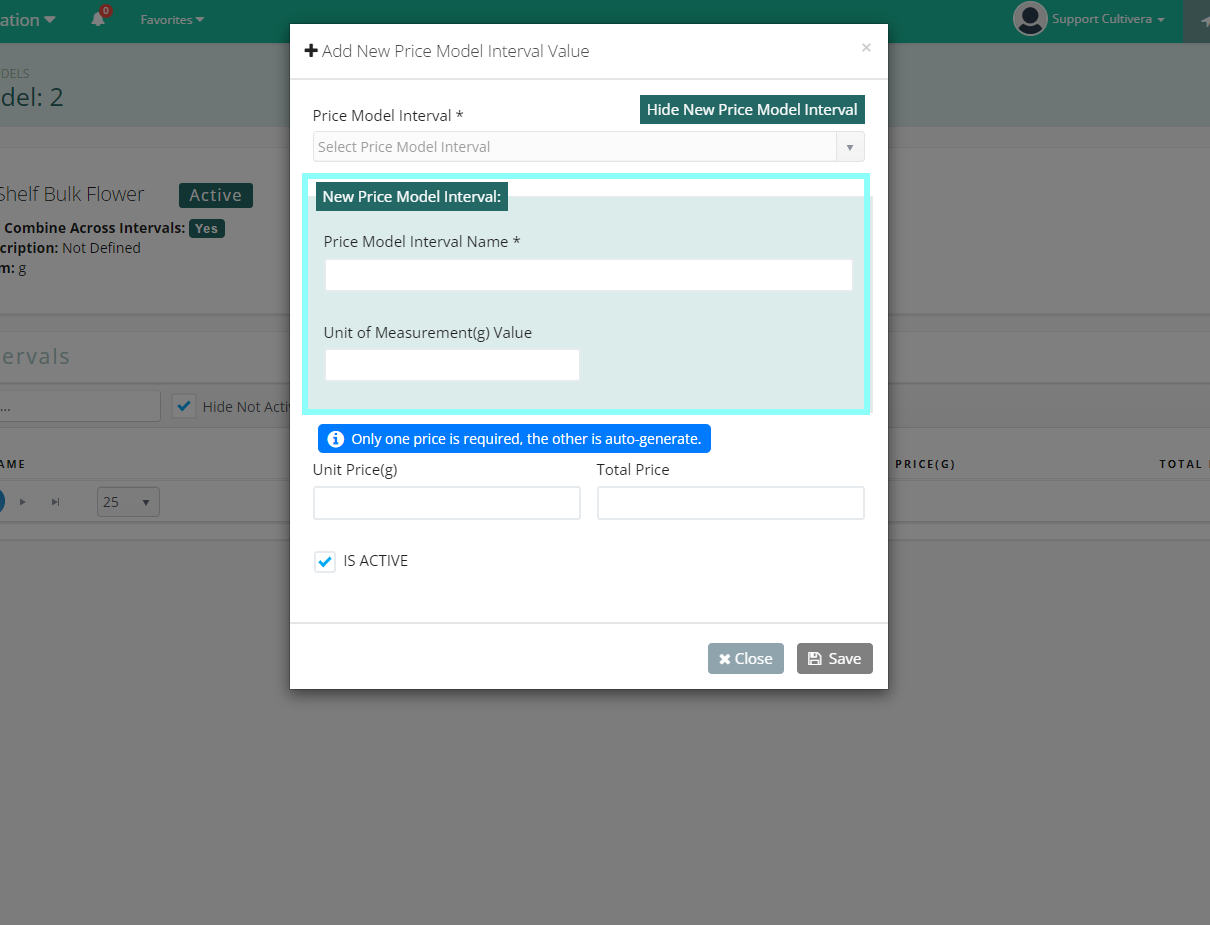
- If creating a custom interval, specify a Name for the interval and Enter the Weight for that interval.
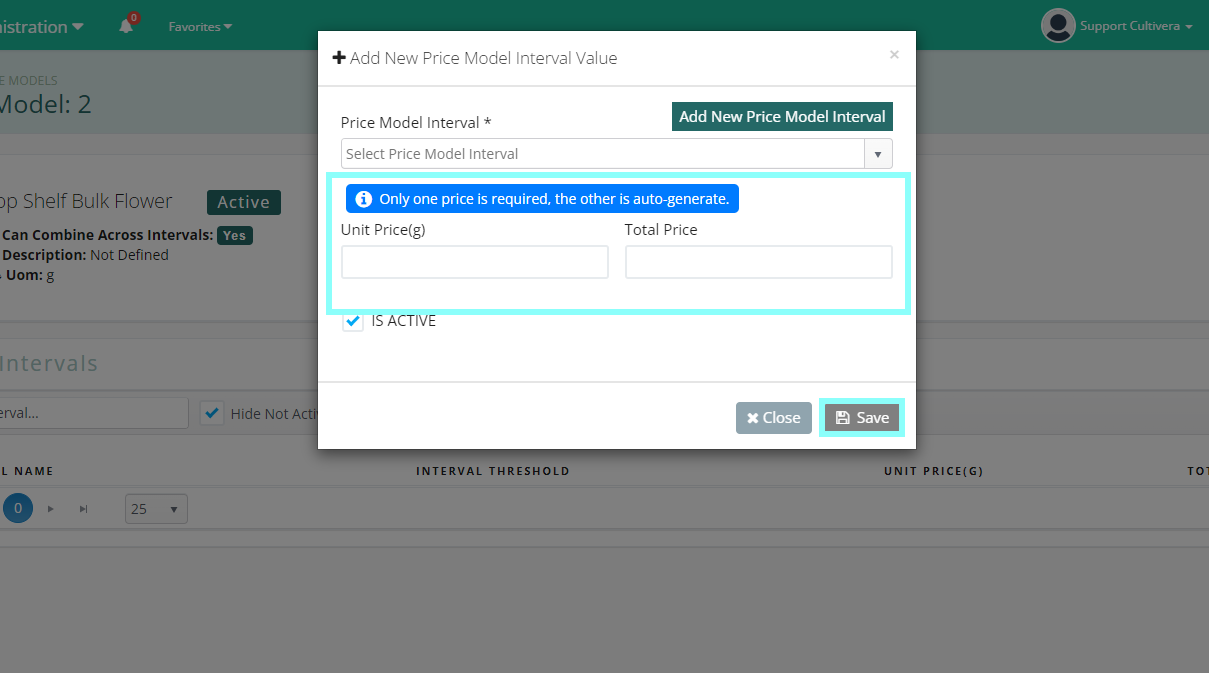
- Next, specify either a "Unit Price" or "Total Price" for the interval. Only one of these fields needs to be filled in, as the other will automatically calculate based on the Price Model Interval that is selected. Once complete, Select "Save".
- Once the Price Model has been created, it can then be assigned to products within the Inventory Management module.
- The Price Model Details page shows the breakdown of each interval that has been added to the model and its associated unit and total price. To Add a new price interval, Select the "Add New Price Interval Value" button.
- Congratulations! You now know how to create Price Models within the Cultivera Back Office!