POS - Store Management: Clock In/Out
![]() Updated
Updated
POS Back Office: Store Management - Clock In/Out
Cultivera POS features an integrated clock in/out system designed to help dispensary owners efficiently track employee work hours. This guide will walk you through how to best utilize this feature for your business operations, along with how to query and locate the exact hours/minutes an employee has worked.
Clock In/Out Functions and Features
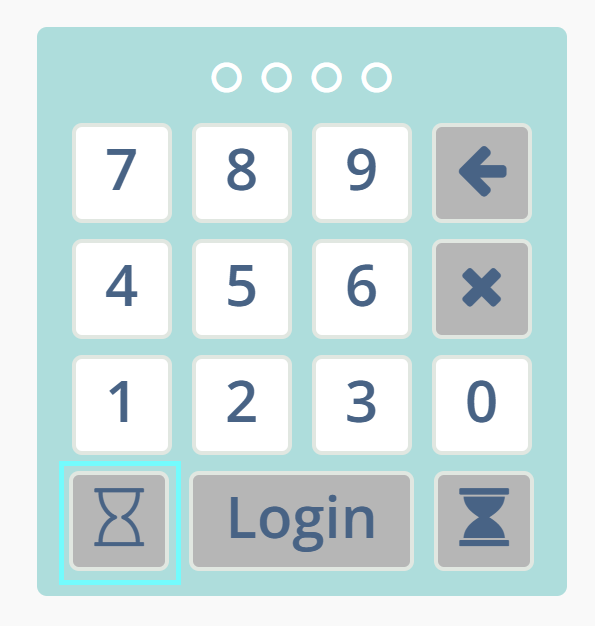
To clock in for a shift, the employee must enter their unique Employee PIN at the terminal and then select the 'empty hourglass' button.
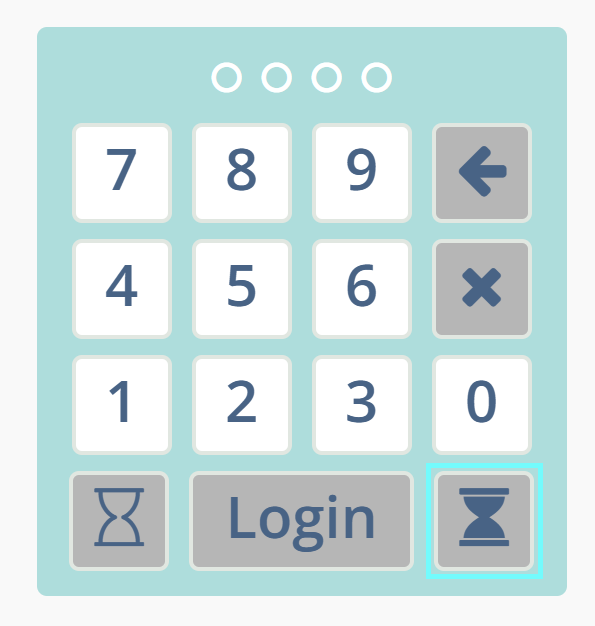
To clock out for a shift, the employee must enter their unique Employee PIN at the terminal and then select the 'full hourglass' button.
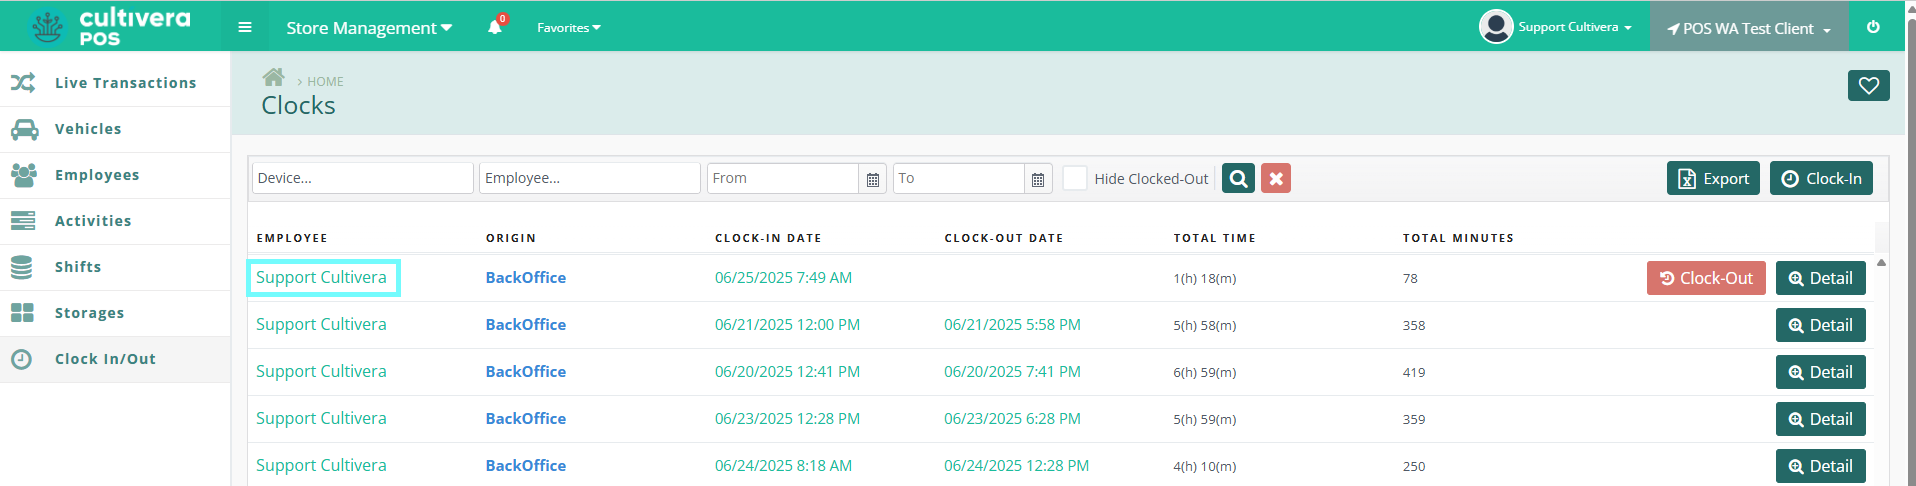
To locate the Clock In/Out page within the Back Office, navigate to Store Management > Clock In/Out.
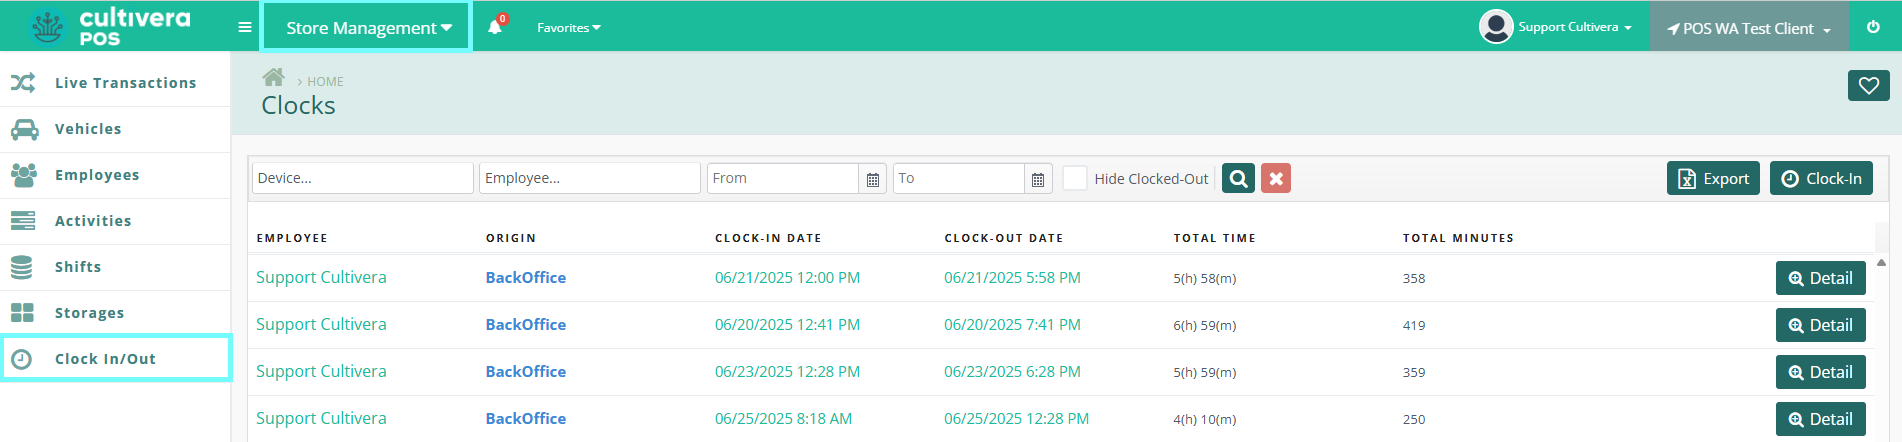
The Clocks page displays a list of time card entries in chronological descending order by default.
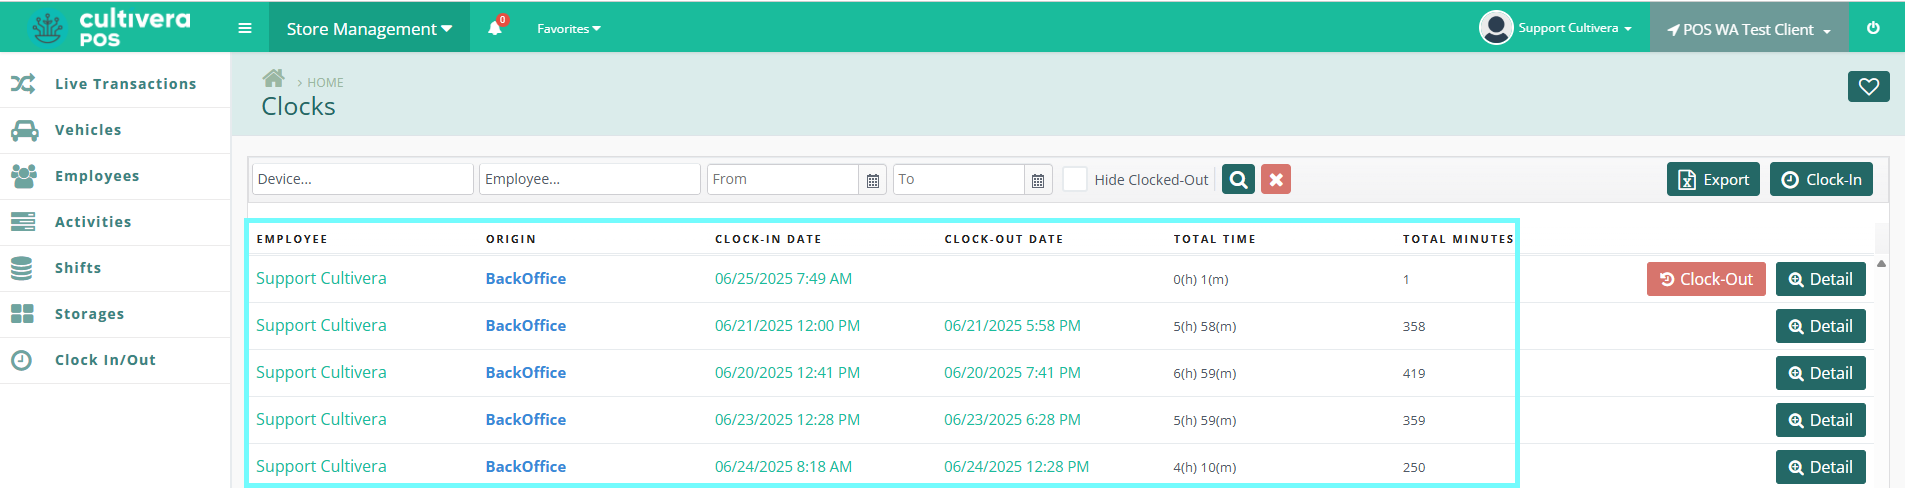
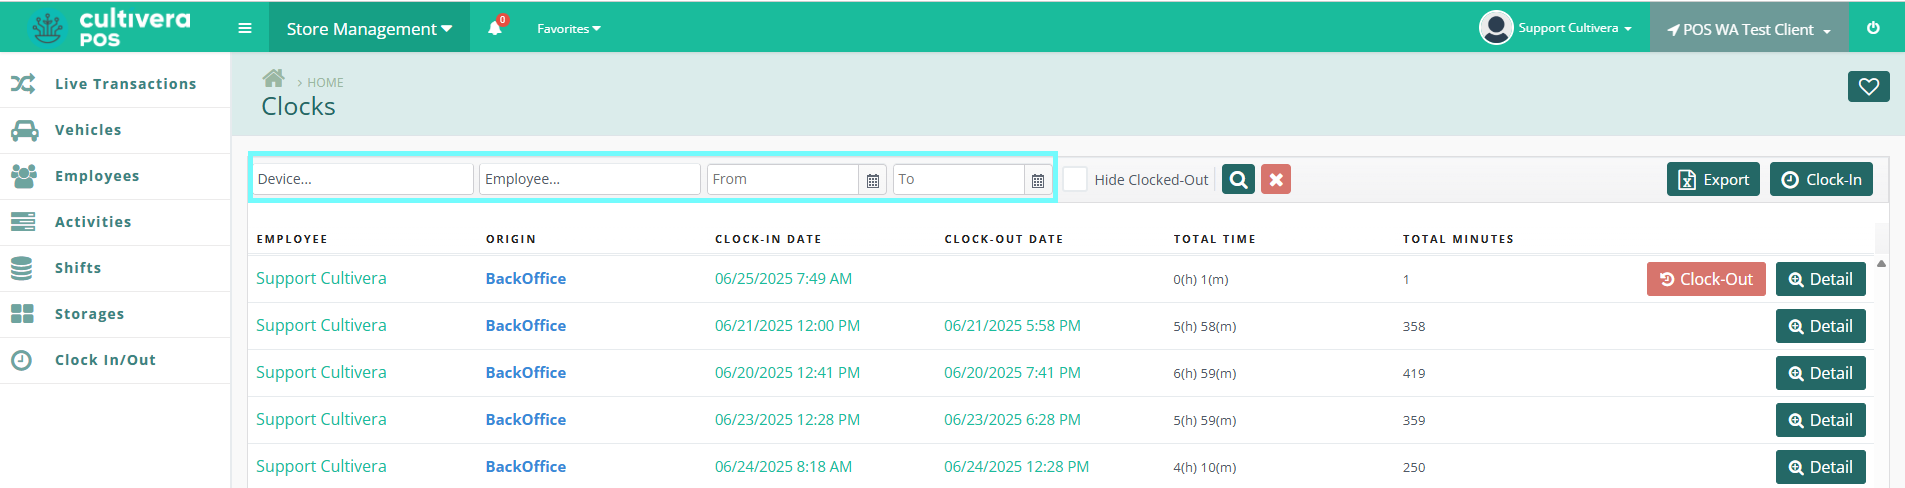
You can filter time card punches by Device, Employee, and/or Date.
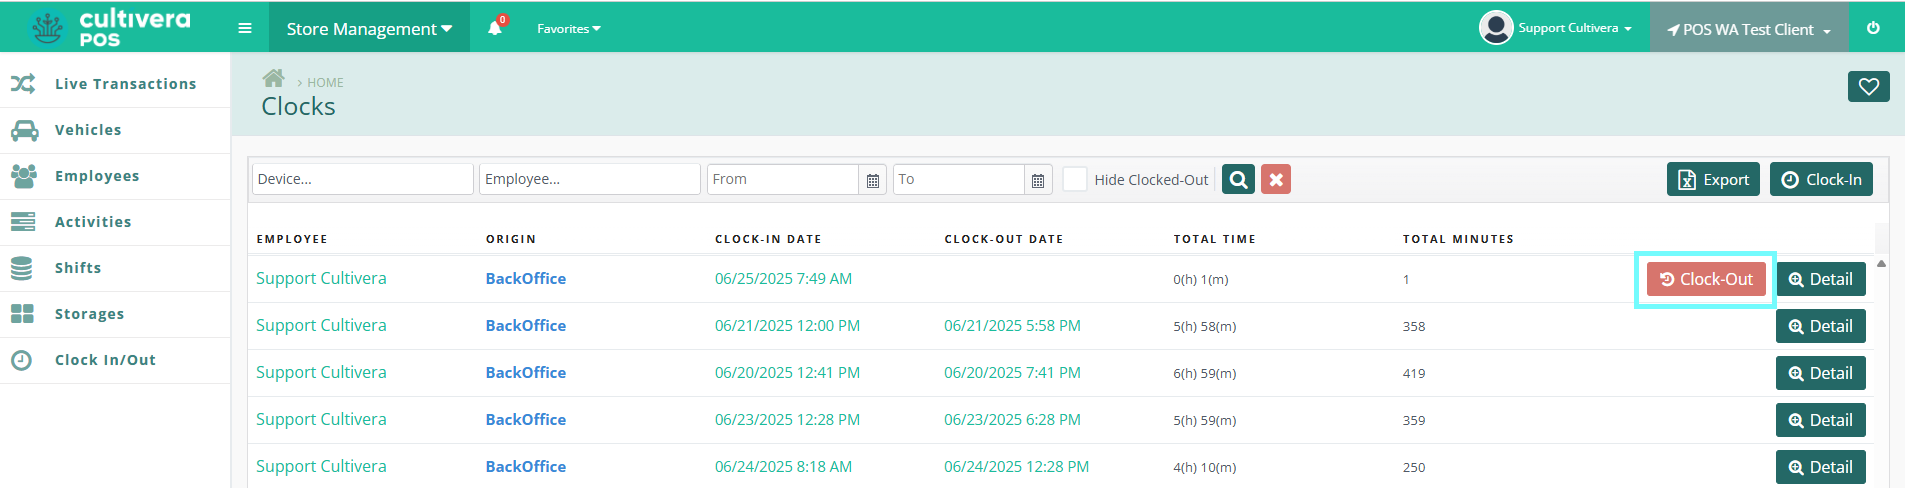
Employees with an active clock-in entry have the option to clock out from here by selecting the red "Clock-Out" button.
This information can also be exported for payroll purposes by selecting the green "Export" button.

Selecting the green "Details" button takes you to the Clock-in Details page which provides more information pertaining to that employee's shift.

You can make edits to the time and/or date from the Clock-In Details page by selecting the "Edit" option next to each timestamp. You can also Add, View, and/or Delete Notes related to that shift.
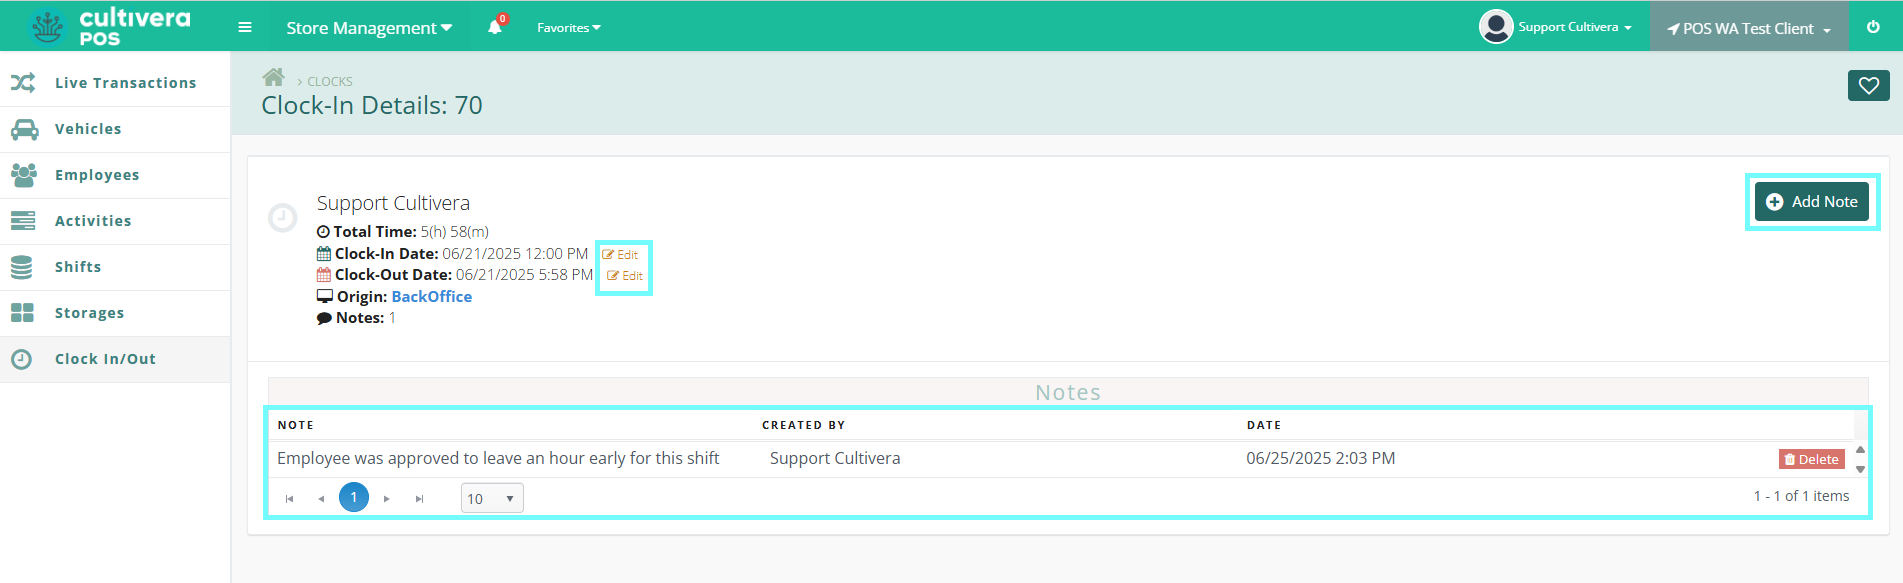
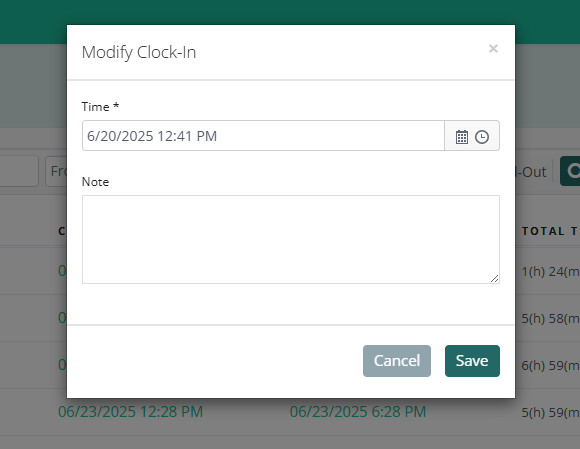
Selecting a Clock In/Out Timestamp link will allow you to make changes to the date and time of the recorded entry. Additionally, you can also add a note pertaining to the shift time modification.

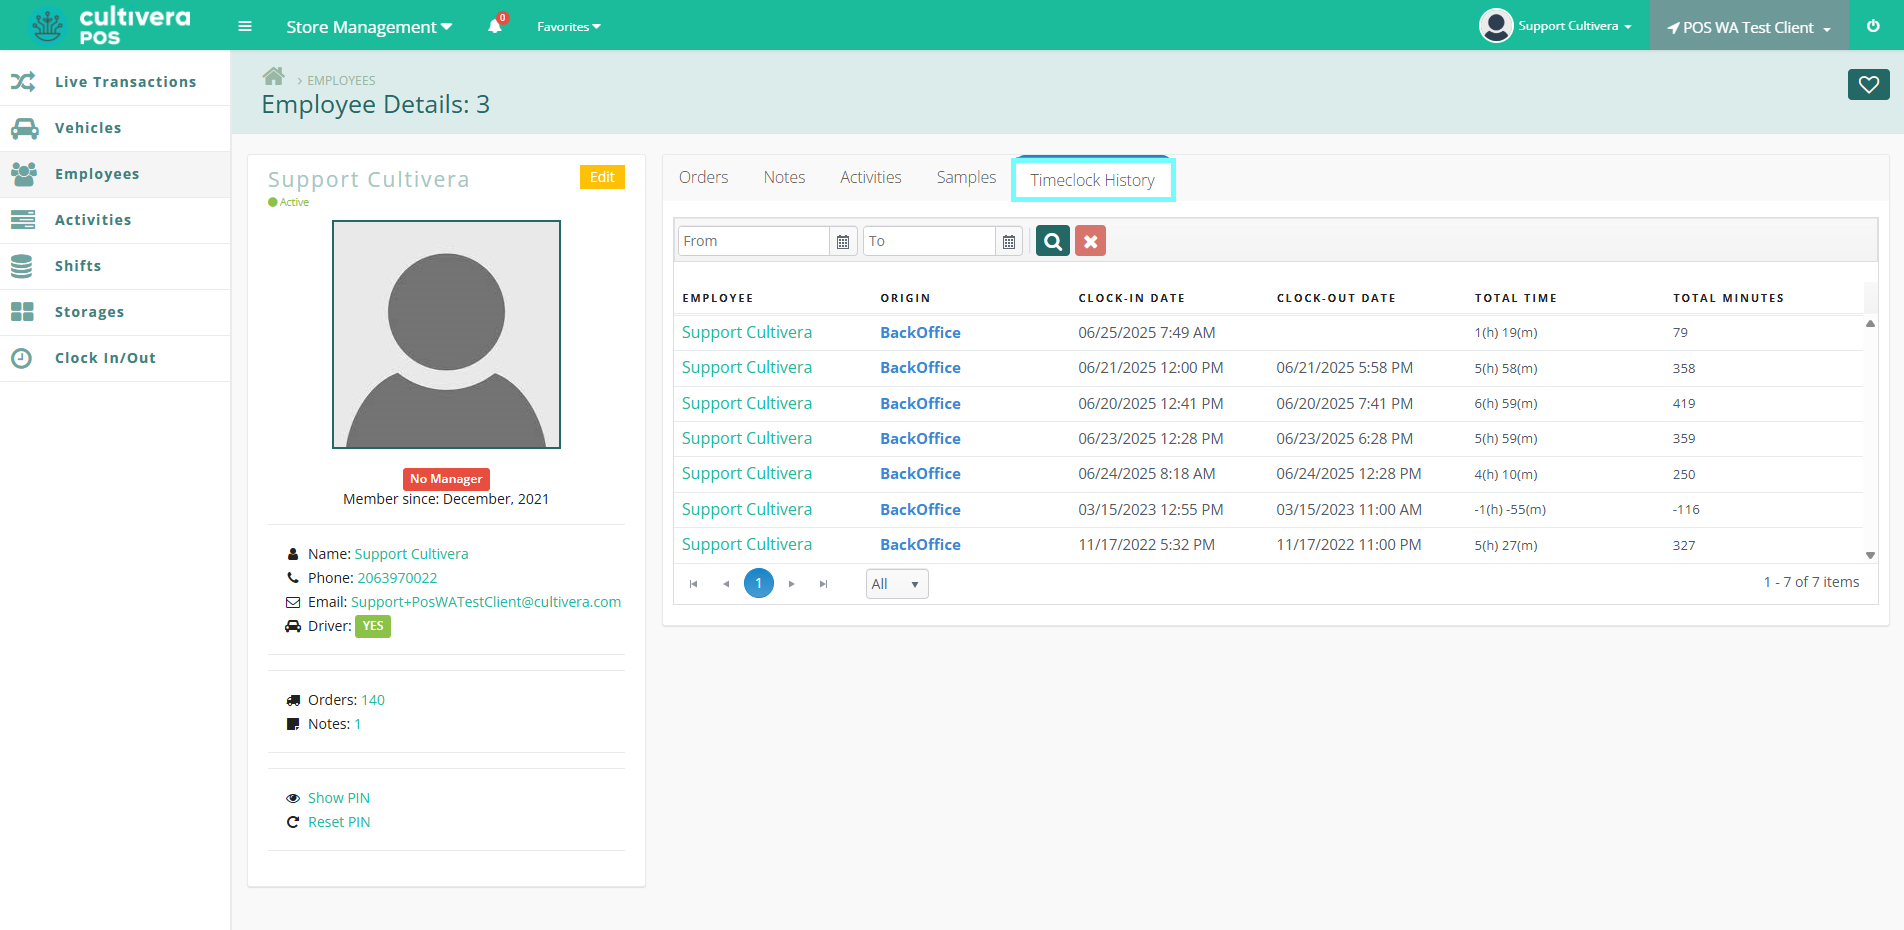
Clicking on an Employee's name will take you to that Employee's Detail page.
Within the Employee Details page, you can select the "Timeclock History" tab to view the employee's history of clocking in and out.
How to Query and Locate Exact Hours/Minutes an Employee has Worked
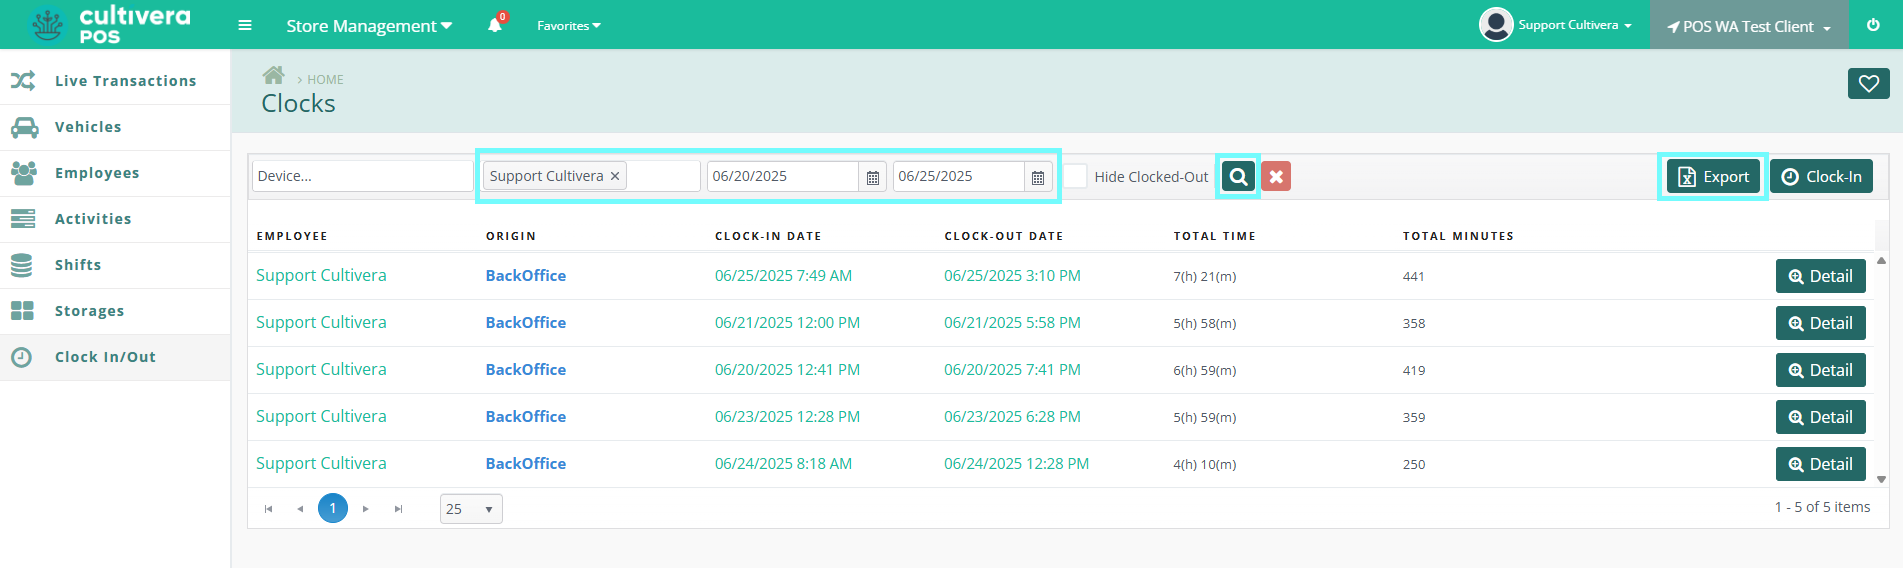
- Utilize the provided filters to locate the employee and the dates you'd like to query, then select the "Magnifying Glass" button to initiate the search. Once the results of your search have populated, select the green "Export" button to download this data into an Excel file.
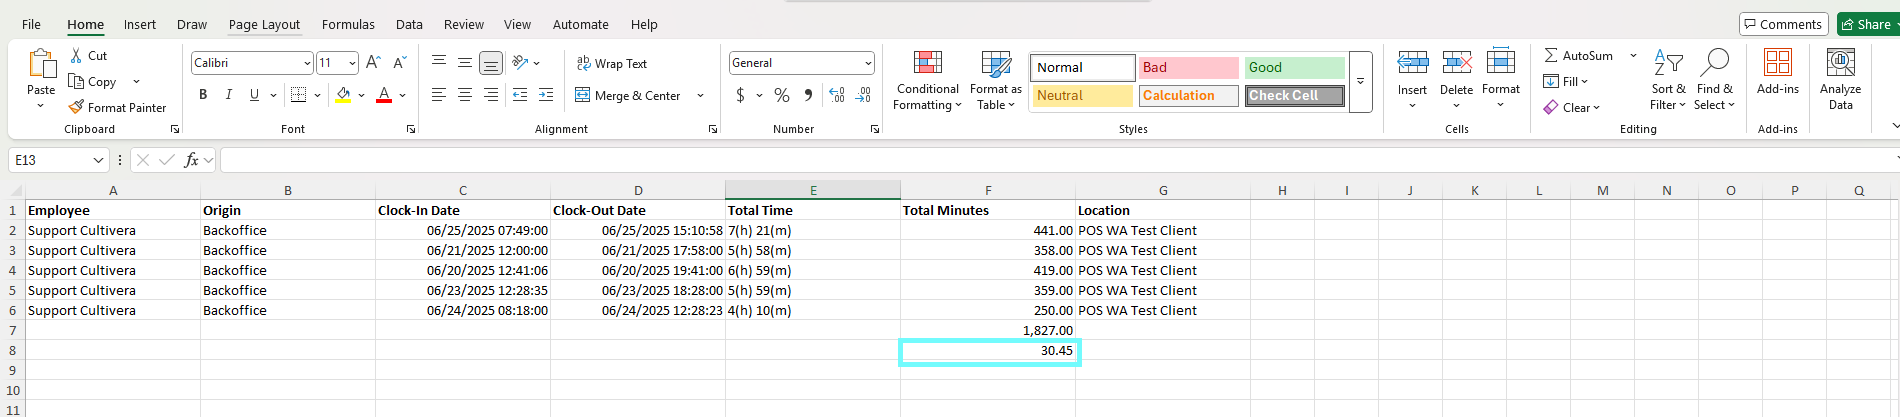
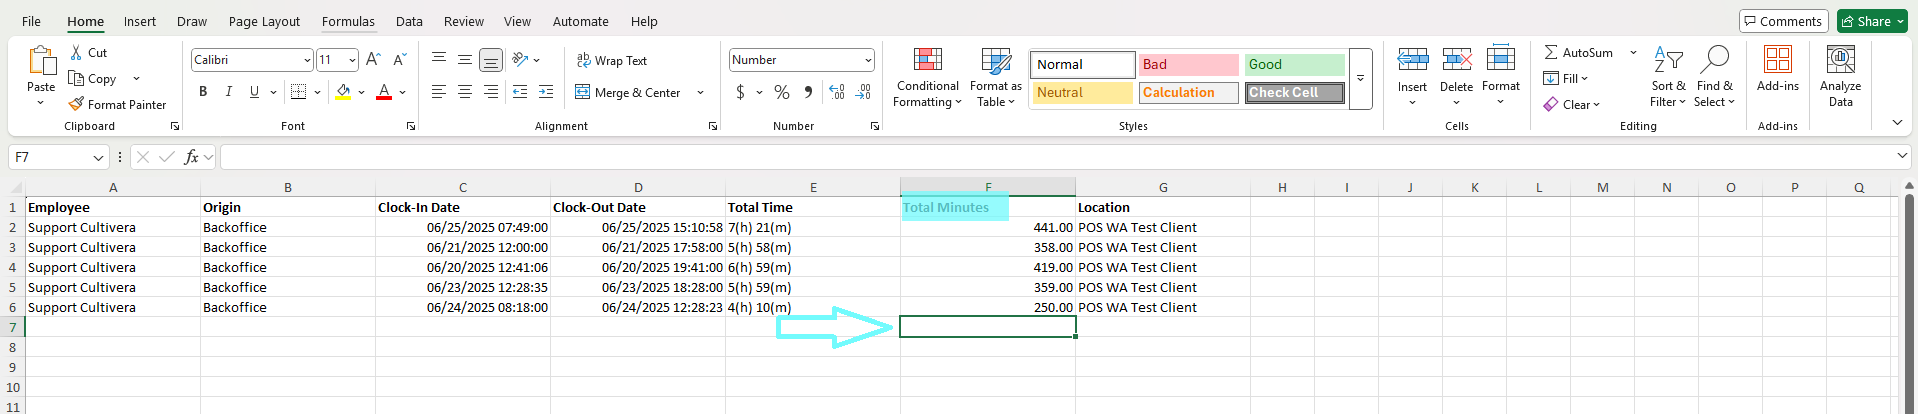
- Open the Excel file and locate the "Total Minutes" column, then select the first blank cell below the data.
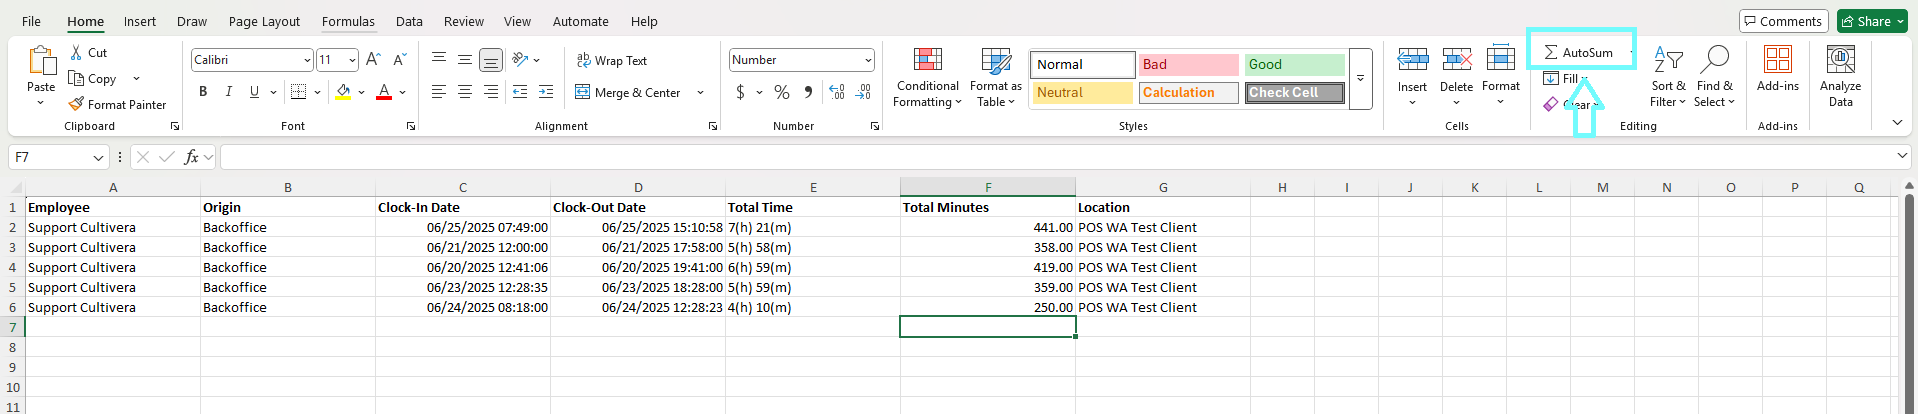
- Next, select the "AutoSum" button to automatically add up the minutes in this column.
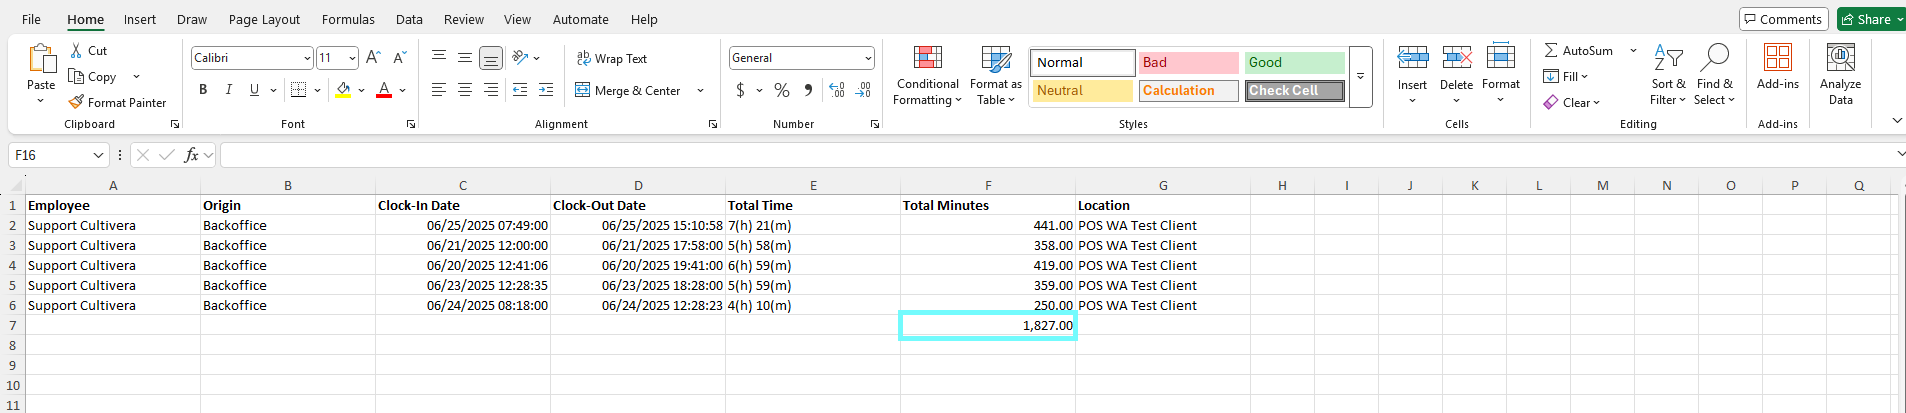
- Confirm the correct columns are highlighted before clicking the "Enter" key on your keyboard.

- Once Enter has been selected, the minutes within that column will be automatically added up, and the total will then be displayed at the bottom of the "Total Minutes" column.
- Then, to calculate hours worked, select the blank cell below the total minutes provided. Type in the equal sign =, the total number of minutes, the forward slash division sign /, and then the number 60.

- Once those fields have been input, select the "Enter" key on your keyboard. The total hours worked for that employee will then be displayed in that cell and can be used for payroll purposes.