POS - Marketing: Creating Promotions
![]() Updated
Updated
POS Marketing: Creating Promotions
Promotions define when a given sale will be running, and what discount will be offered in that time. Promotions can define a schedule and location of the discount.
A promotion must be created for a discount to show at the terminal.
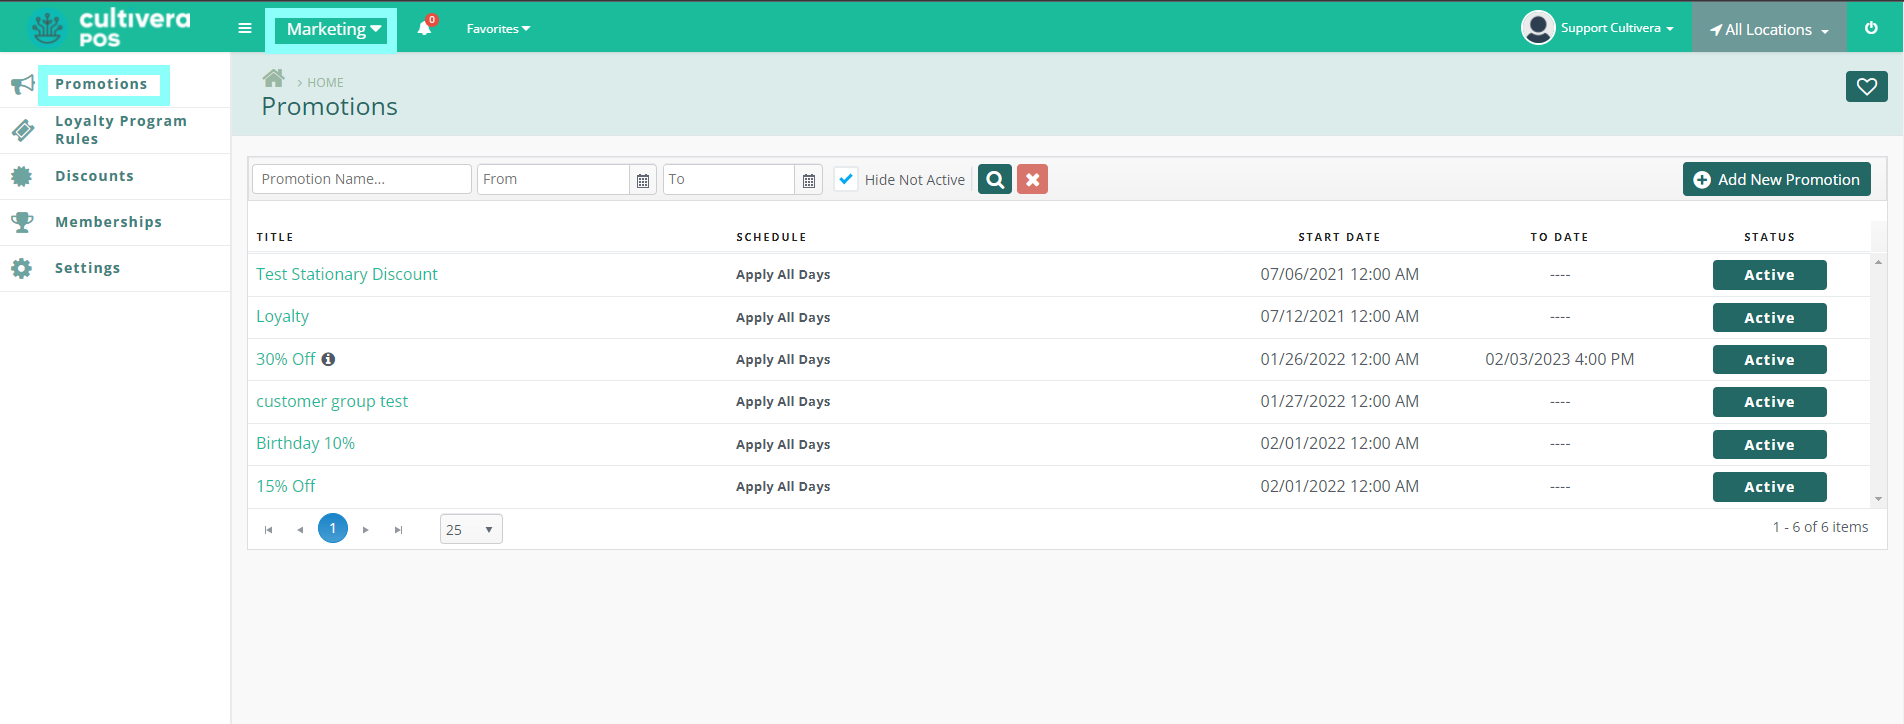
To add a new Promotion, begin in the POS Marketing module.
- Navigate to the Promotions page from the Marketing module.
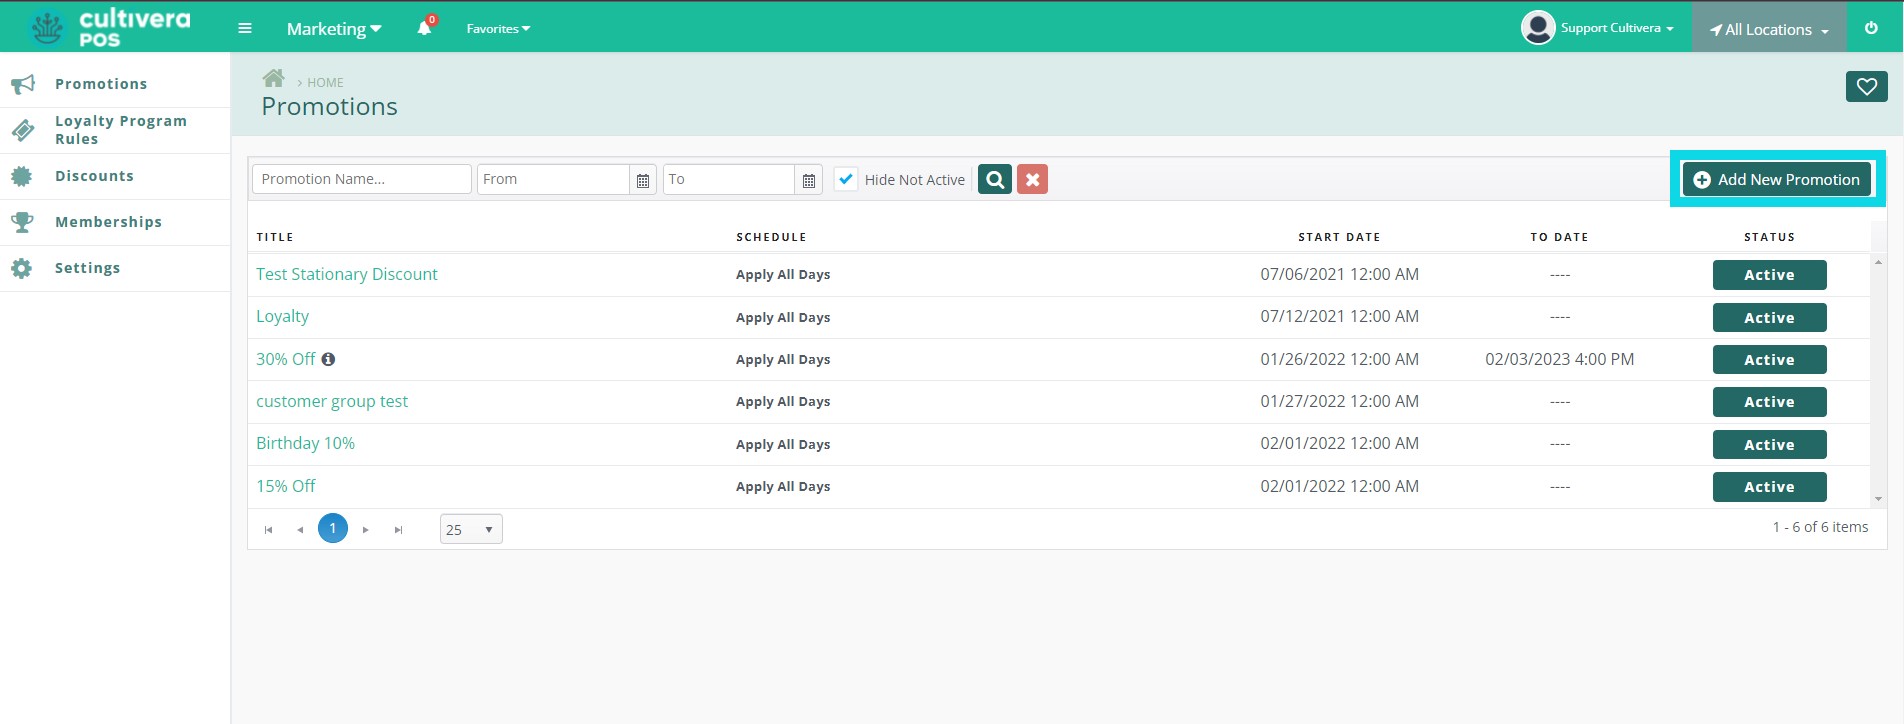
- Select "Add New Promotion"
- Here, Enter all details for the Promotion:
- Promo name: What name should be displayed at the terminal/online.
- Promo code: Code intended to be used at online ordering *future feature: phase two release*
- Description: A clear description of promo that displays at the terminal for budtenders.
*All fields with asterisks are required to save.*
- Enter the Promotion's start date into "From Date".
- Enter the Promotion's end date into "To Date". If the discount has no End Date, this can remain undefined.
- "Applies Everyday" sets whether the promotion should be available all the time.
- Leave this box unchecked to assign specific days and hours of availability, using the choices available.
- If operating with multiple licenses, you can Select specific locations will run the promotion, or Select "Apply To All Locations" to run the promotion at all of them.
- Select Save.
Once a Promotion is created, you can attach a desired discount or loyalty rule to the promotion to activate at the terminal.
Synchronize the terminals after any editing or discount creation. You must create a discount to assign one to a new promotion.
Synchronize the terminals after any editing or discount creation. You must create a discount to assign one to a new promotion.
To deactivate a Promotion, click on the blue Promotion Name and select "Edit" at the top right hand corner of the screen. The deactivate button will appear next to the save button.
To search for previous promotions, uncheck the Hide Not Active option in the search bar.